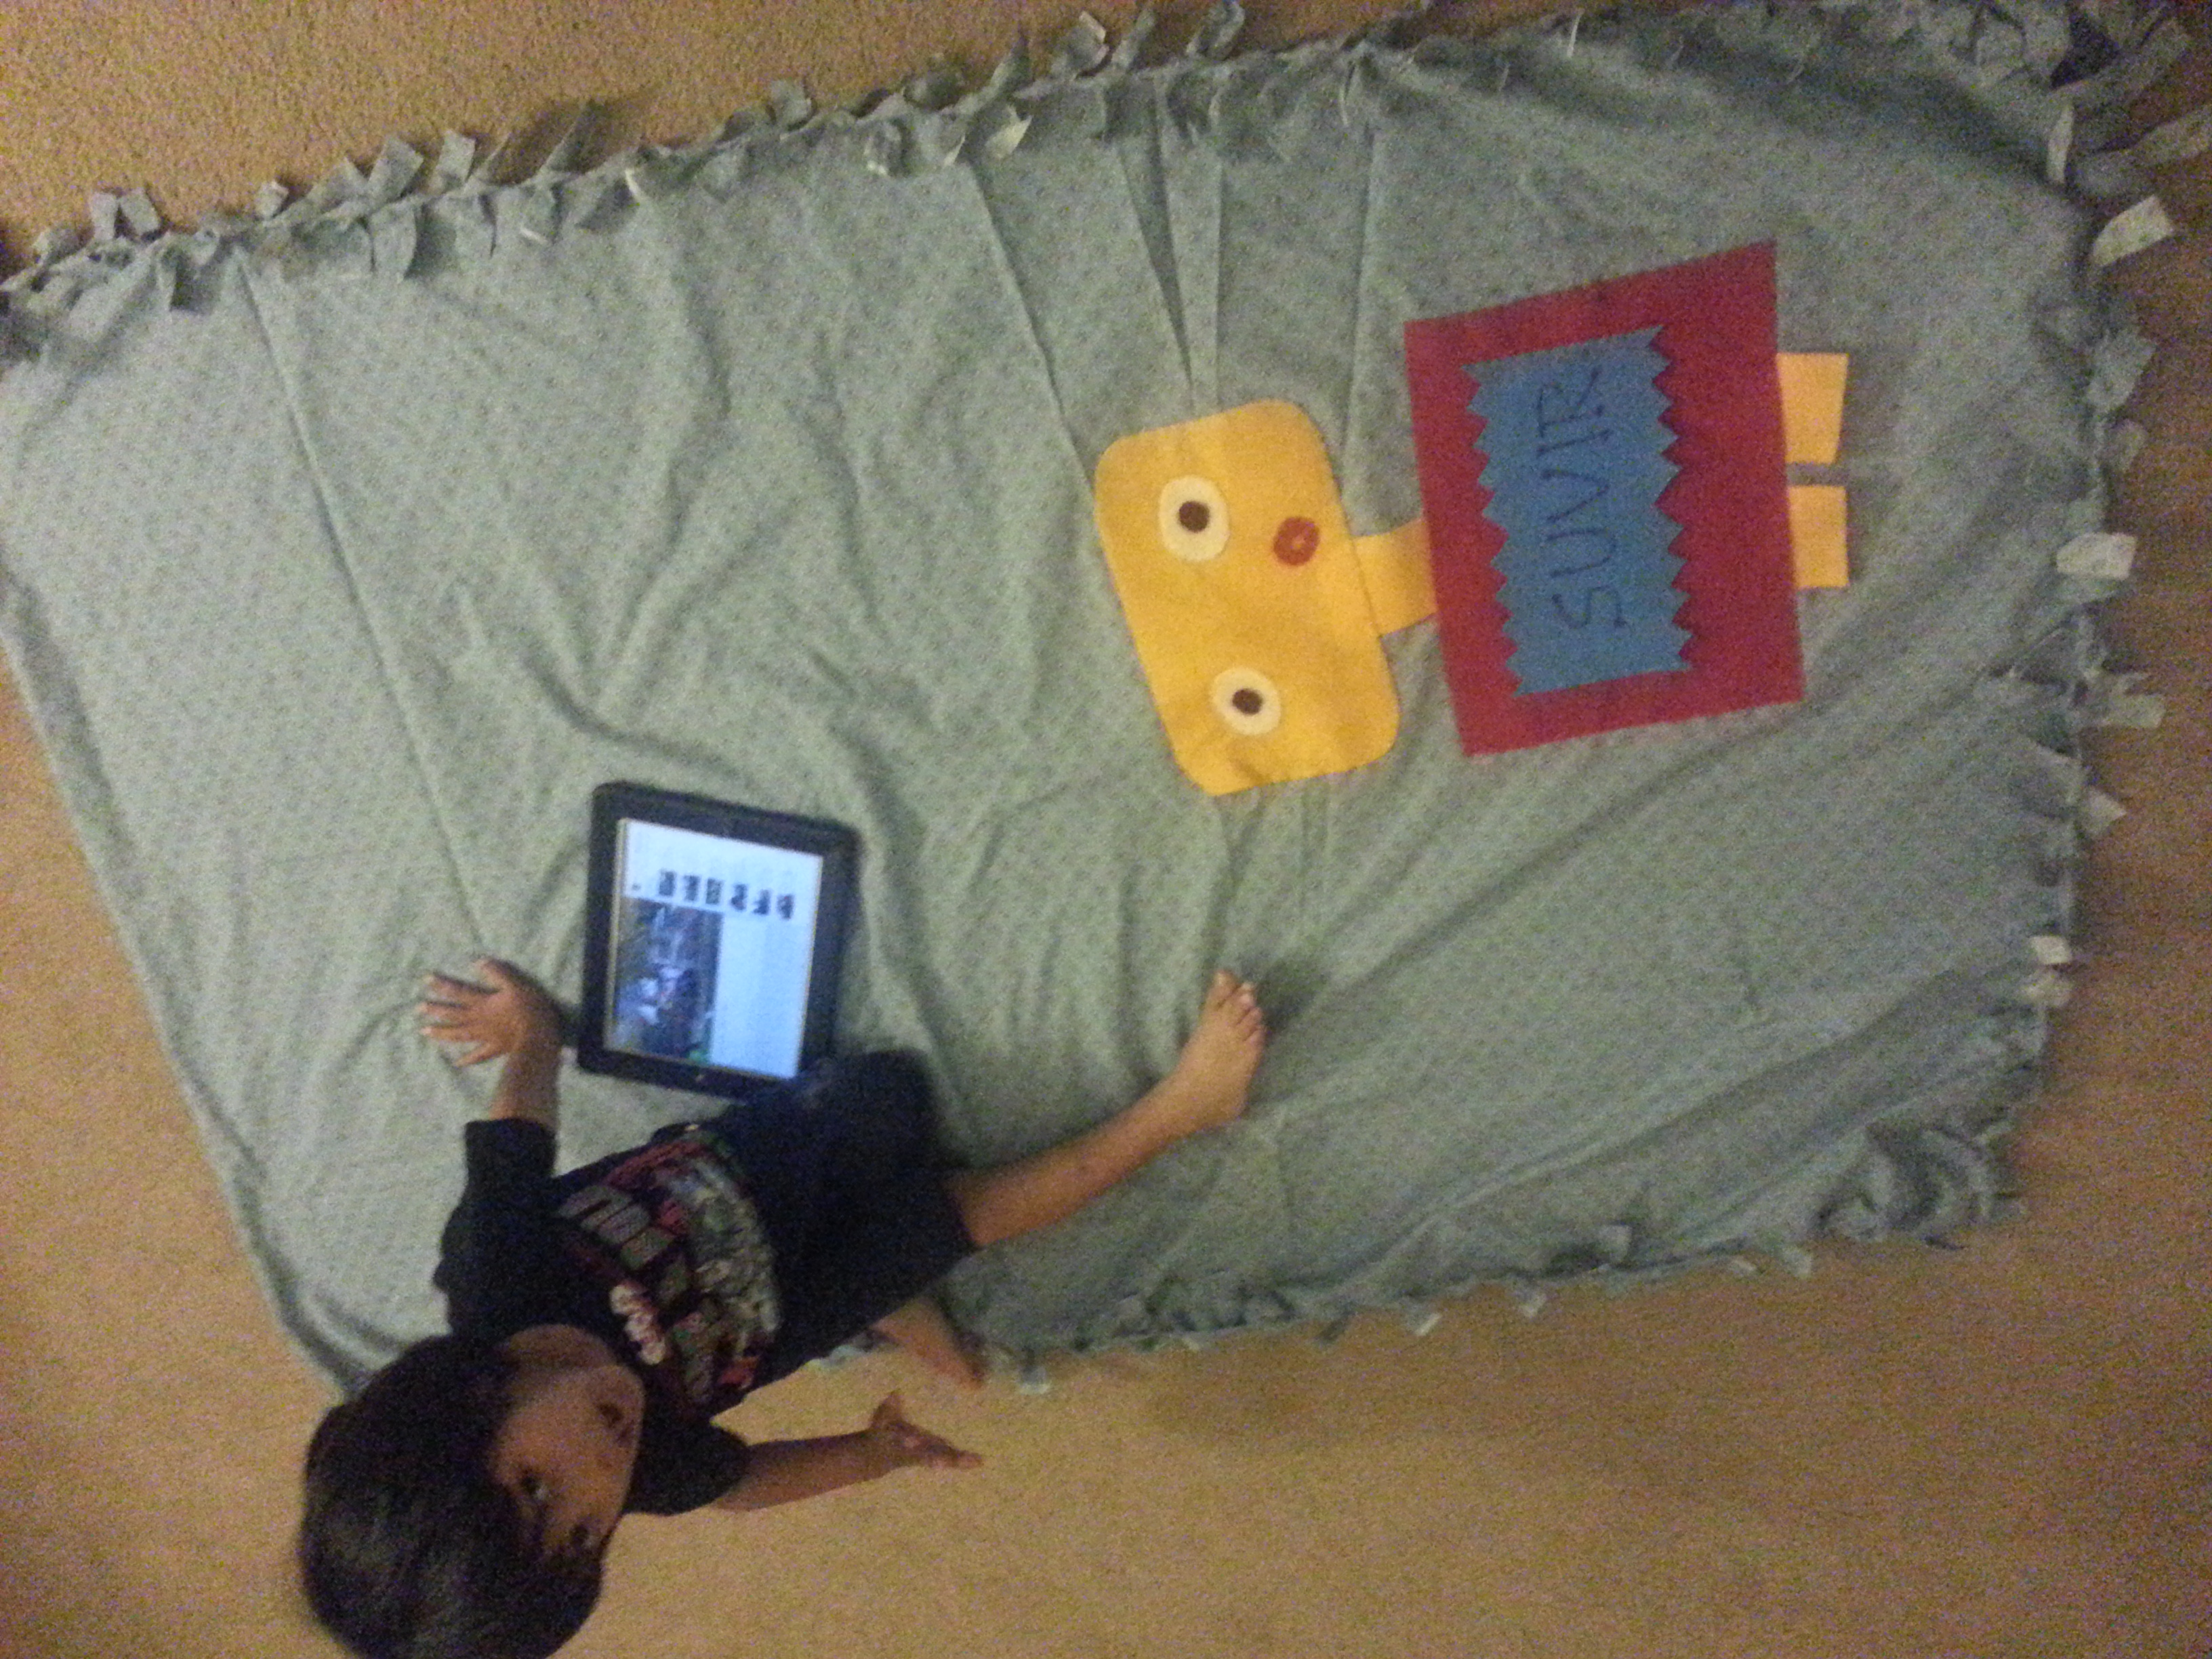
I was looking for a blanket solution for my s
on who goes to preschool and still takes an afternoon nap (thank God!!). You know what I’m saying right! He sleeps well in school and my husband and I look forward to his naps over the weekend. Anyway, I wanted to make him a personalized blanky for school so that he feels happy about it and that it doesn’t get mixed up with the other kids’ stuff. Also I wanted him to use something appropriate for the weather. I brought home his thick fleece blanket couple months back but then he was using a thin cotton one which I thought was not enough. After all it does get little cold with the AC even in the hot months. So this is what I came up with:
Things you need:
- Cotton fabric
- Measuring tape (optional)
- Scissors
- Felt in different colors of your choice
I started by folding the fabric in half, right side facing up.
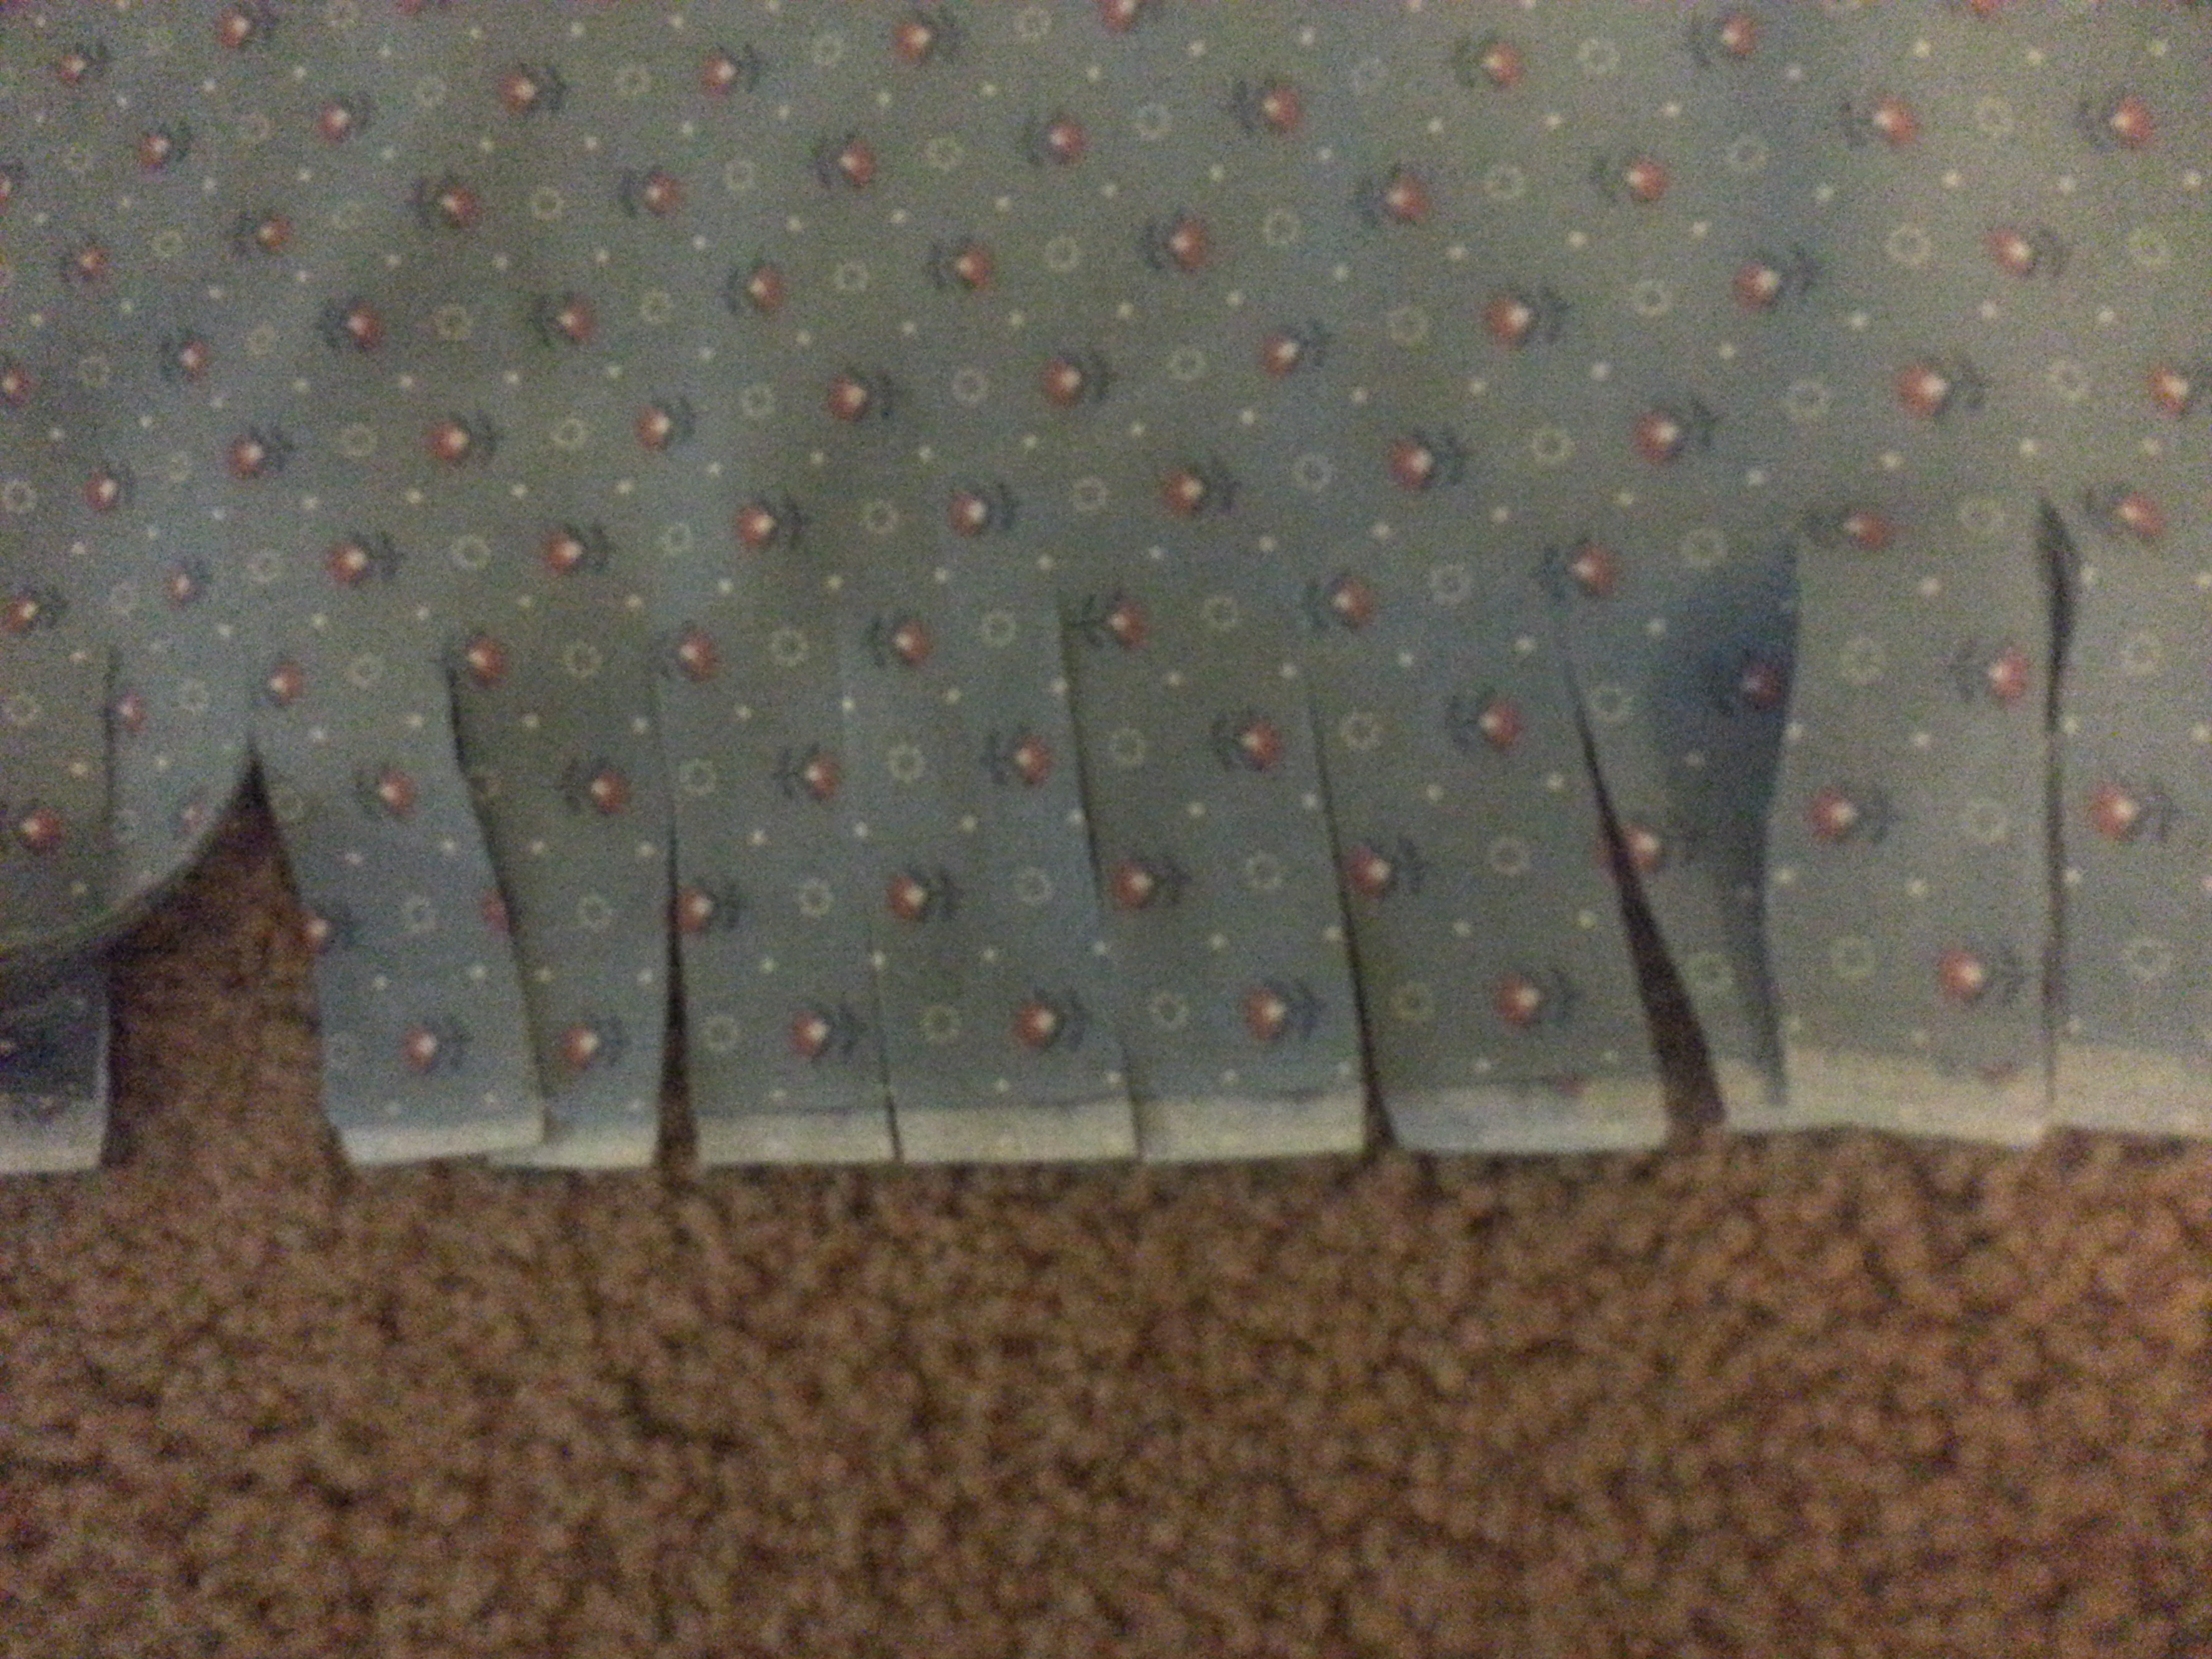
Then I roughly cut about 2 inches all along the edges except for the edge that I had folded. I got a little lazy here but you can separate the two sides of the fabric and snip on all four sides instead of just three like I did.
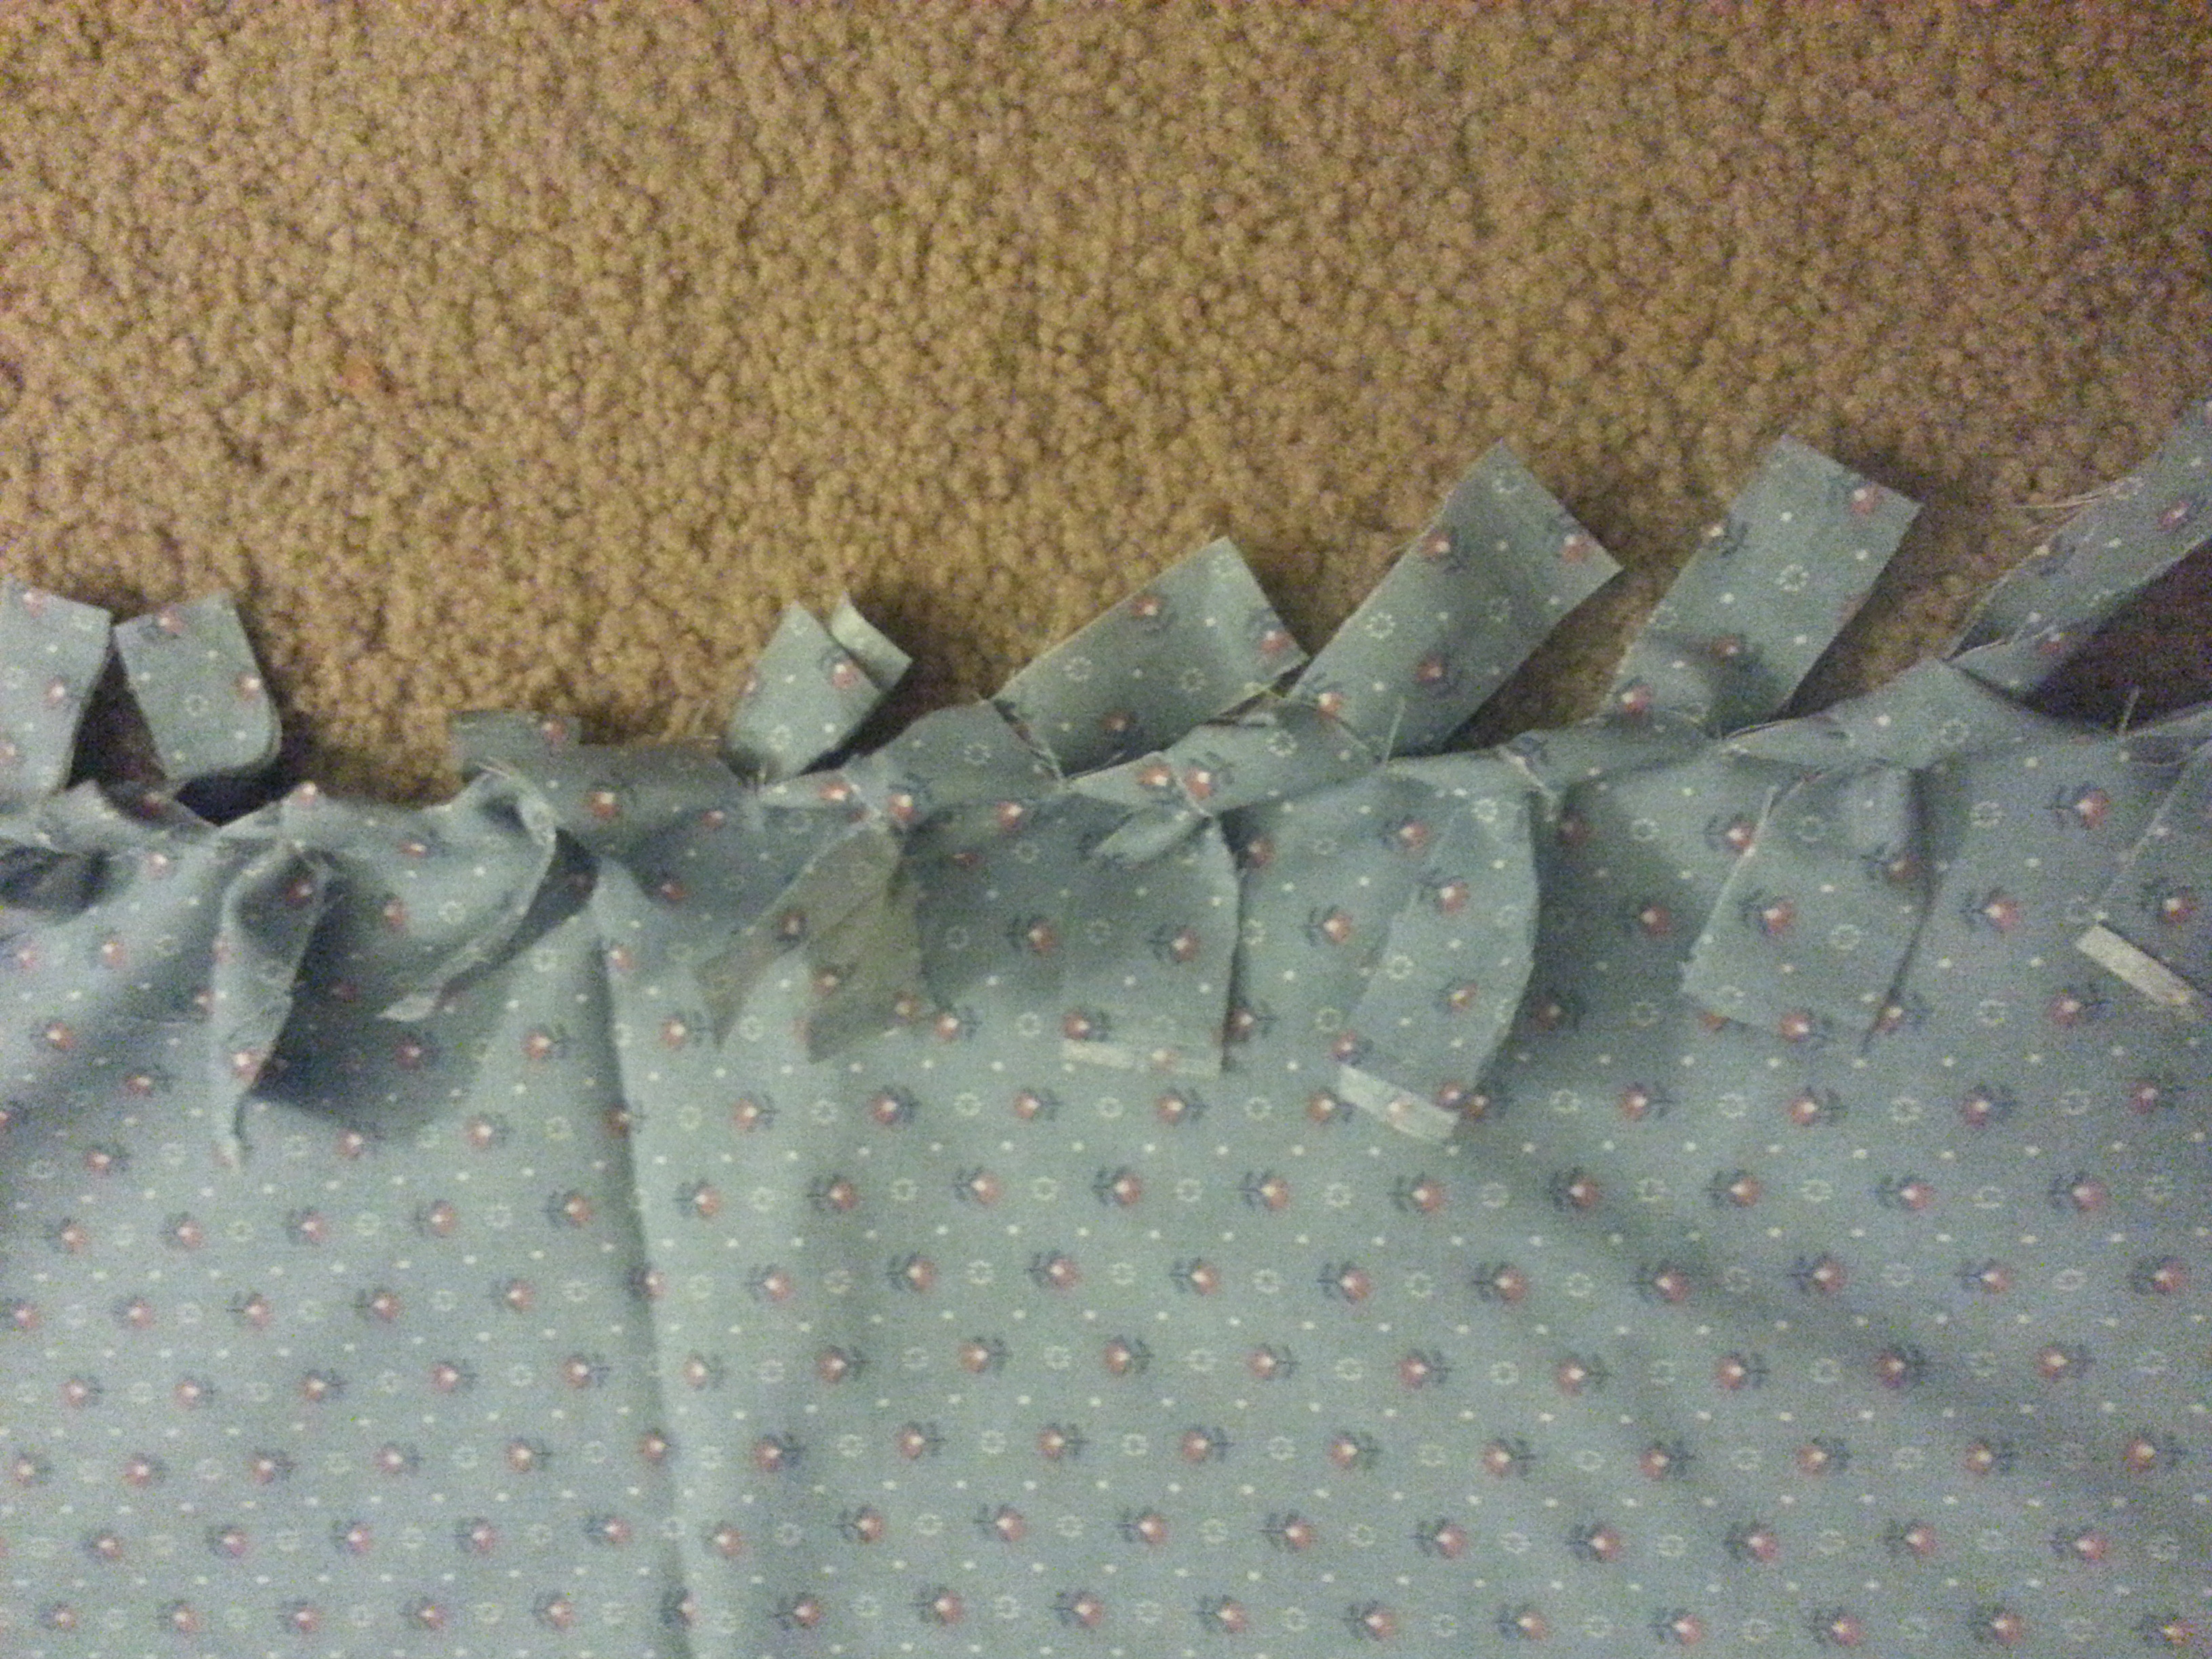
Then, I just tied regular knots attaching both sides securely.
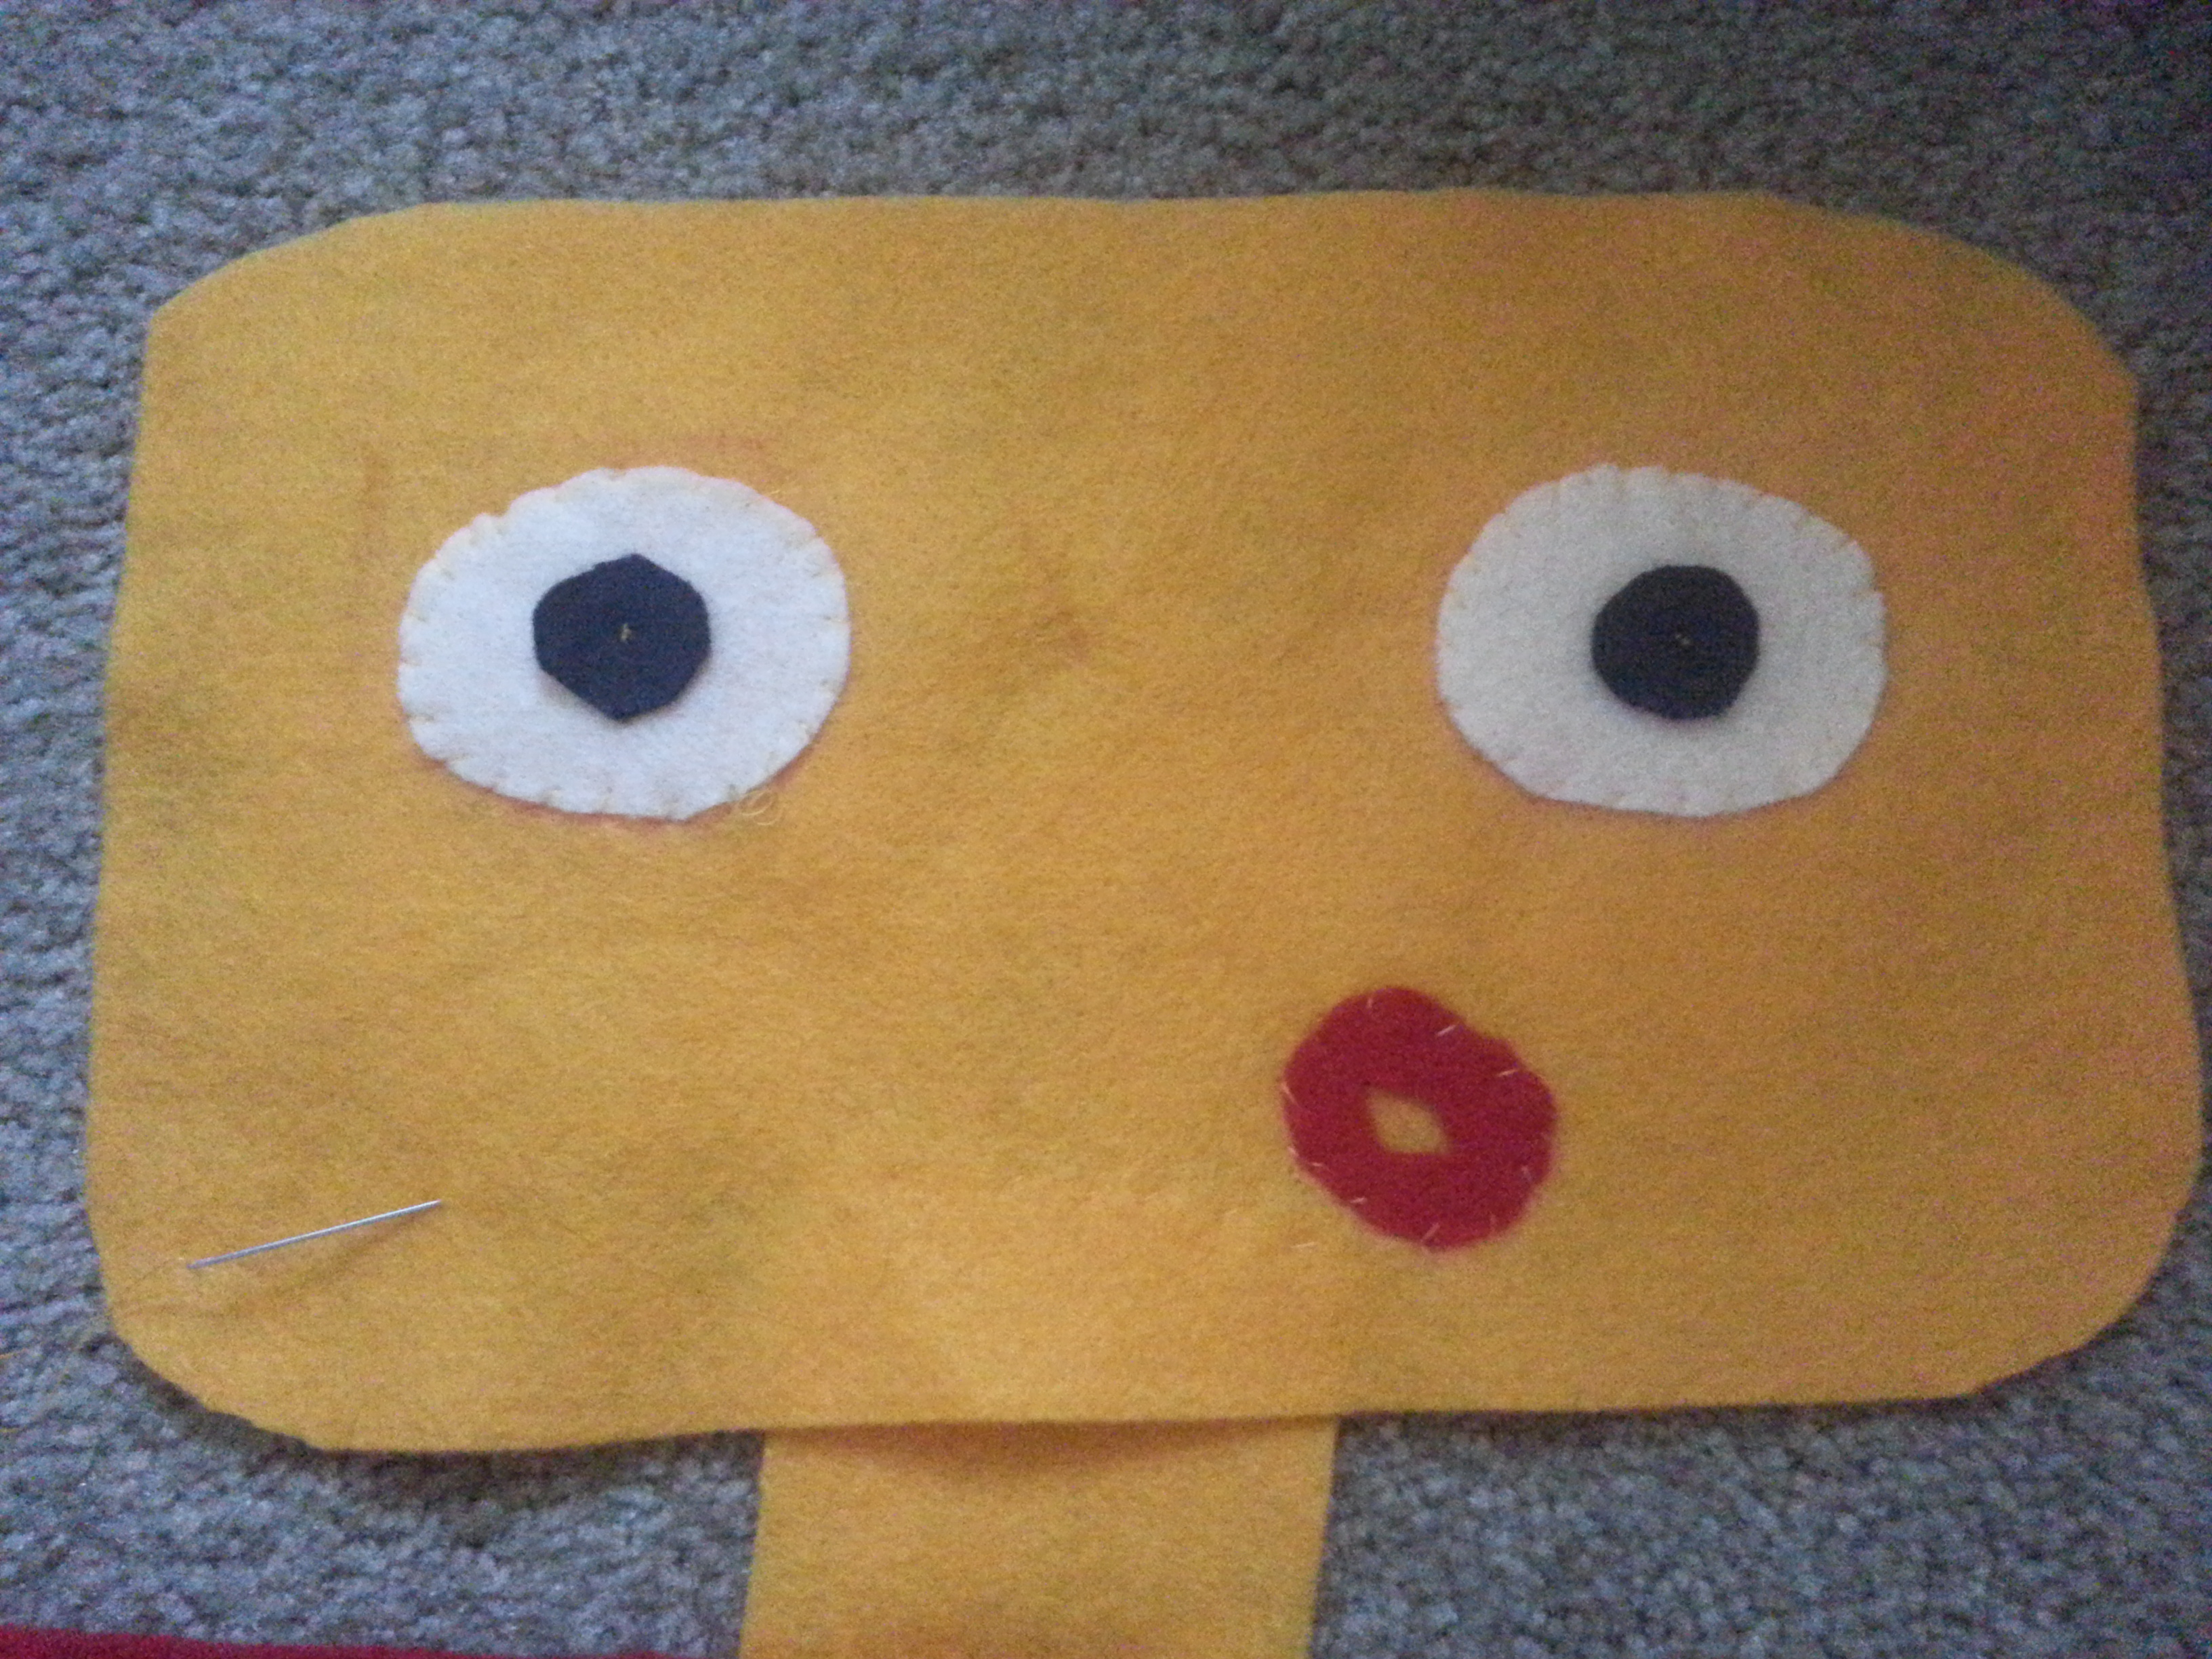
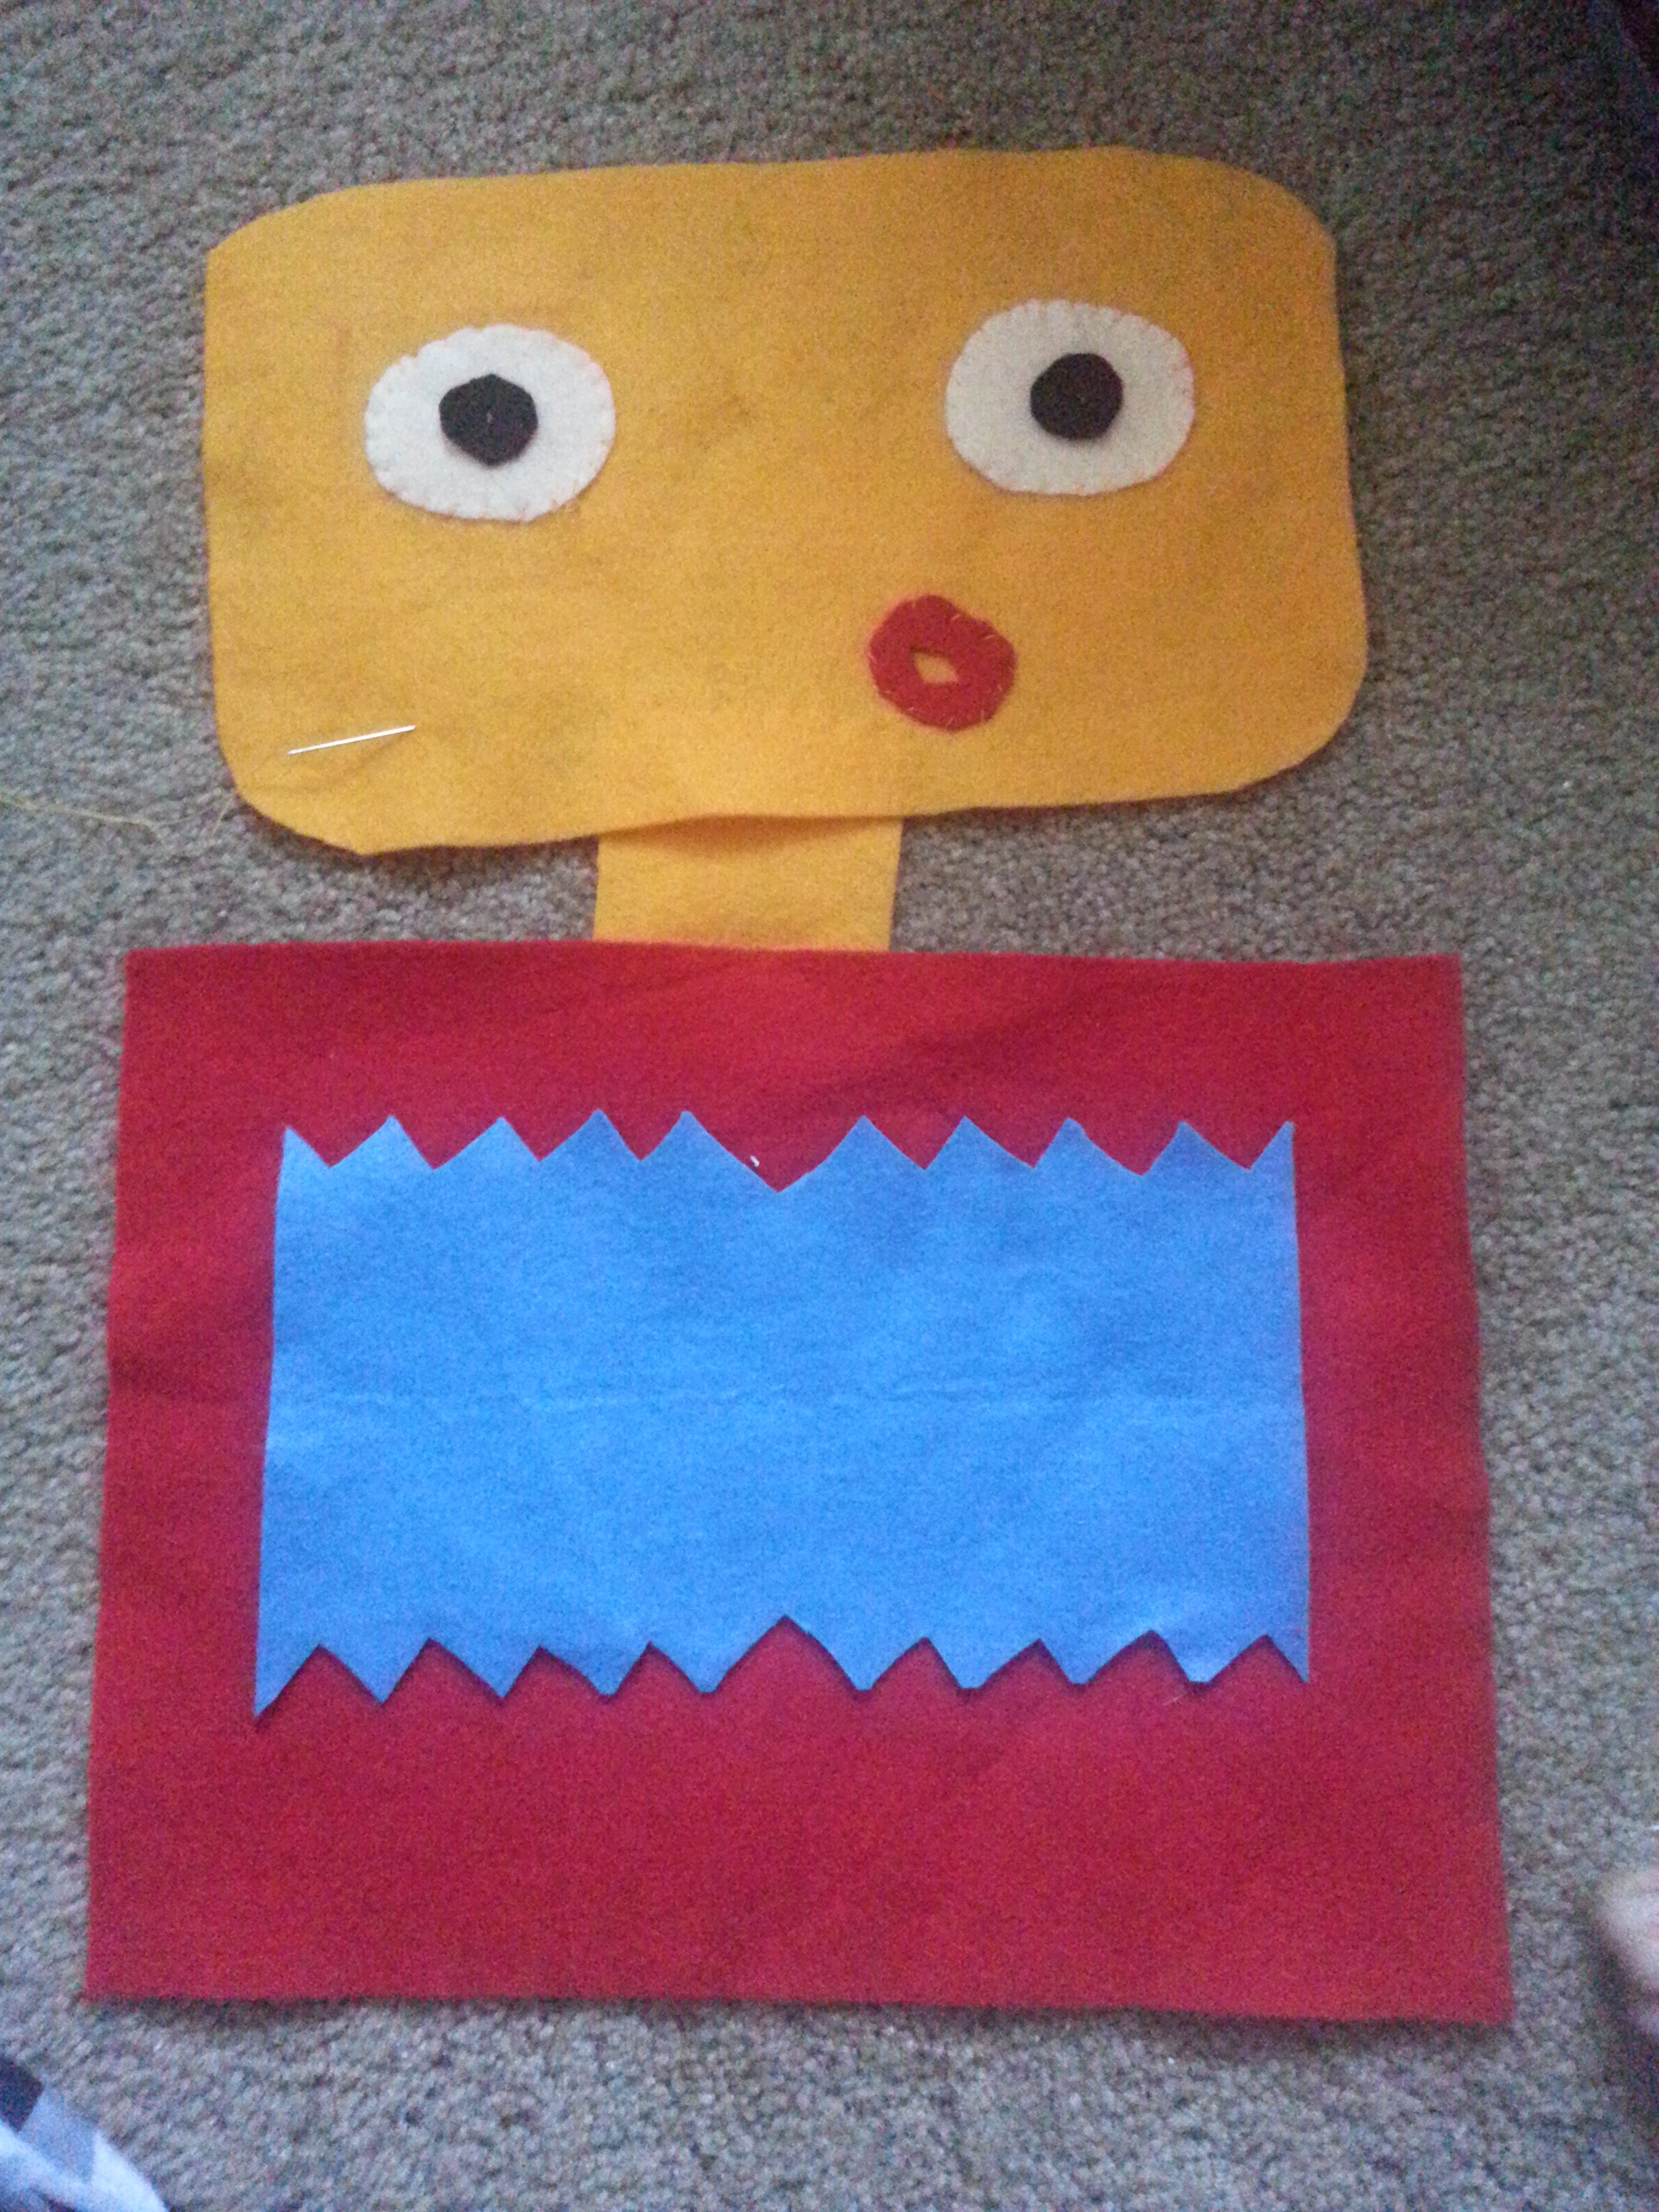
The blanket is almost done but Suvir wanted a “Robot blanky” so i decided to cut out some fun shapes using felt and just glue it on with fabric glue I bought at the local craft store.
we learn some shapes while cutting the squares, circles and rectangles for the robot’s face and body parts.
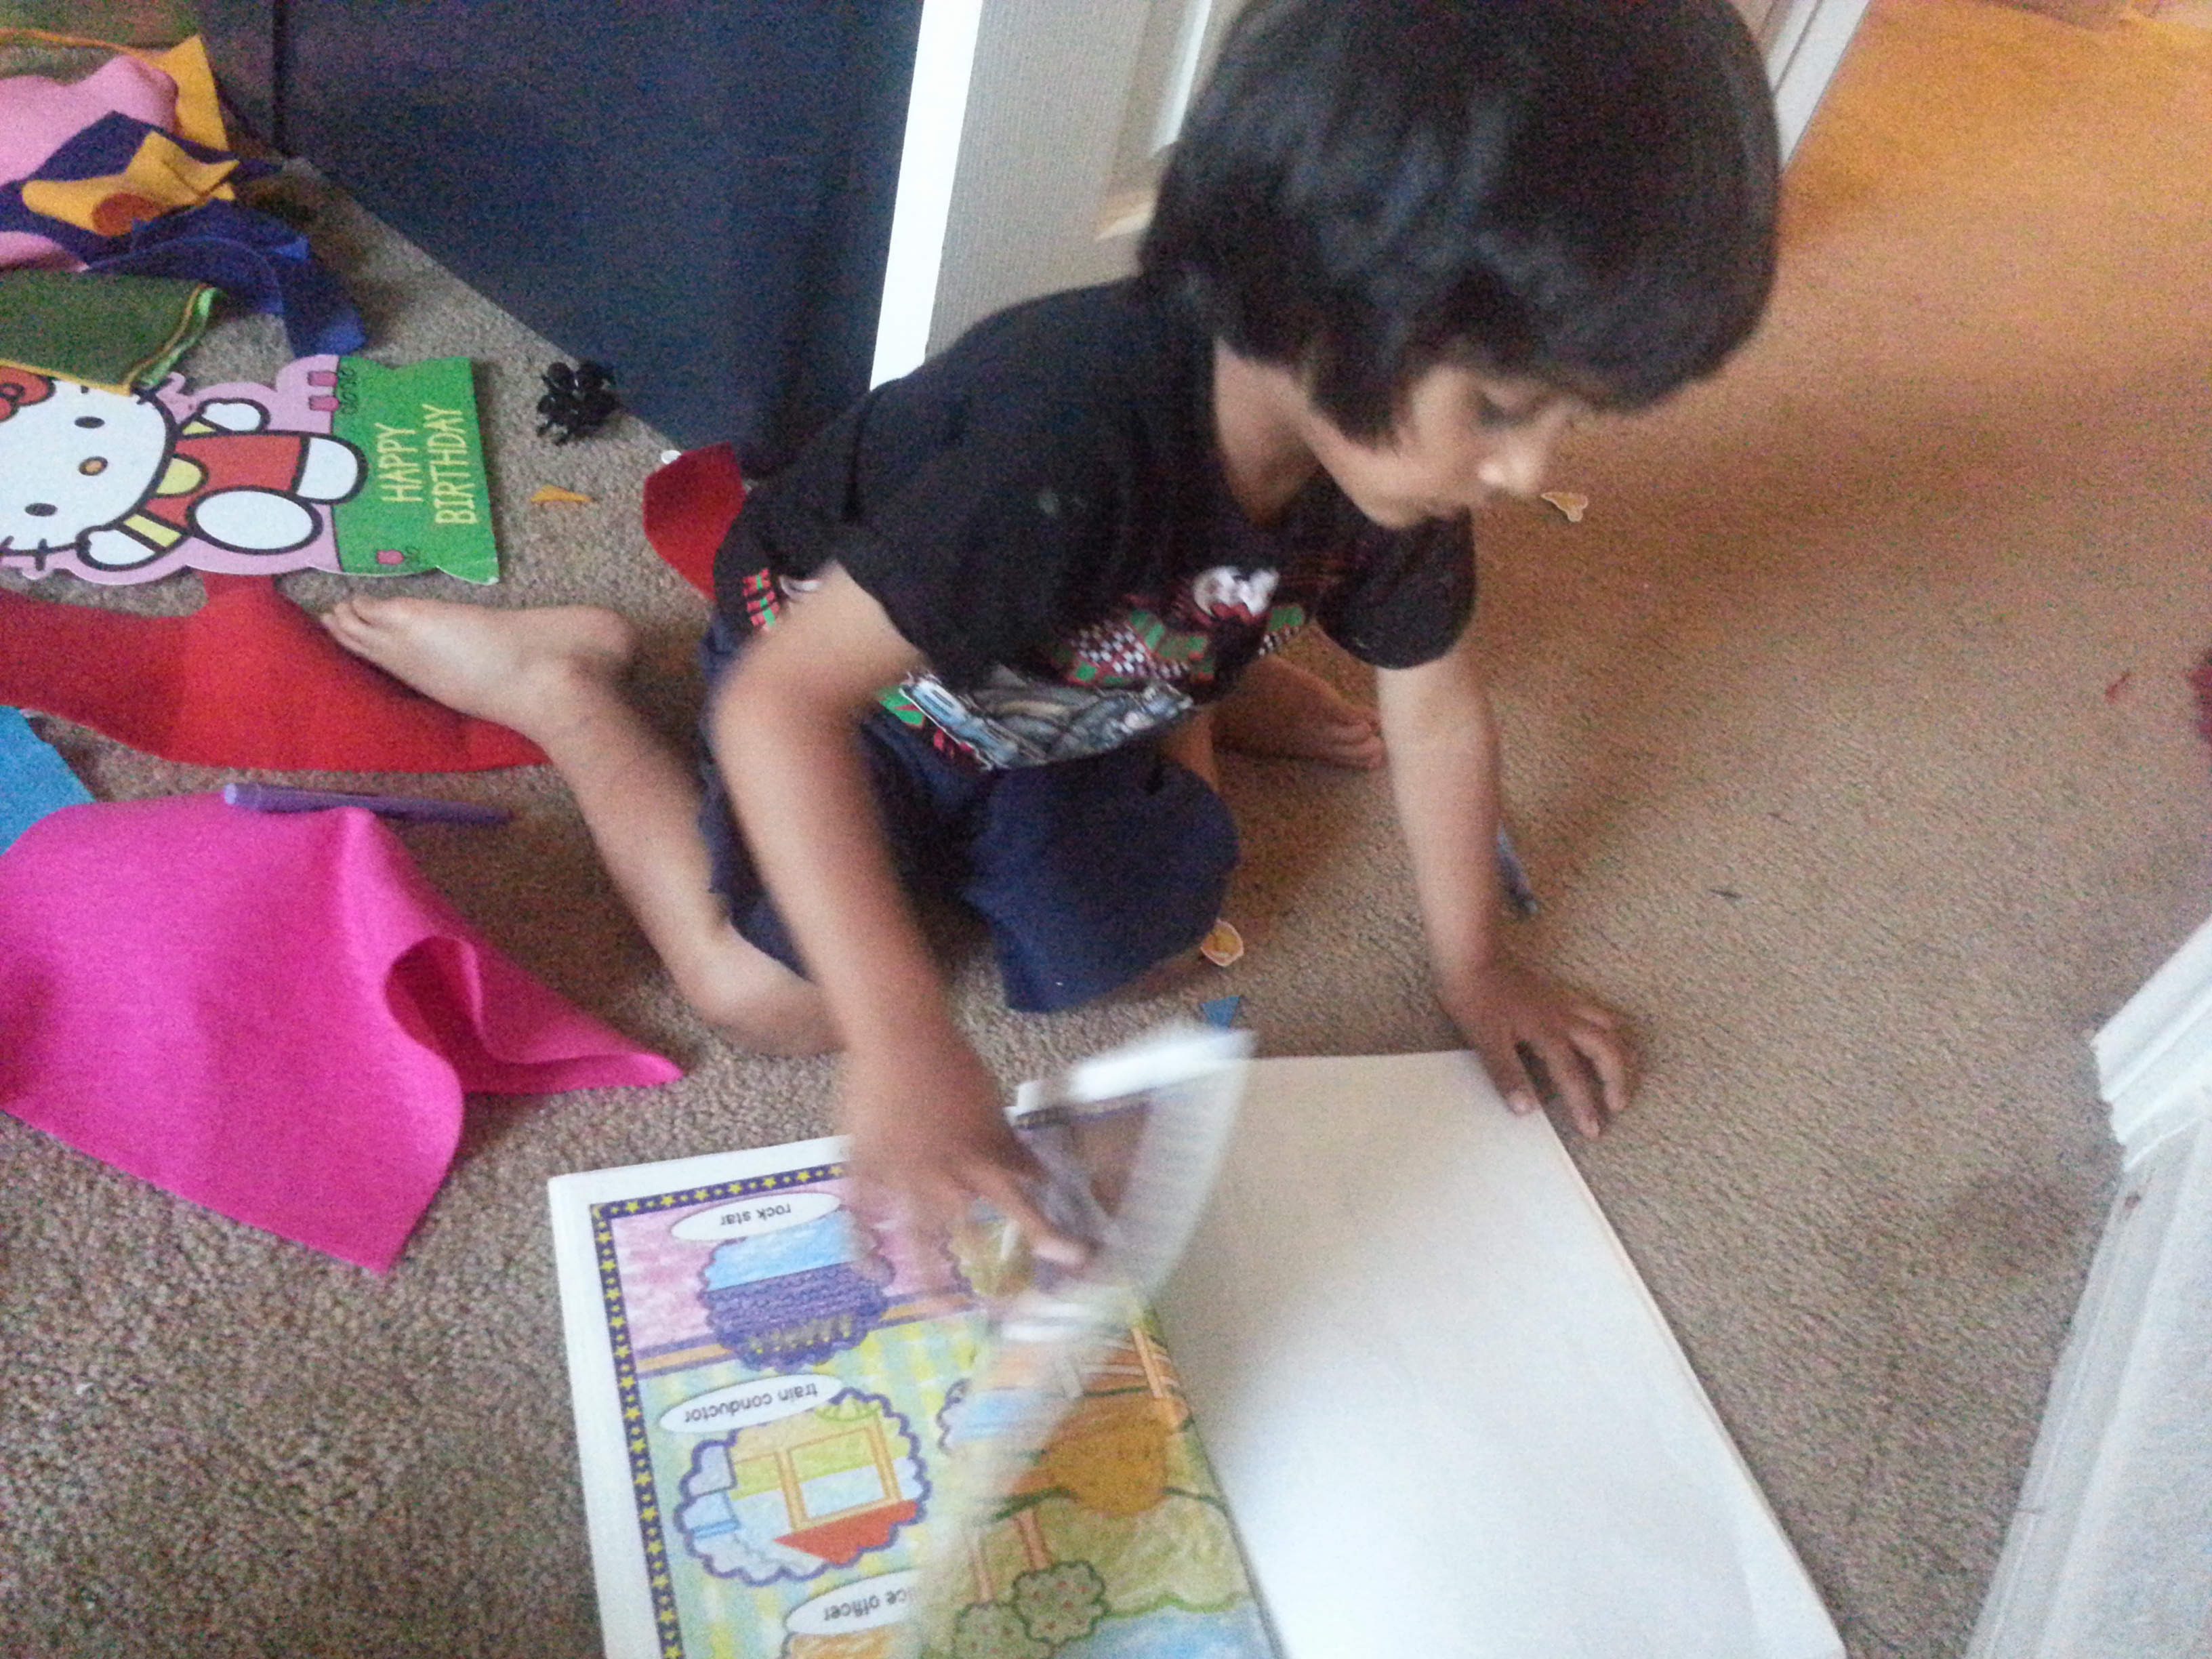
This became like a fun Sunday afternoon activity for both of us. Well, he did get distracted every now and then.
I used the fabric colors to write his name.
Time to attach the little legs.


And the blanket is ready!!
You can make any fun shapes that you like and just glue them on with fabric glue. I was feeling too crafty at that moment so I ended up sewing the robot to the sheet. The two layers make the blanket warmer which is good. I have washed it a couple of times and the knots stayed intact.