How to display your kid’s precious art work

We as parents get so excited by our young occupants’ art but often wonder what to do with all of it. I sheepishly refer to my car as “the gallery” as art projects tend to accumulate there after school pickup. It’s everywhere! In the side pockets, in the glove box and on and under the seats. And one day…… I opened the car windows while taking my son back home. Yes, that is when I decided enough was enough I needed to do something with all that precious artwork. There are a number of ideas out there but this is what worked best and quickest for me, for now. It took me less than 10 minutes to complete this project. What you need:

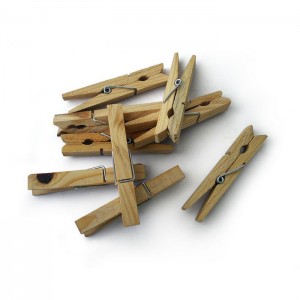
  • Clothesline pins (found at dollar tree)

c_pins-300x300

  • String or yarn
  • Art work

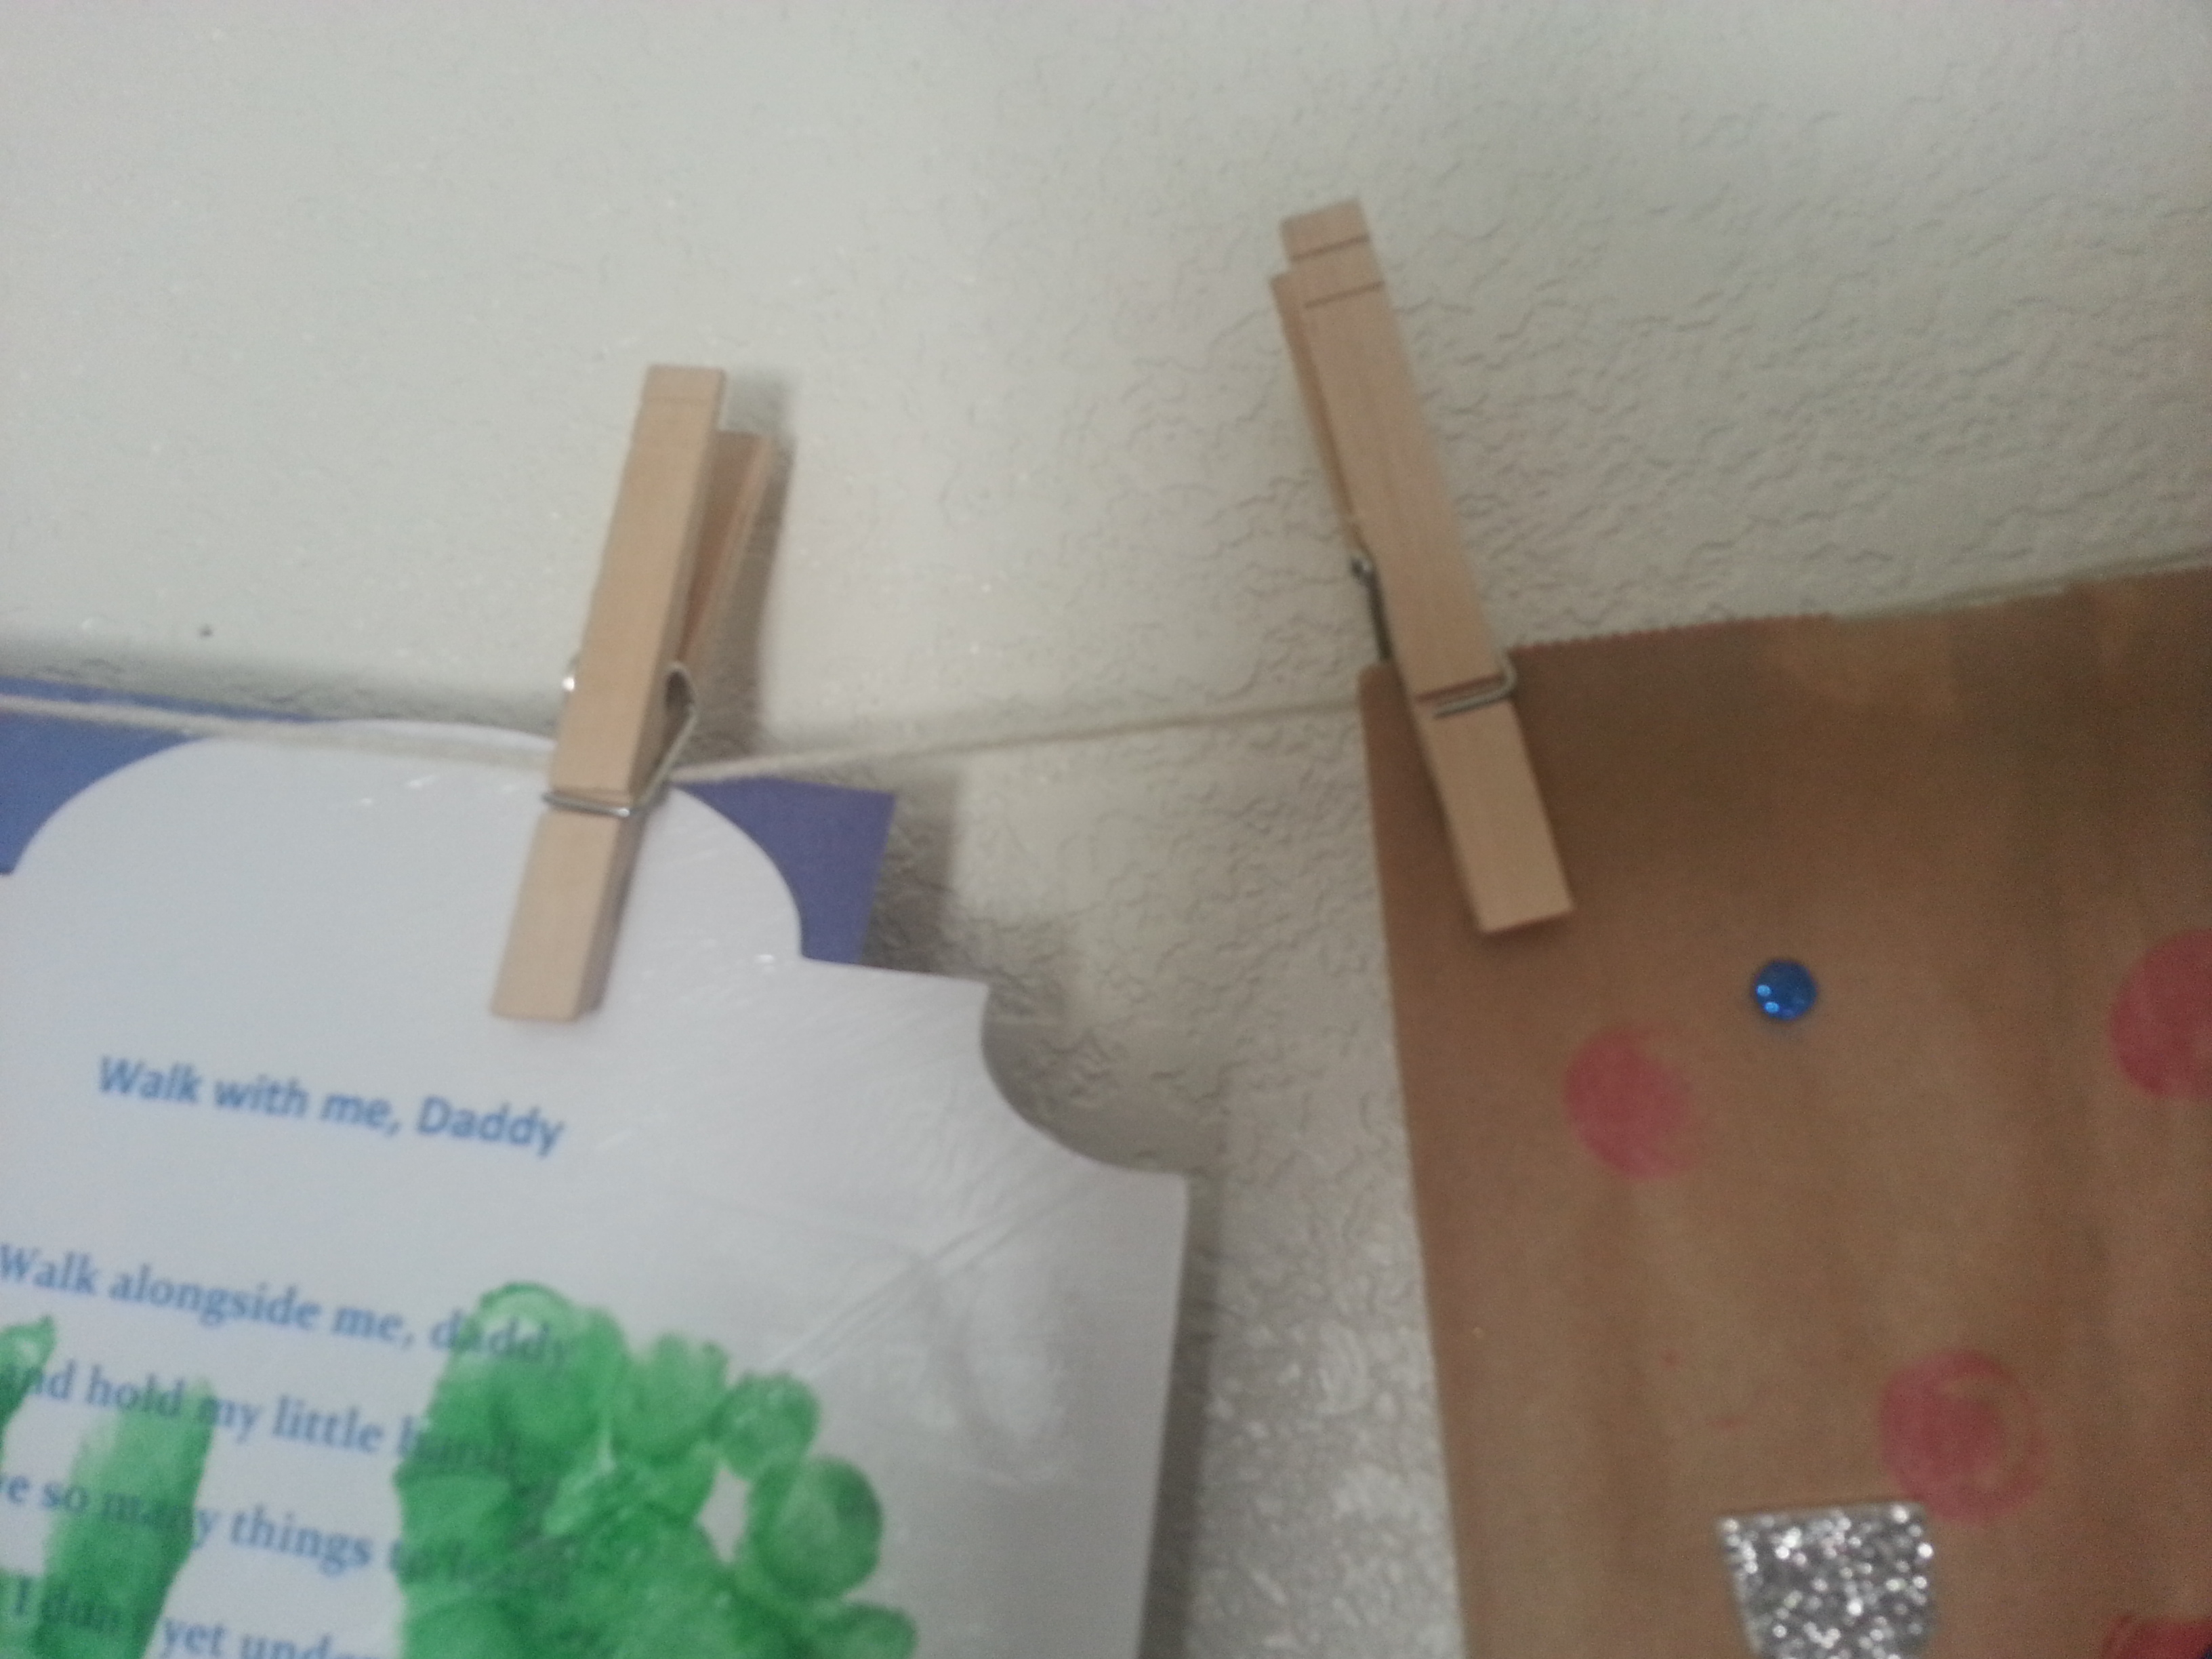
I tied ends of a yarn to two thumb pins and pinned them into the wall. Make sure they are high enough so your tiny tots cannot reach them. Then I just used the clothesline pins to attach the art work. As simple as that.

20140701_142207

20140701_142216

20140701_142201

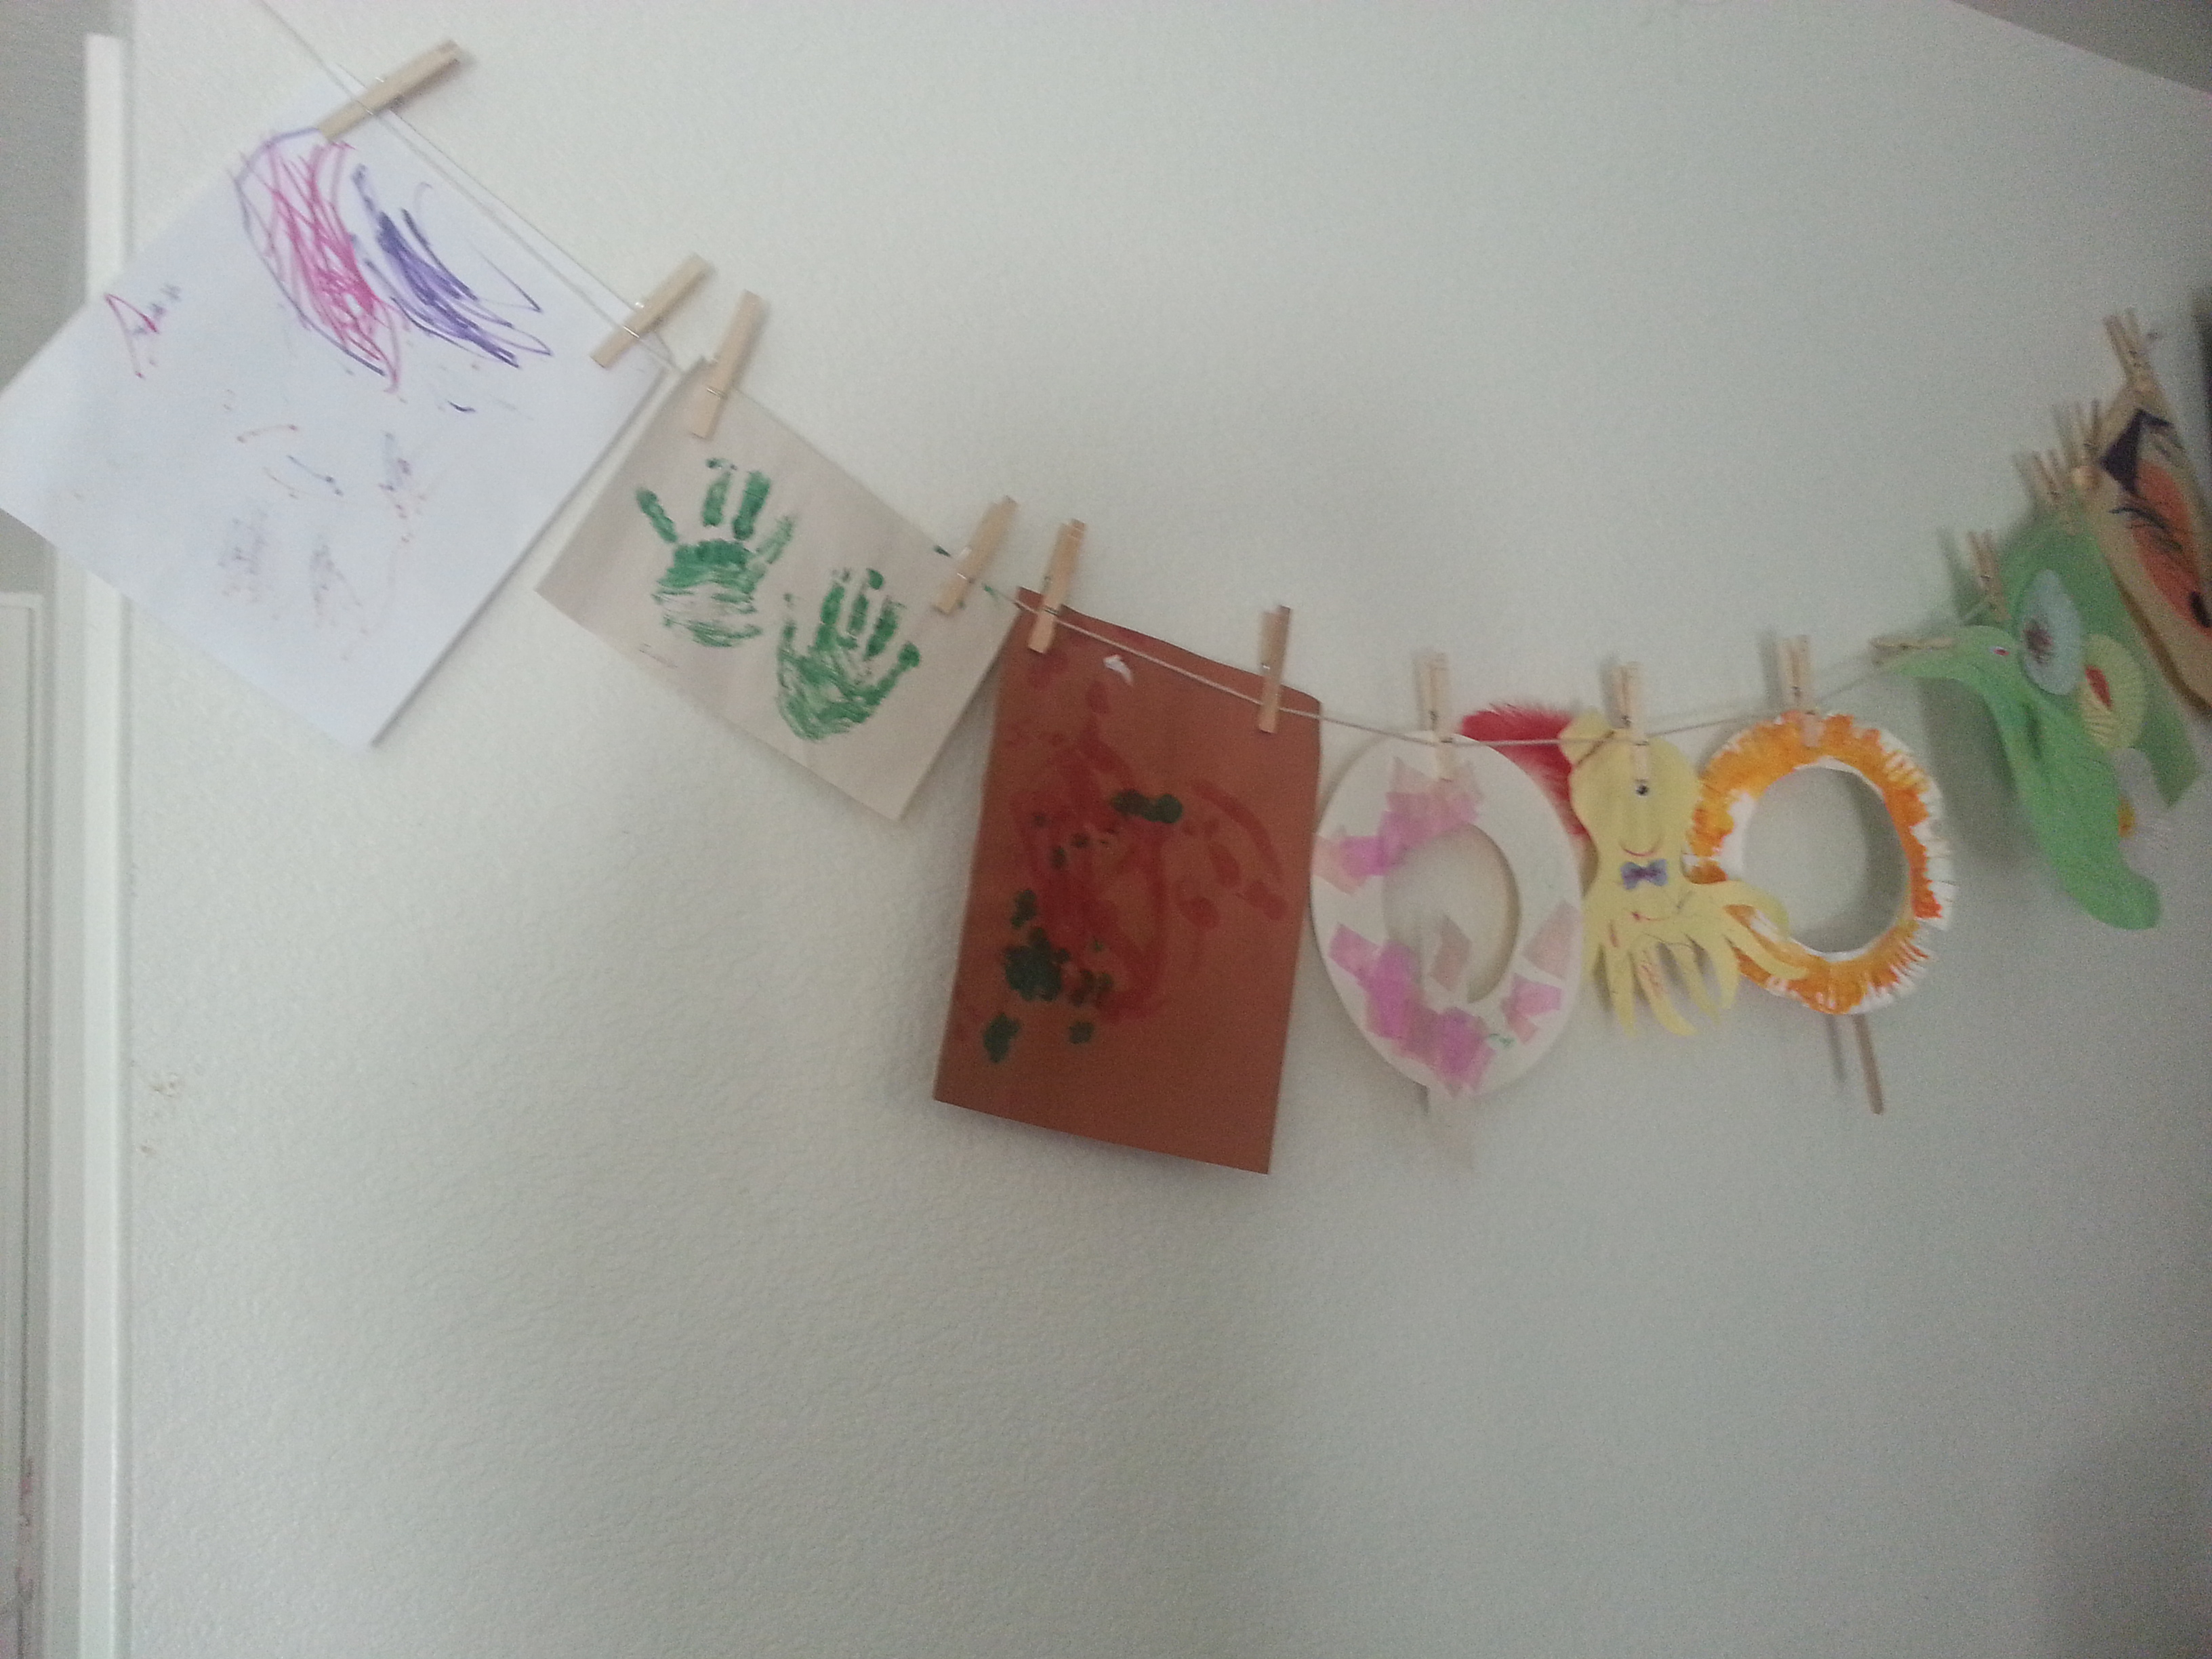
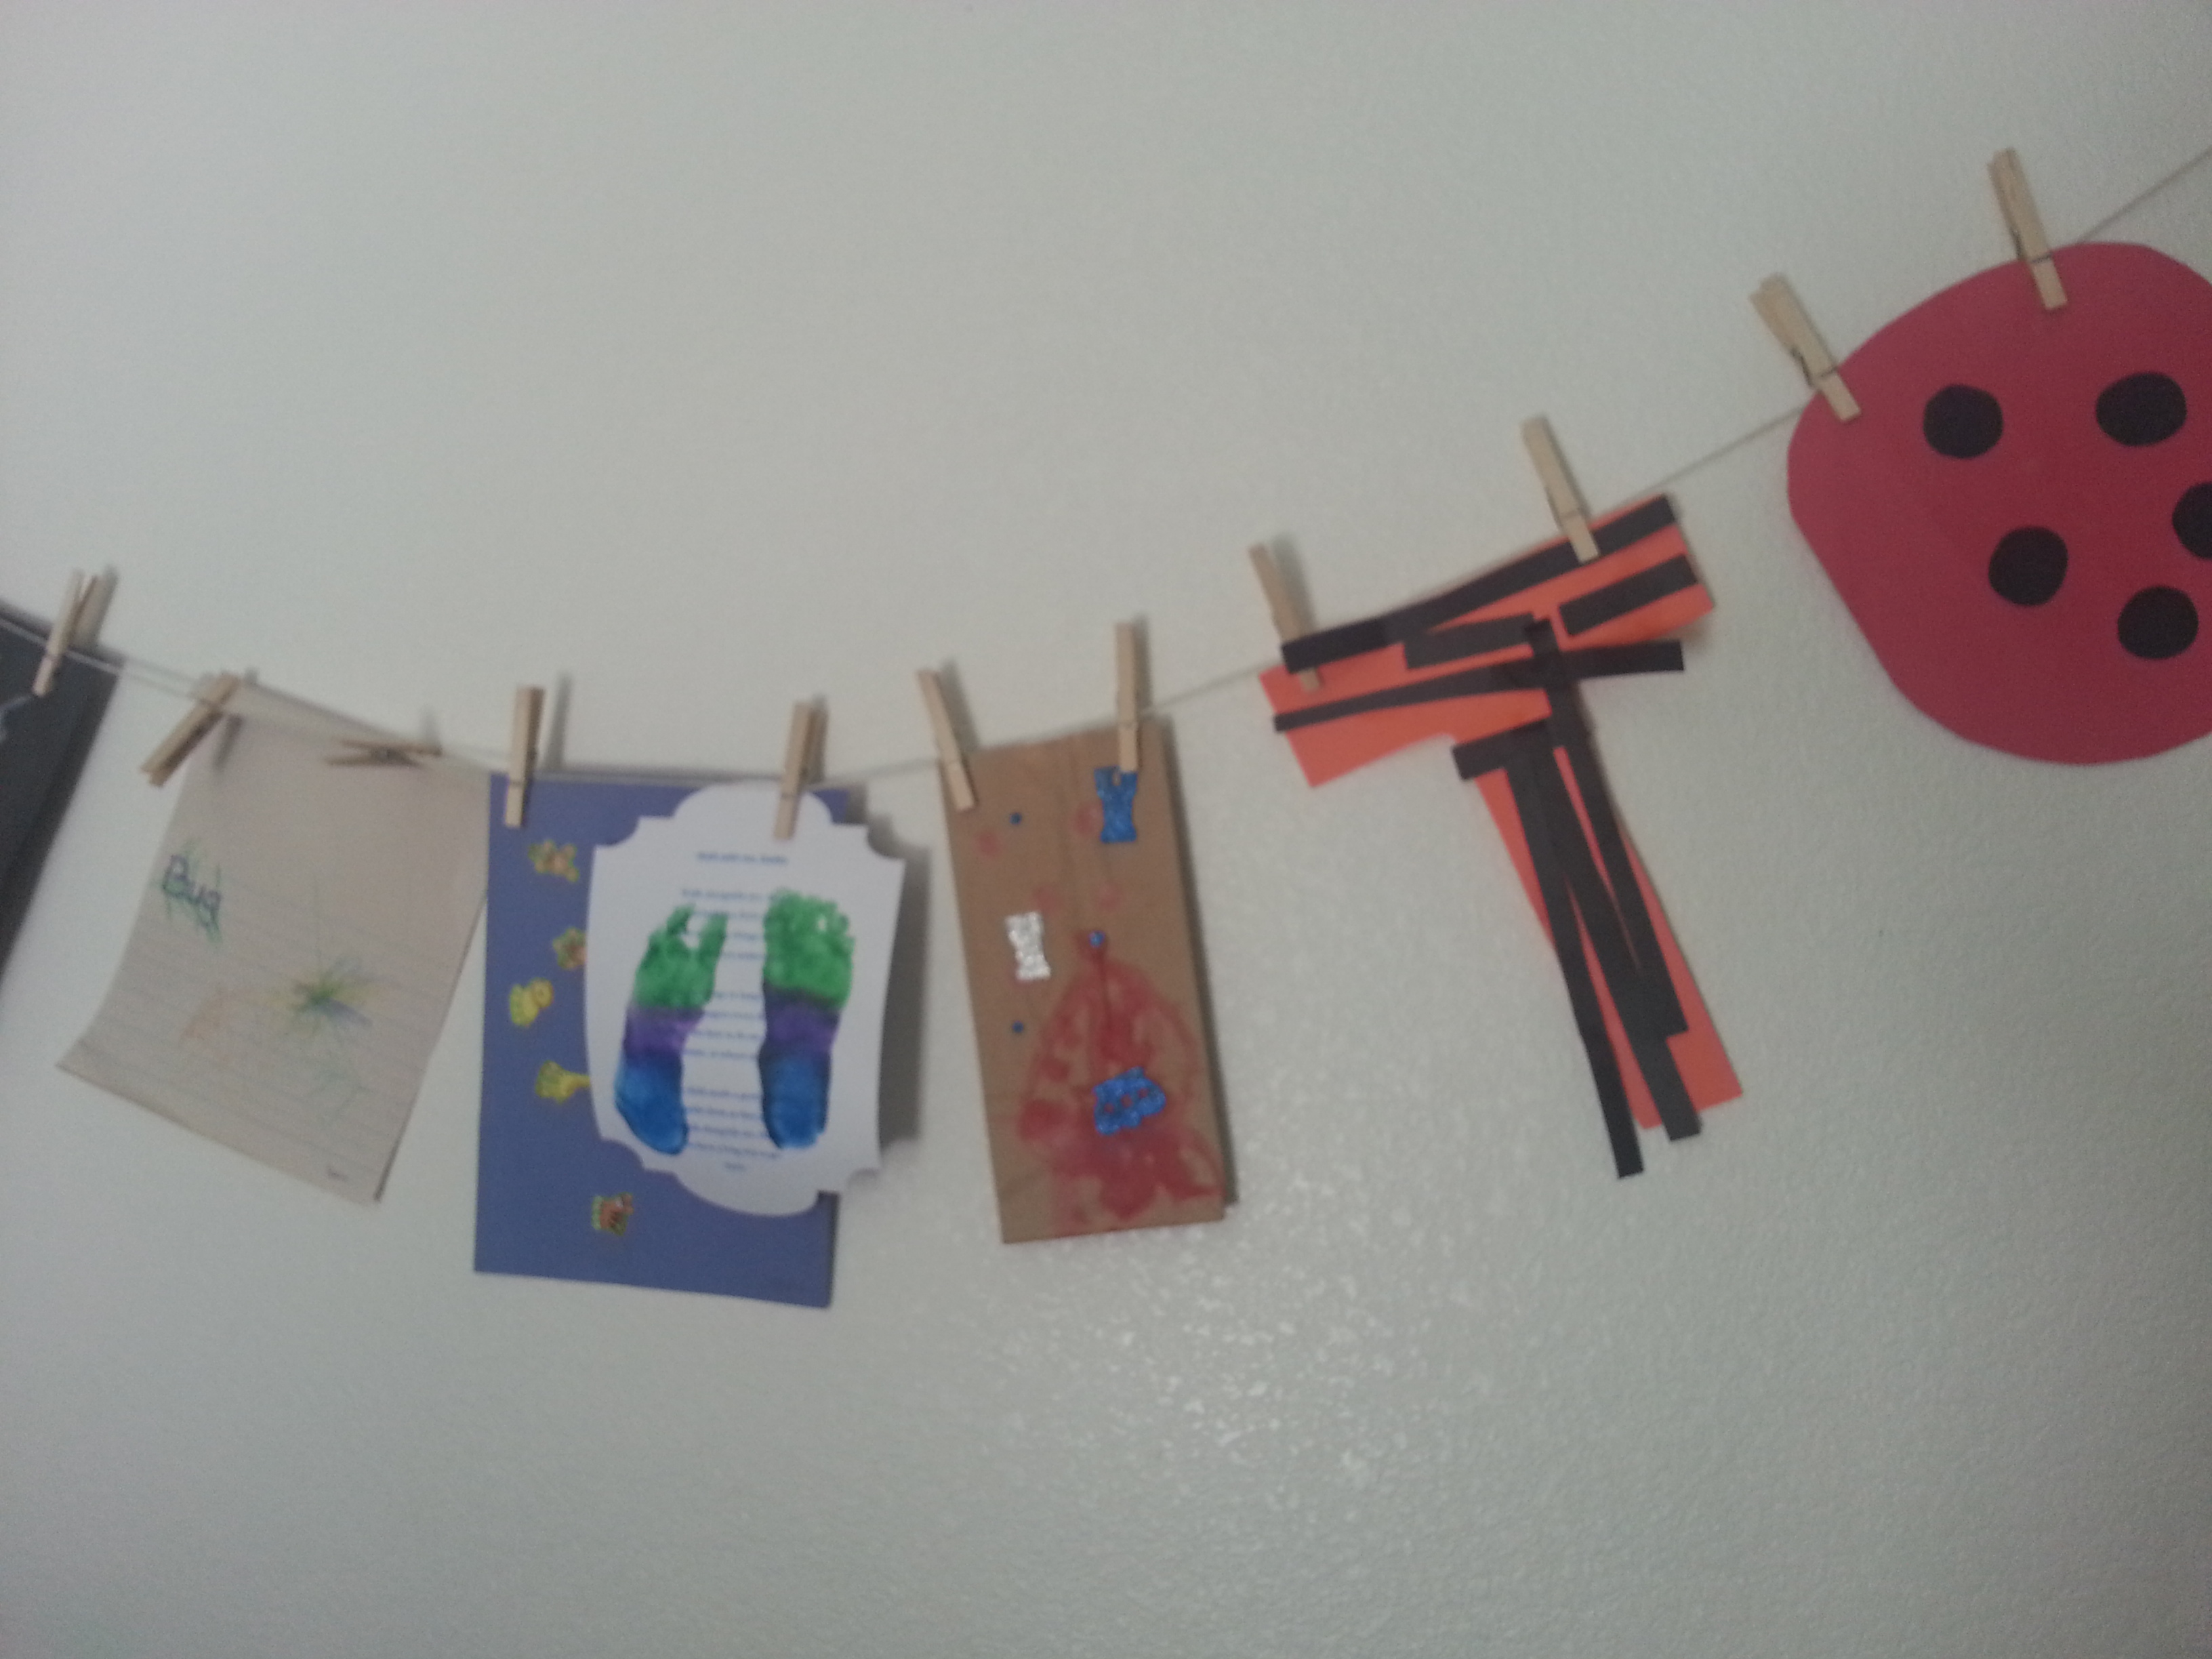
You can keep replacing the art work. I hung these up in the family room so my son can look at them and feel proud each time!

Hope this post was helpful. Do subscribe and leave comments and how you display your kids’ art.

Polka Dots Nail Art Tutorial


Polka dots Nail Art Tutorial

I love polka dots. Be it a dress, a handbag, a screensaver or a mouse pad. I just love them. They are so cute and classic. So I thought what could be better than Polka dots nail art. Being a mom of an active tot I don’t have any time to go to the nails salon so this is a very easy alternative to get your nails done salon style within minutes. You don’t have to be a skilled artist to do this. I do this while my son is bathing playing with bubbles.

You will need:

·         2 contrasting nail paints

·         Dotting tool/tools

·         Top coat nail paint

·         Base Coat (optional)

image

I used very basic nail paints I found at Target. My husband bought me the dotting tools from ebay. It took a month before they arrived from Hong Kong, but with free shipping and price under $4 I did not mind waiting. But if you can’t wait and want to do this right now, you can use things like toothpicks,  Bobby pins or anything with a round tip. The results would be the same.
I started by applying the yellow paint first.

image

Then I took a piece of paper and dabbed a bit of the purple nailpaint over it.

image

Then I selected the dotting tool I wanted to use. I chose one of the bigger ones to get bold polka dots. For beginners this is an easier one to use. You just need to make 4 or 5 dots per nail.

image

Don’t worry if the dots come out messy. Once you apply the top coat, things smoothen out. I did make a little mess too but if I have time I clean out the edges using a cotton ear bud dipped in the nail polish remover or acetone.

image

And… tada!!!!!! You now have your very own homemade polka dot nails!!

Tip: If you are right handed, try doing the art on your left hand first. Once you get a hang of it, you could do both hands equally good.

Have fun!