Polka dots Nail Art Tutorial
I love polka dots. Be it a dress, a handbag, a screensaver or a mouse pad. I just love them. They are so cute and classic. So I thought what could be better than Polka dots nail art. Being a mom of an active tot I don’t have any time to go to the nails salon so this is a very easy alternative to get your nails done salon style within minutes. You don’t have to be a skilled artist to do this. I do this while my son is bathing playing with bubbles.
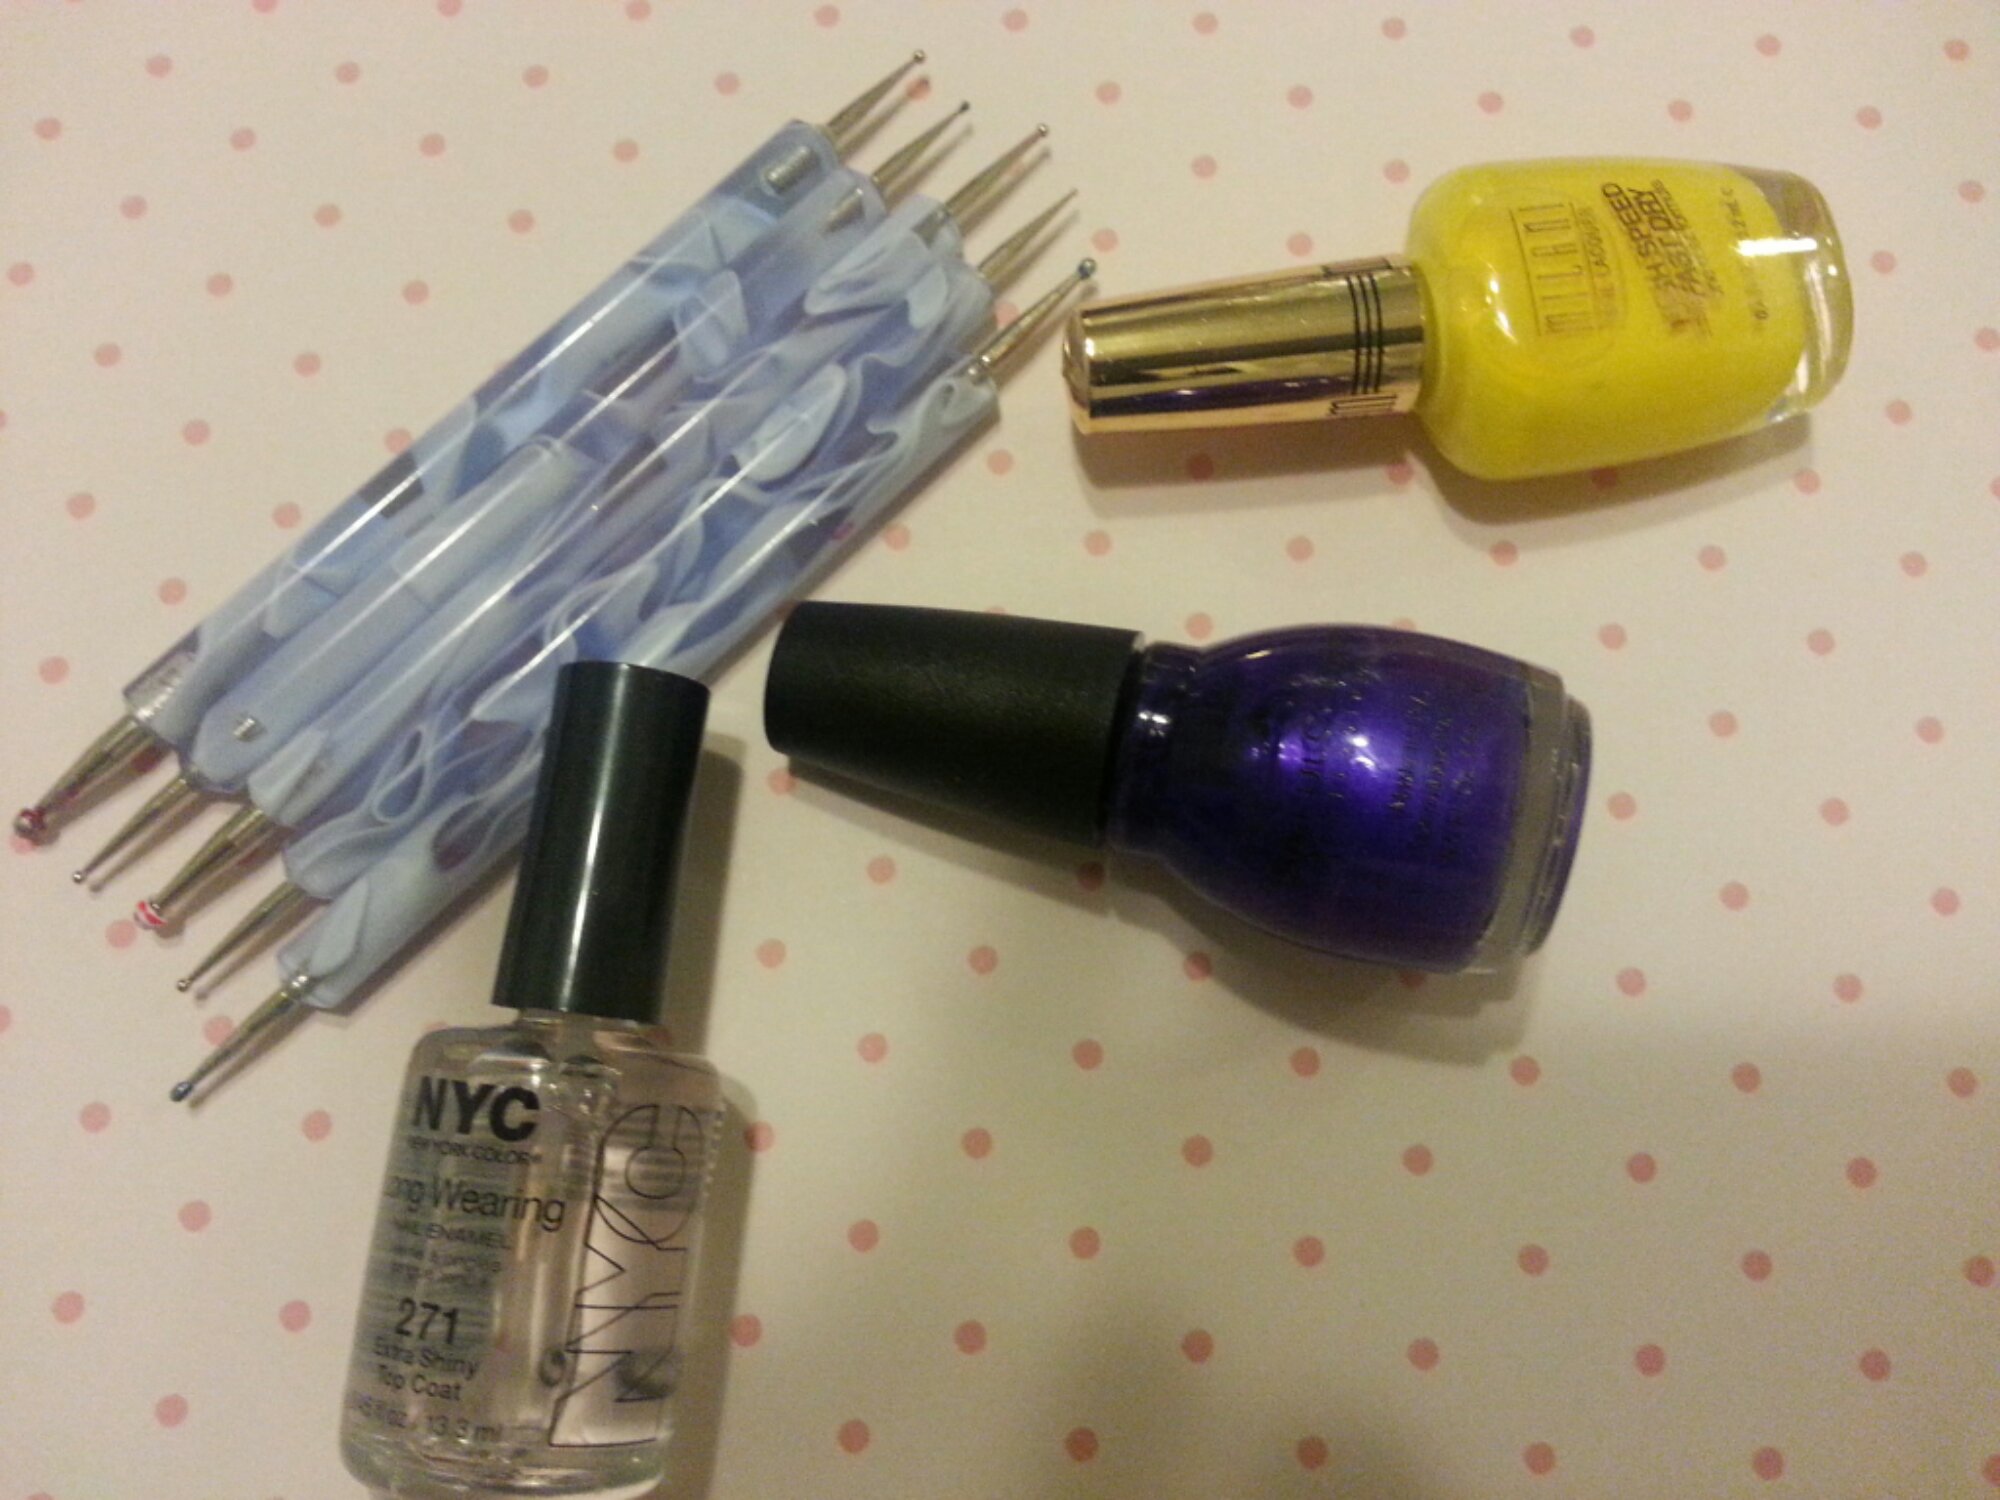
You will need:
· 2 contrasting nail paints
· Dotting tool/tools
· Top coat nail paint
· Base Coat (optional)
I used very basic nail paints I found at Target. My husband bought me the dotting tools from ebay. It took a month before they arrived from Hong Kong, but with free shipping and price under $4 I did not mind waiting. But if you can’t wait and want to do this right now, you can use things like toothpicks, Bobby pins or anything with a round tip. The results would be the same.
I started by applying the yellow paint first.
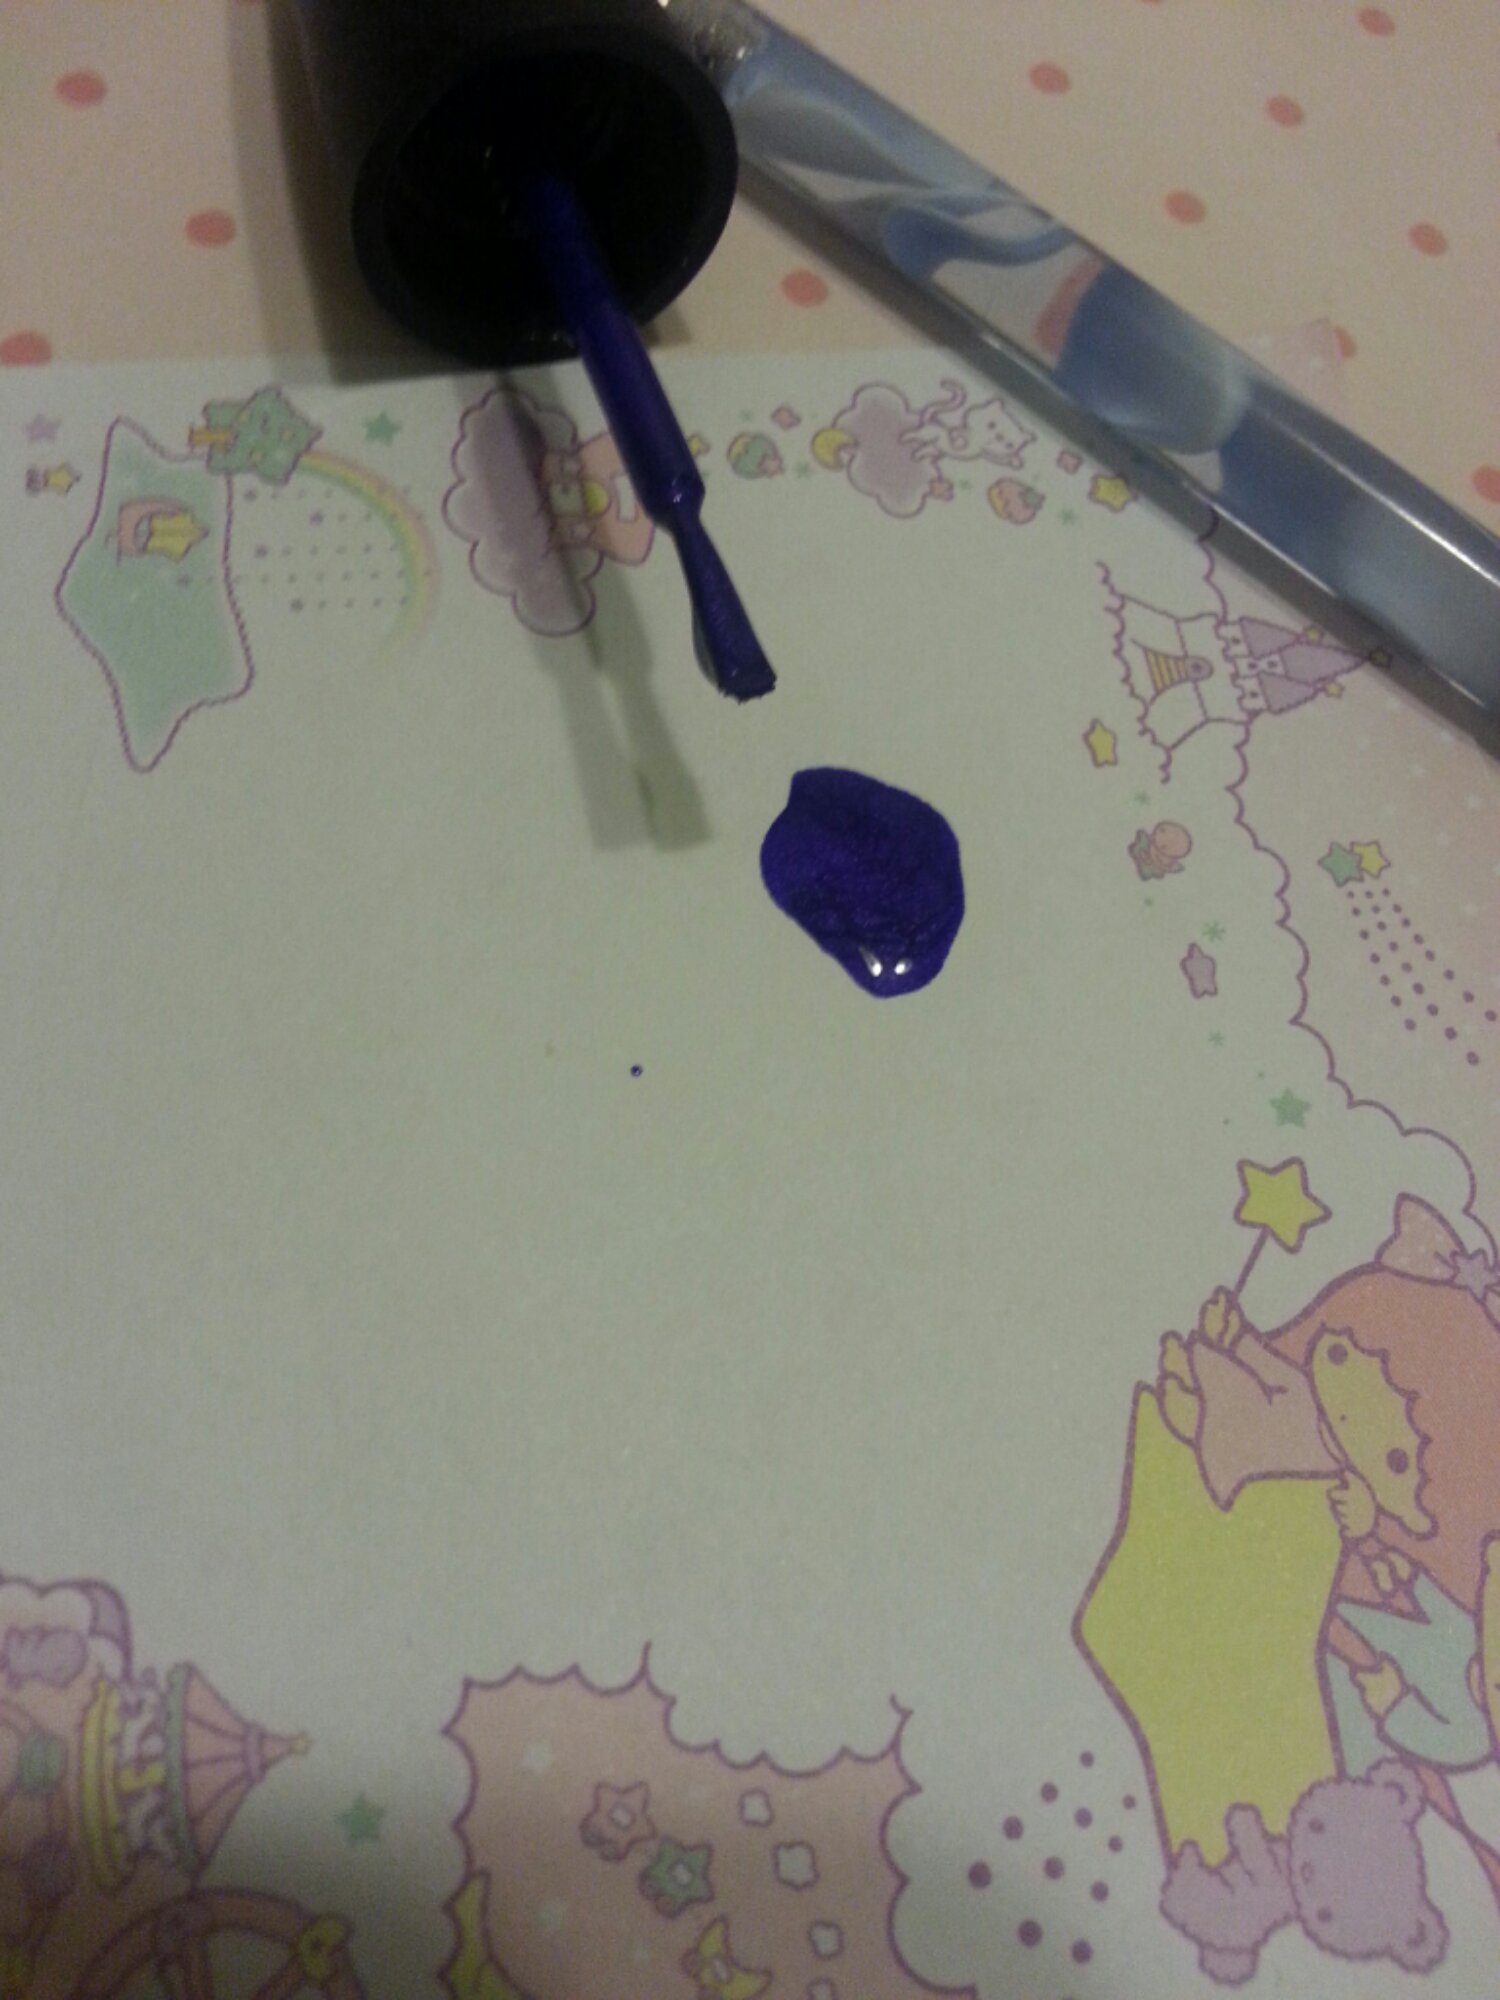
Then I took a piece of paper and dabbed a bit of the purple nailpaint over it.
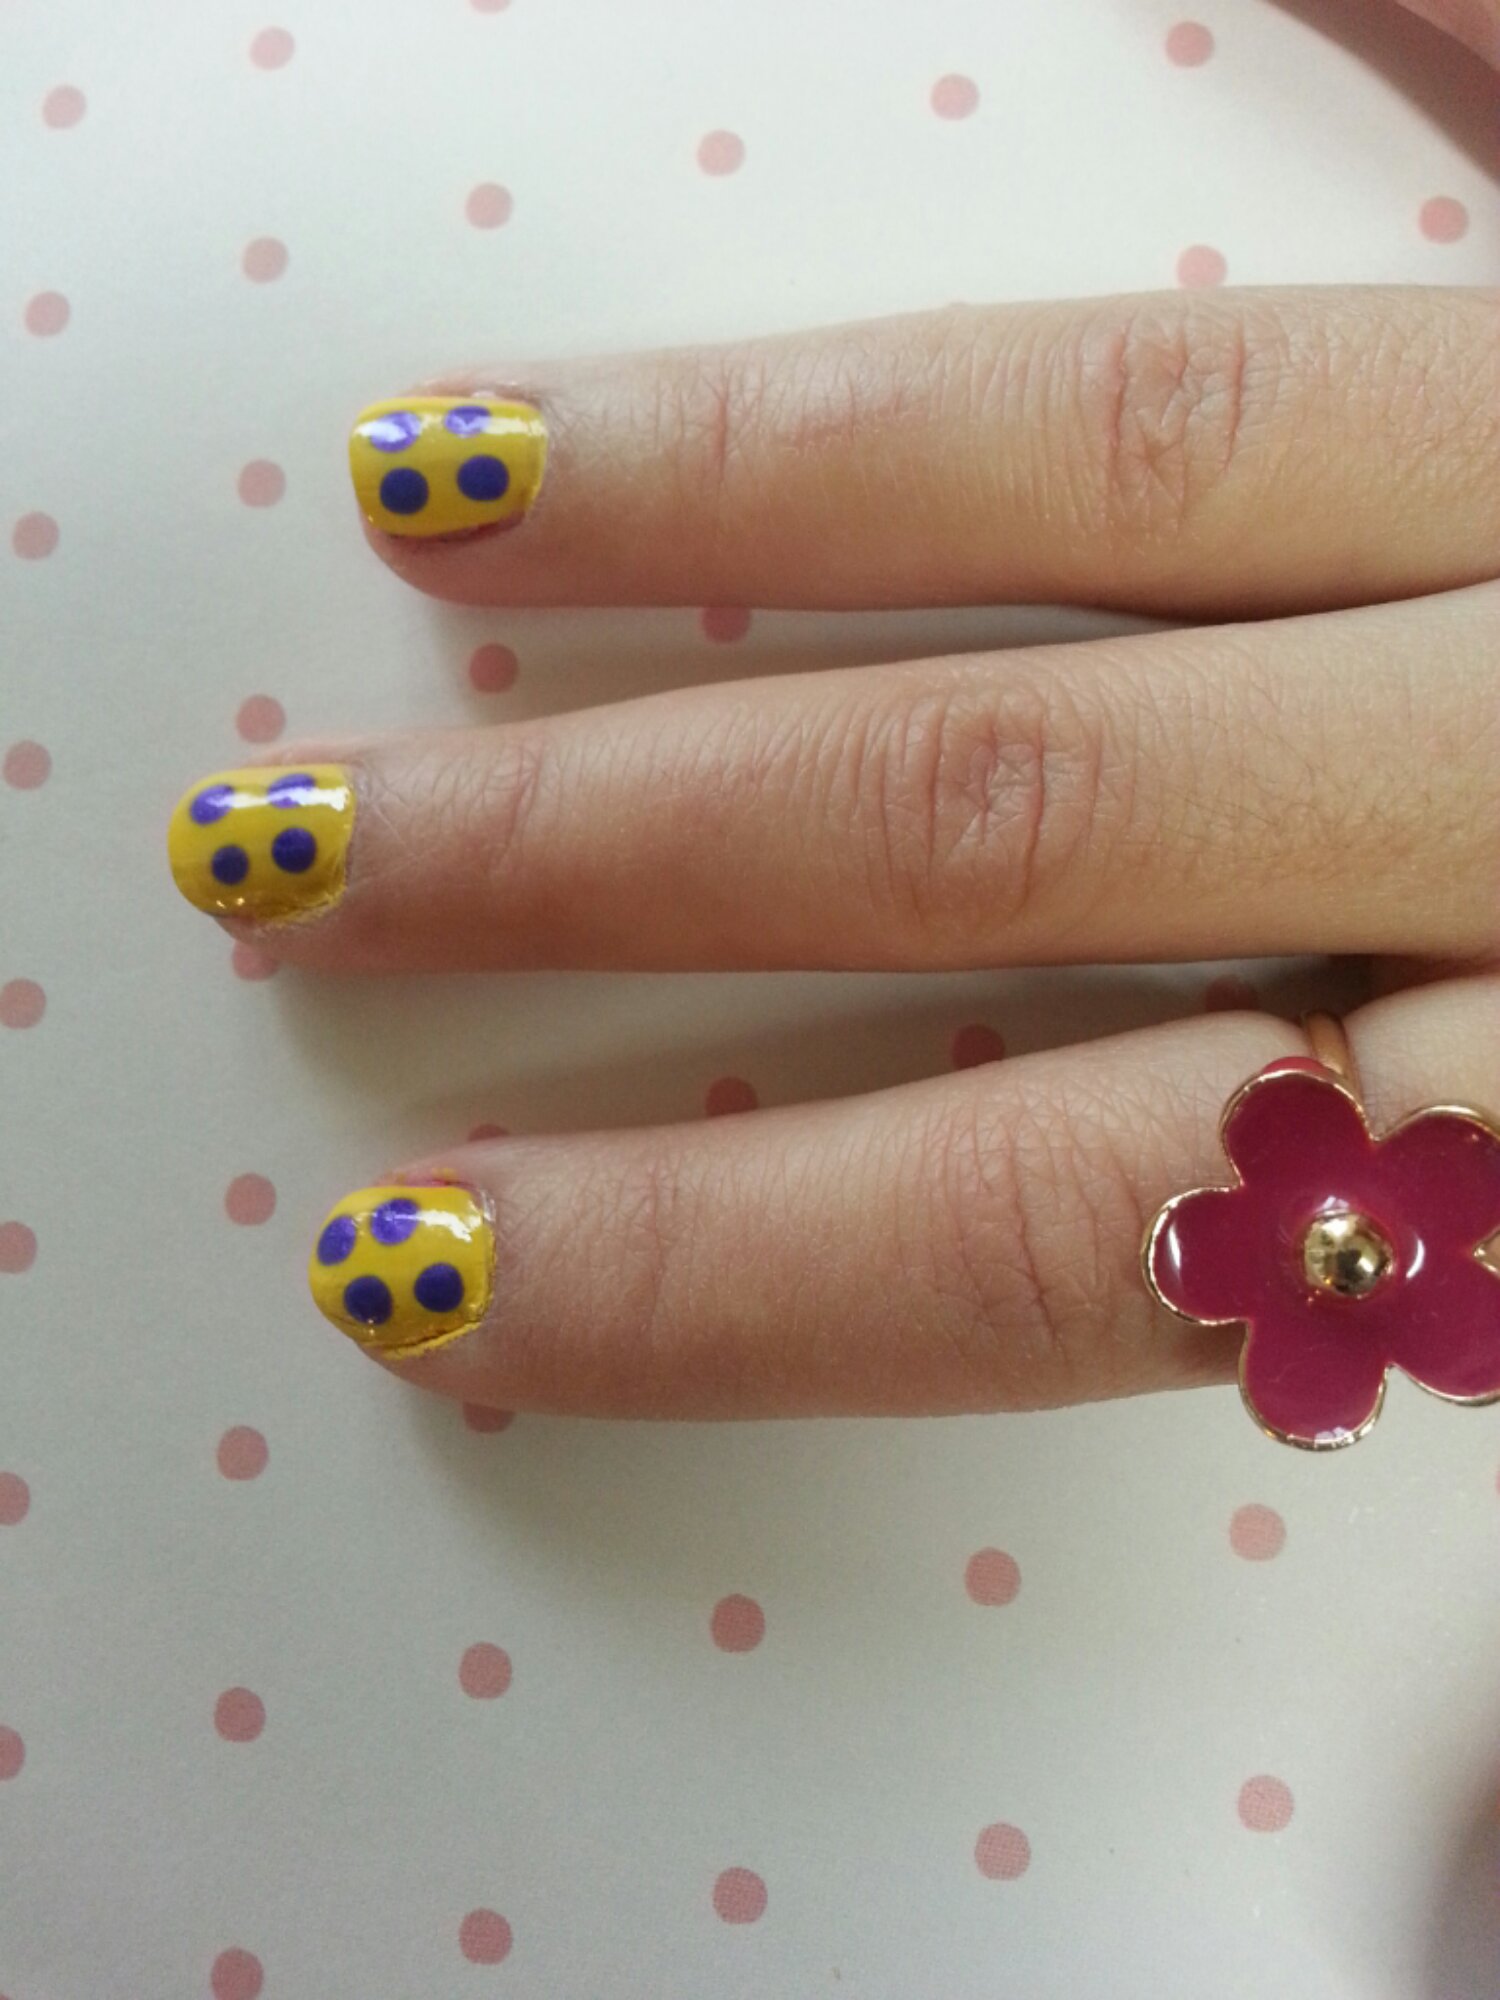
Then I selected the dotting tool I wanted to use. I chose one of the bigger ones to get bold polka dots. For beginners this is an easier one to use. You just need to make 4 or 5 dots per nail.
Don’t worry if the dots come out messy. Once you apply the top coat, things smoothen out. I did make a little mess too but if I have time I clean out the edges using a cotton ear bud dipped in the nail polish remover or acetone.
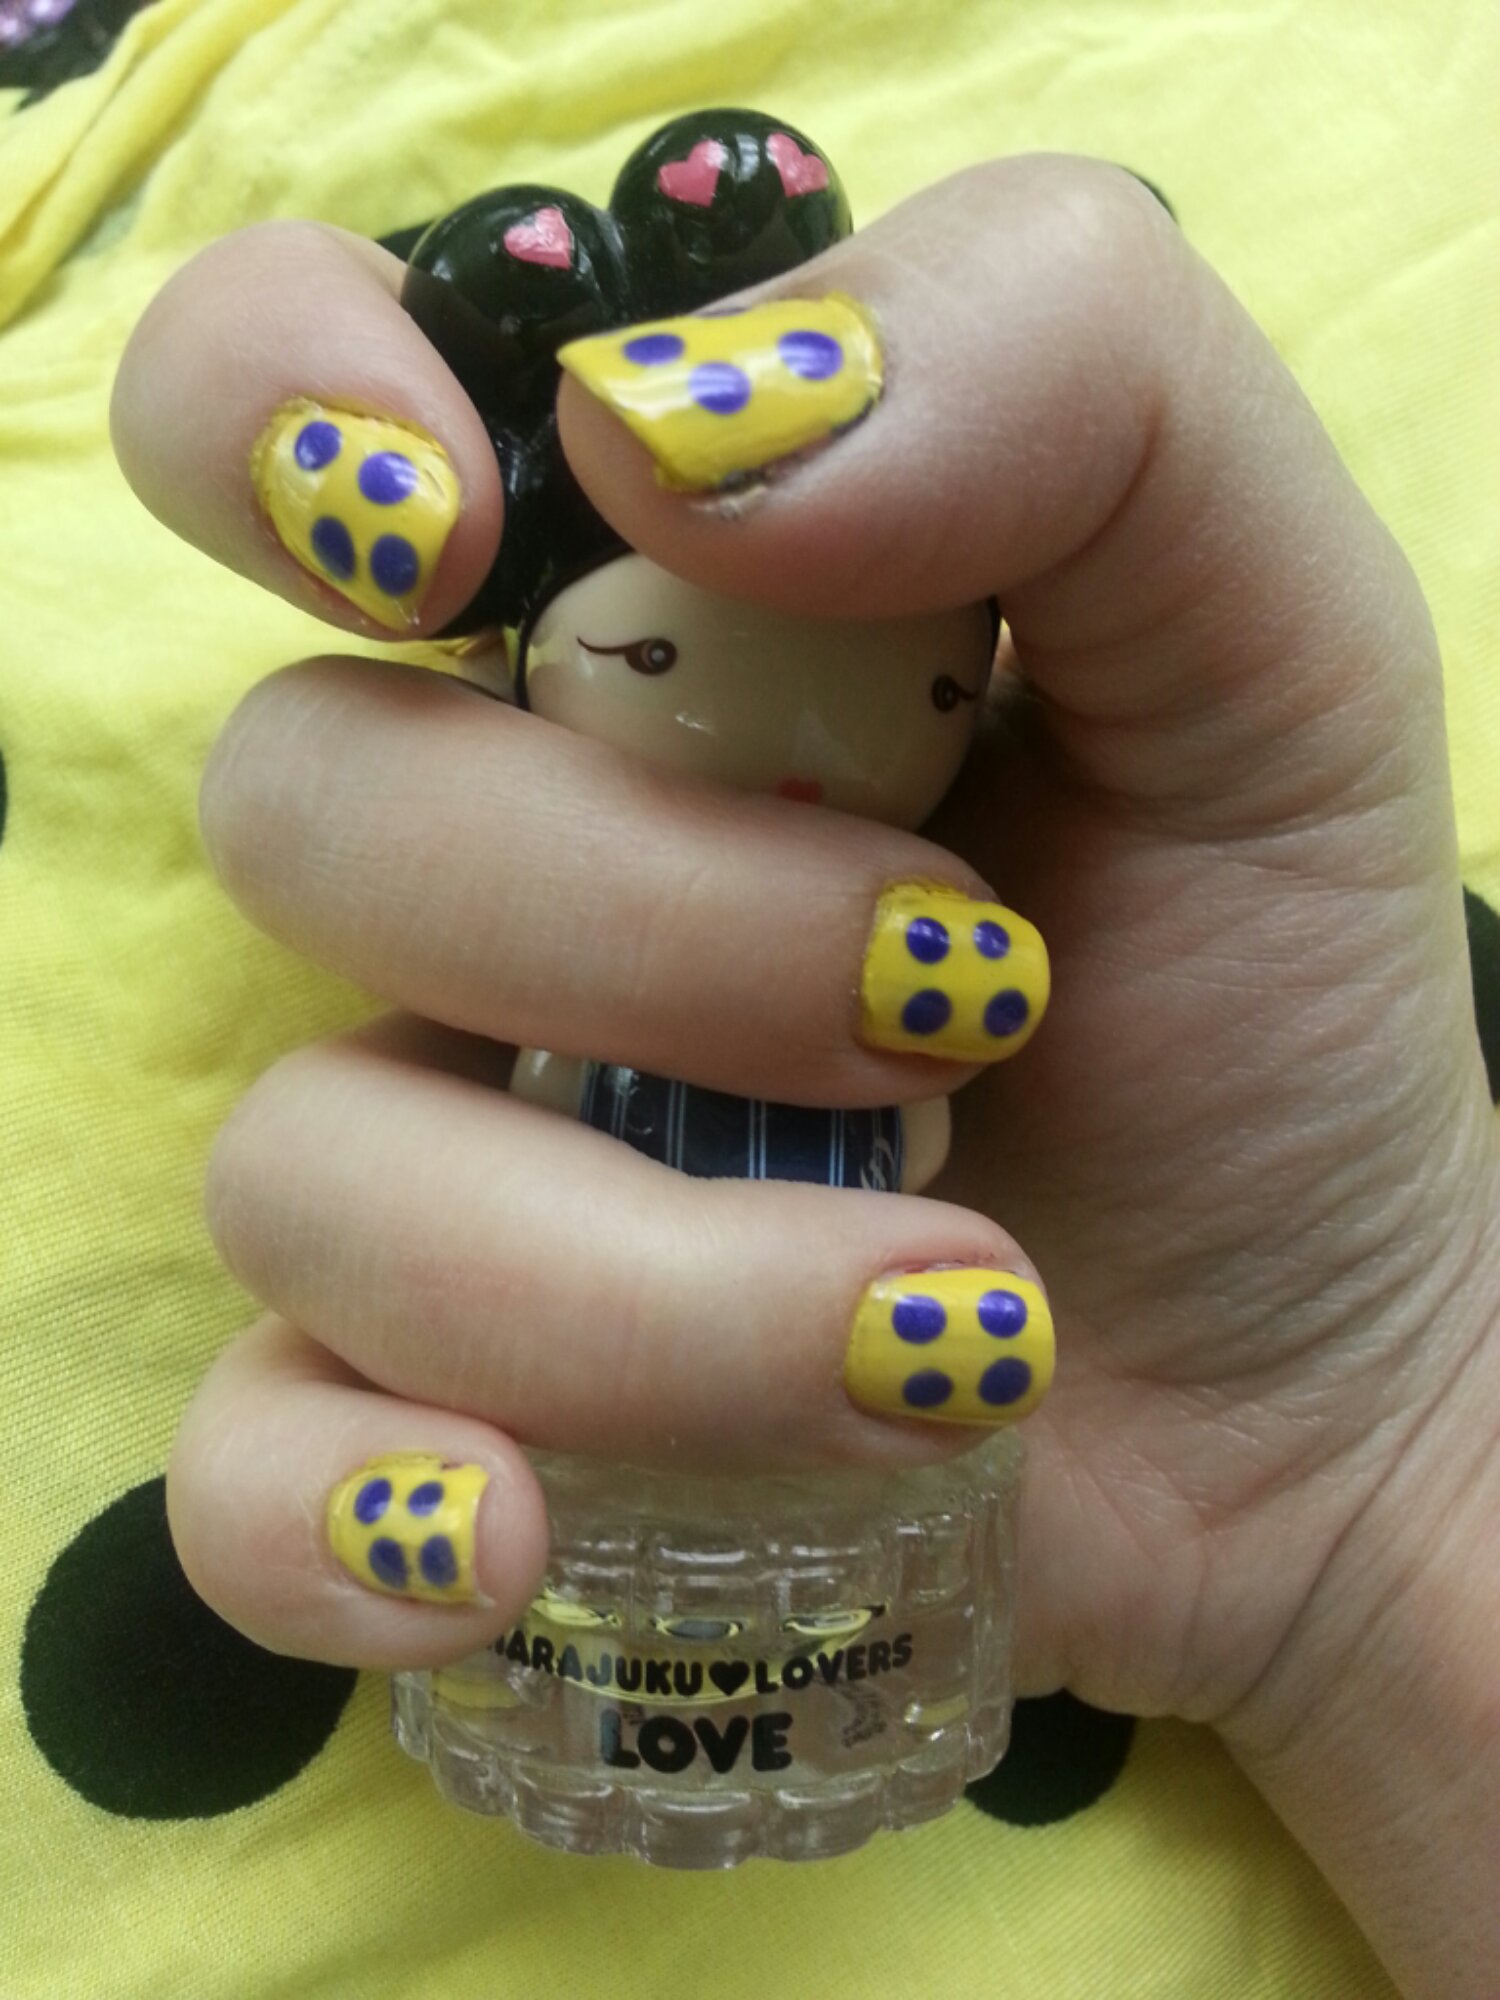
And… tada!!!!!! You now have your very own homemade polka dot nails!!
Tip: If you are right handed, try doing the art on your left hand first. Once you get a hang of it, you could do both hands equally good.
Have fun!


