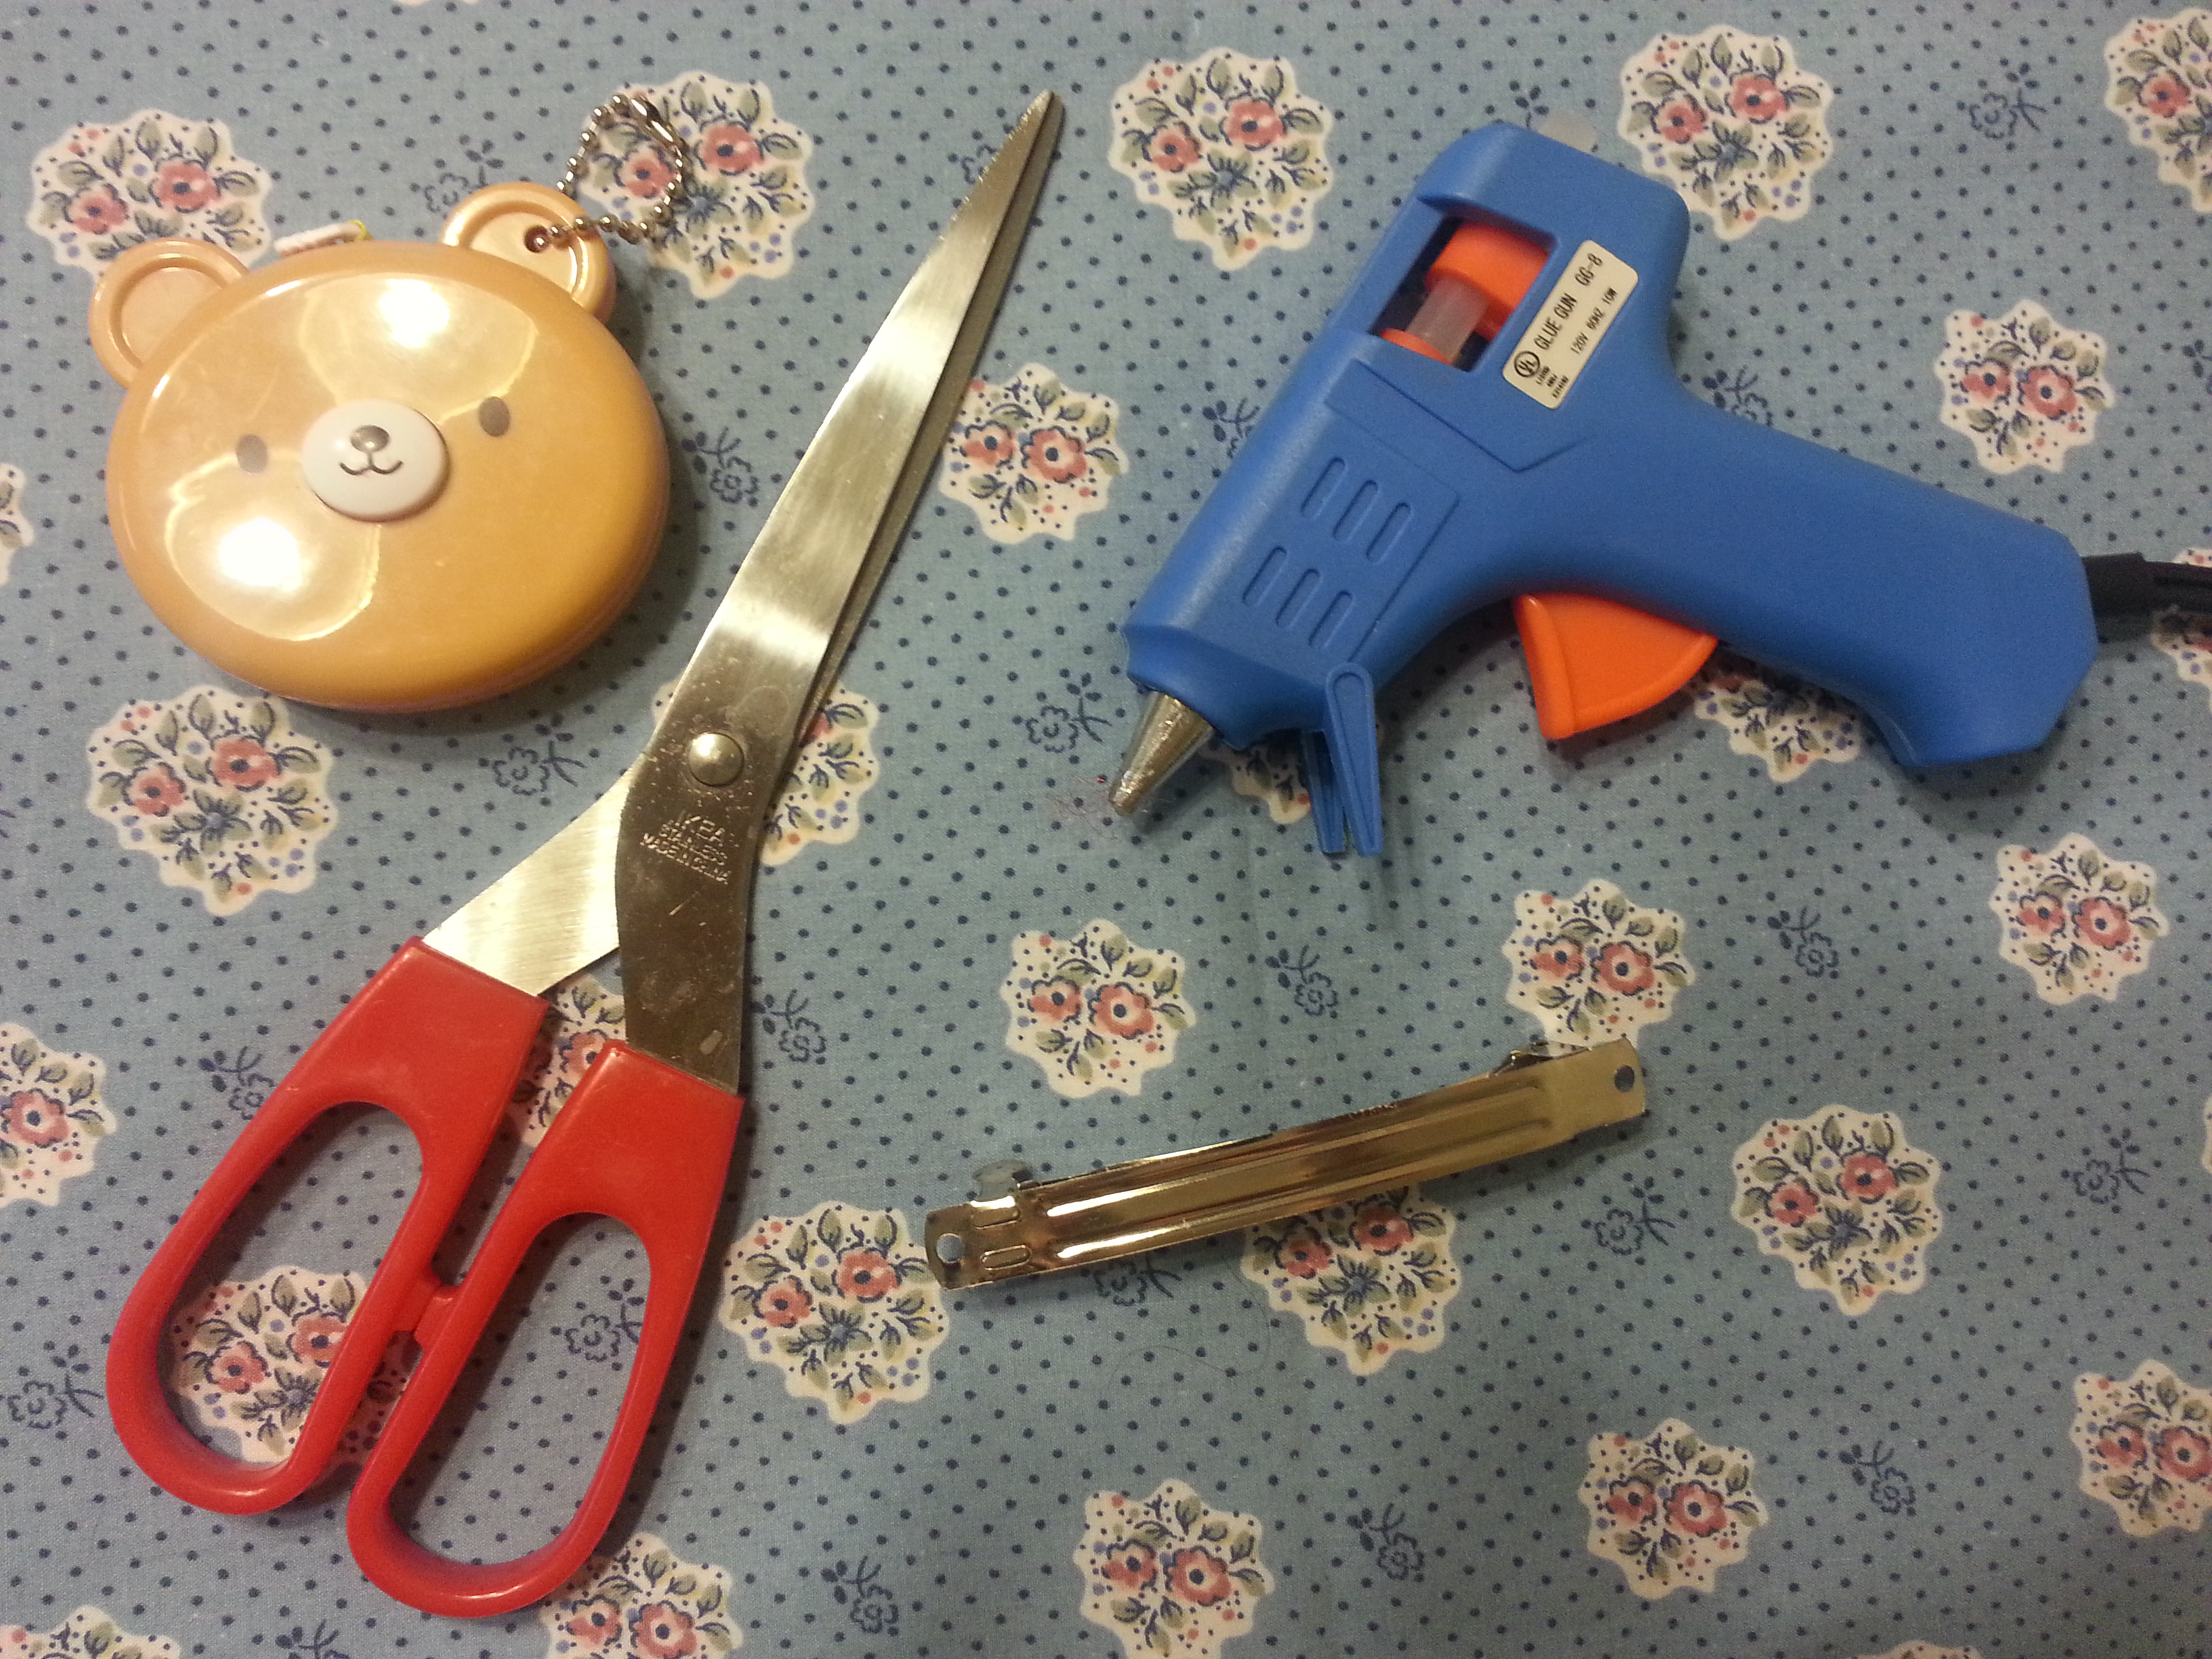
How to make a cute easy Hair Bow clip I love bows. Anything with a bow… I must have it. A bow ring, bow print blouse, bow head band etc etc. In today’s tutorial I am going to show you how to make a simple Hair Bow clip. These are super simple to make and take only a few minutes if you have the supplies ready: You will need:
- Hair clip backing (sold in multiples at Michael’s, Joann’s or other craft supply stores)
- Fabric of your choice (buy a small piece or use a leftover fabric from another craft activity etc)
- Glue gun
- Scissors
- Needle and thread (optional)
- Measuring tape (optional)
 Spread your fabric on a smooth surface. Iron if necessary.
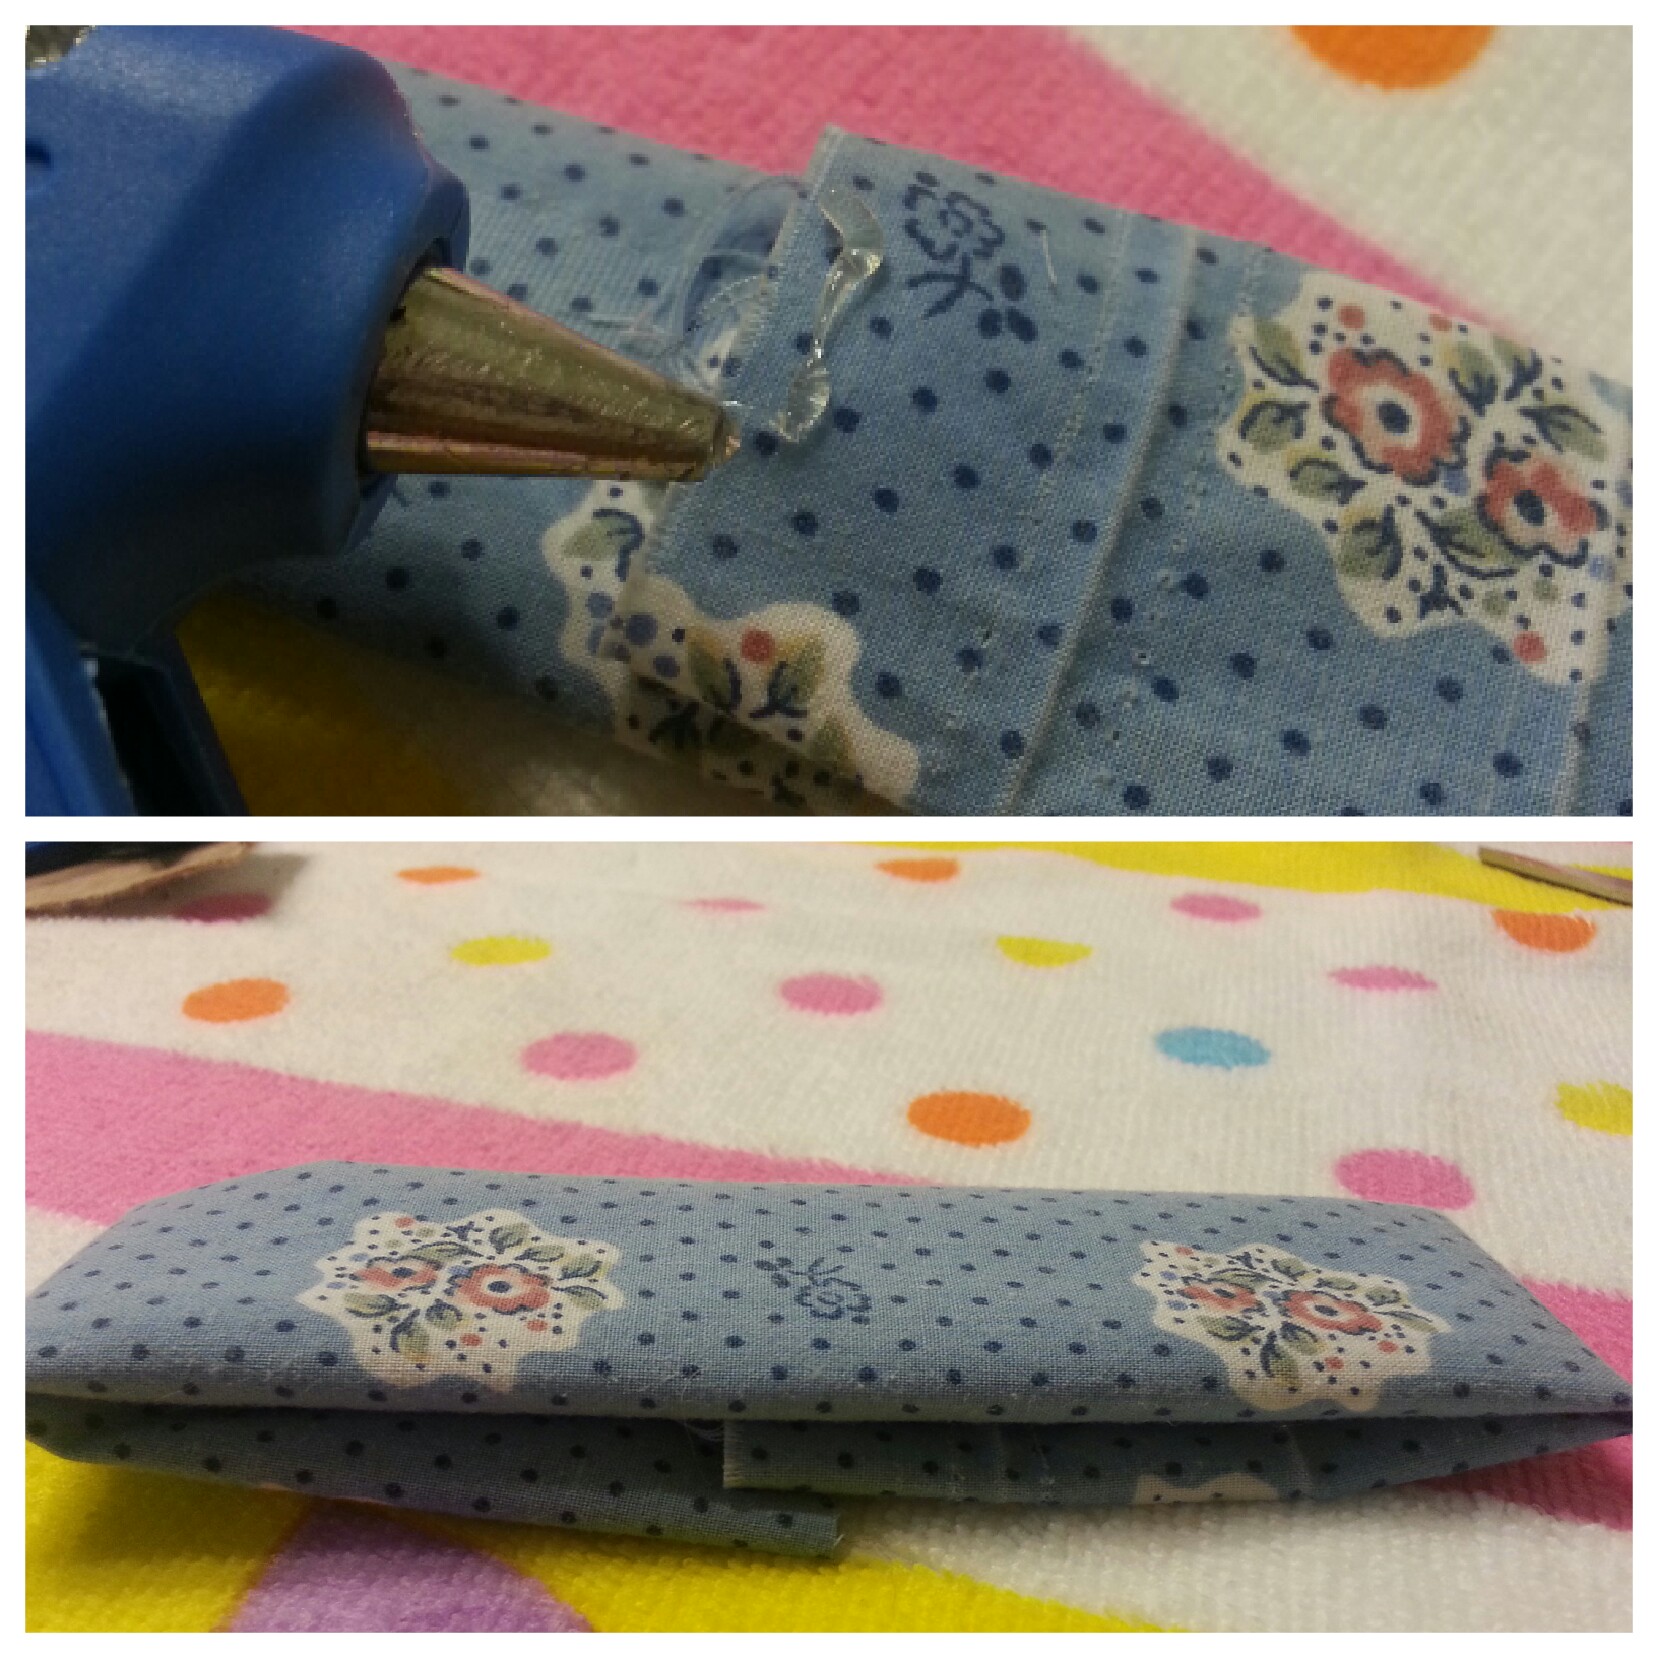
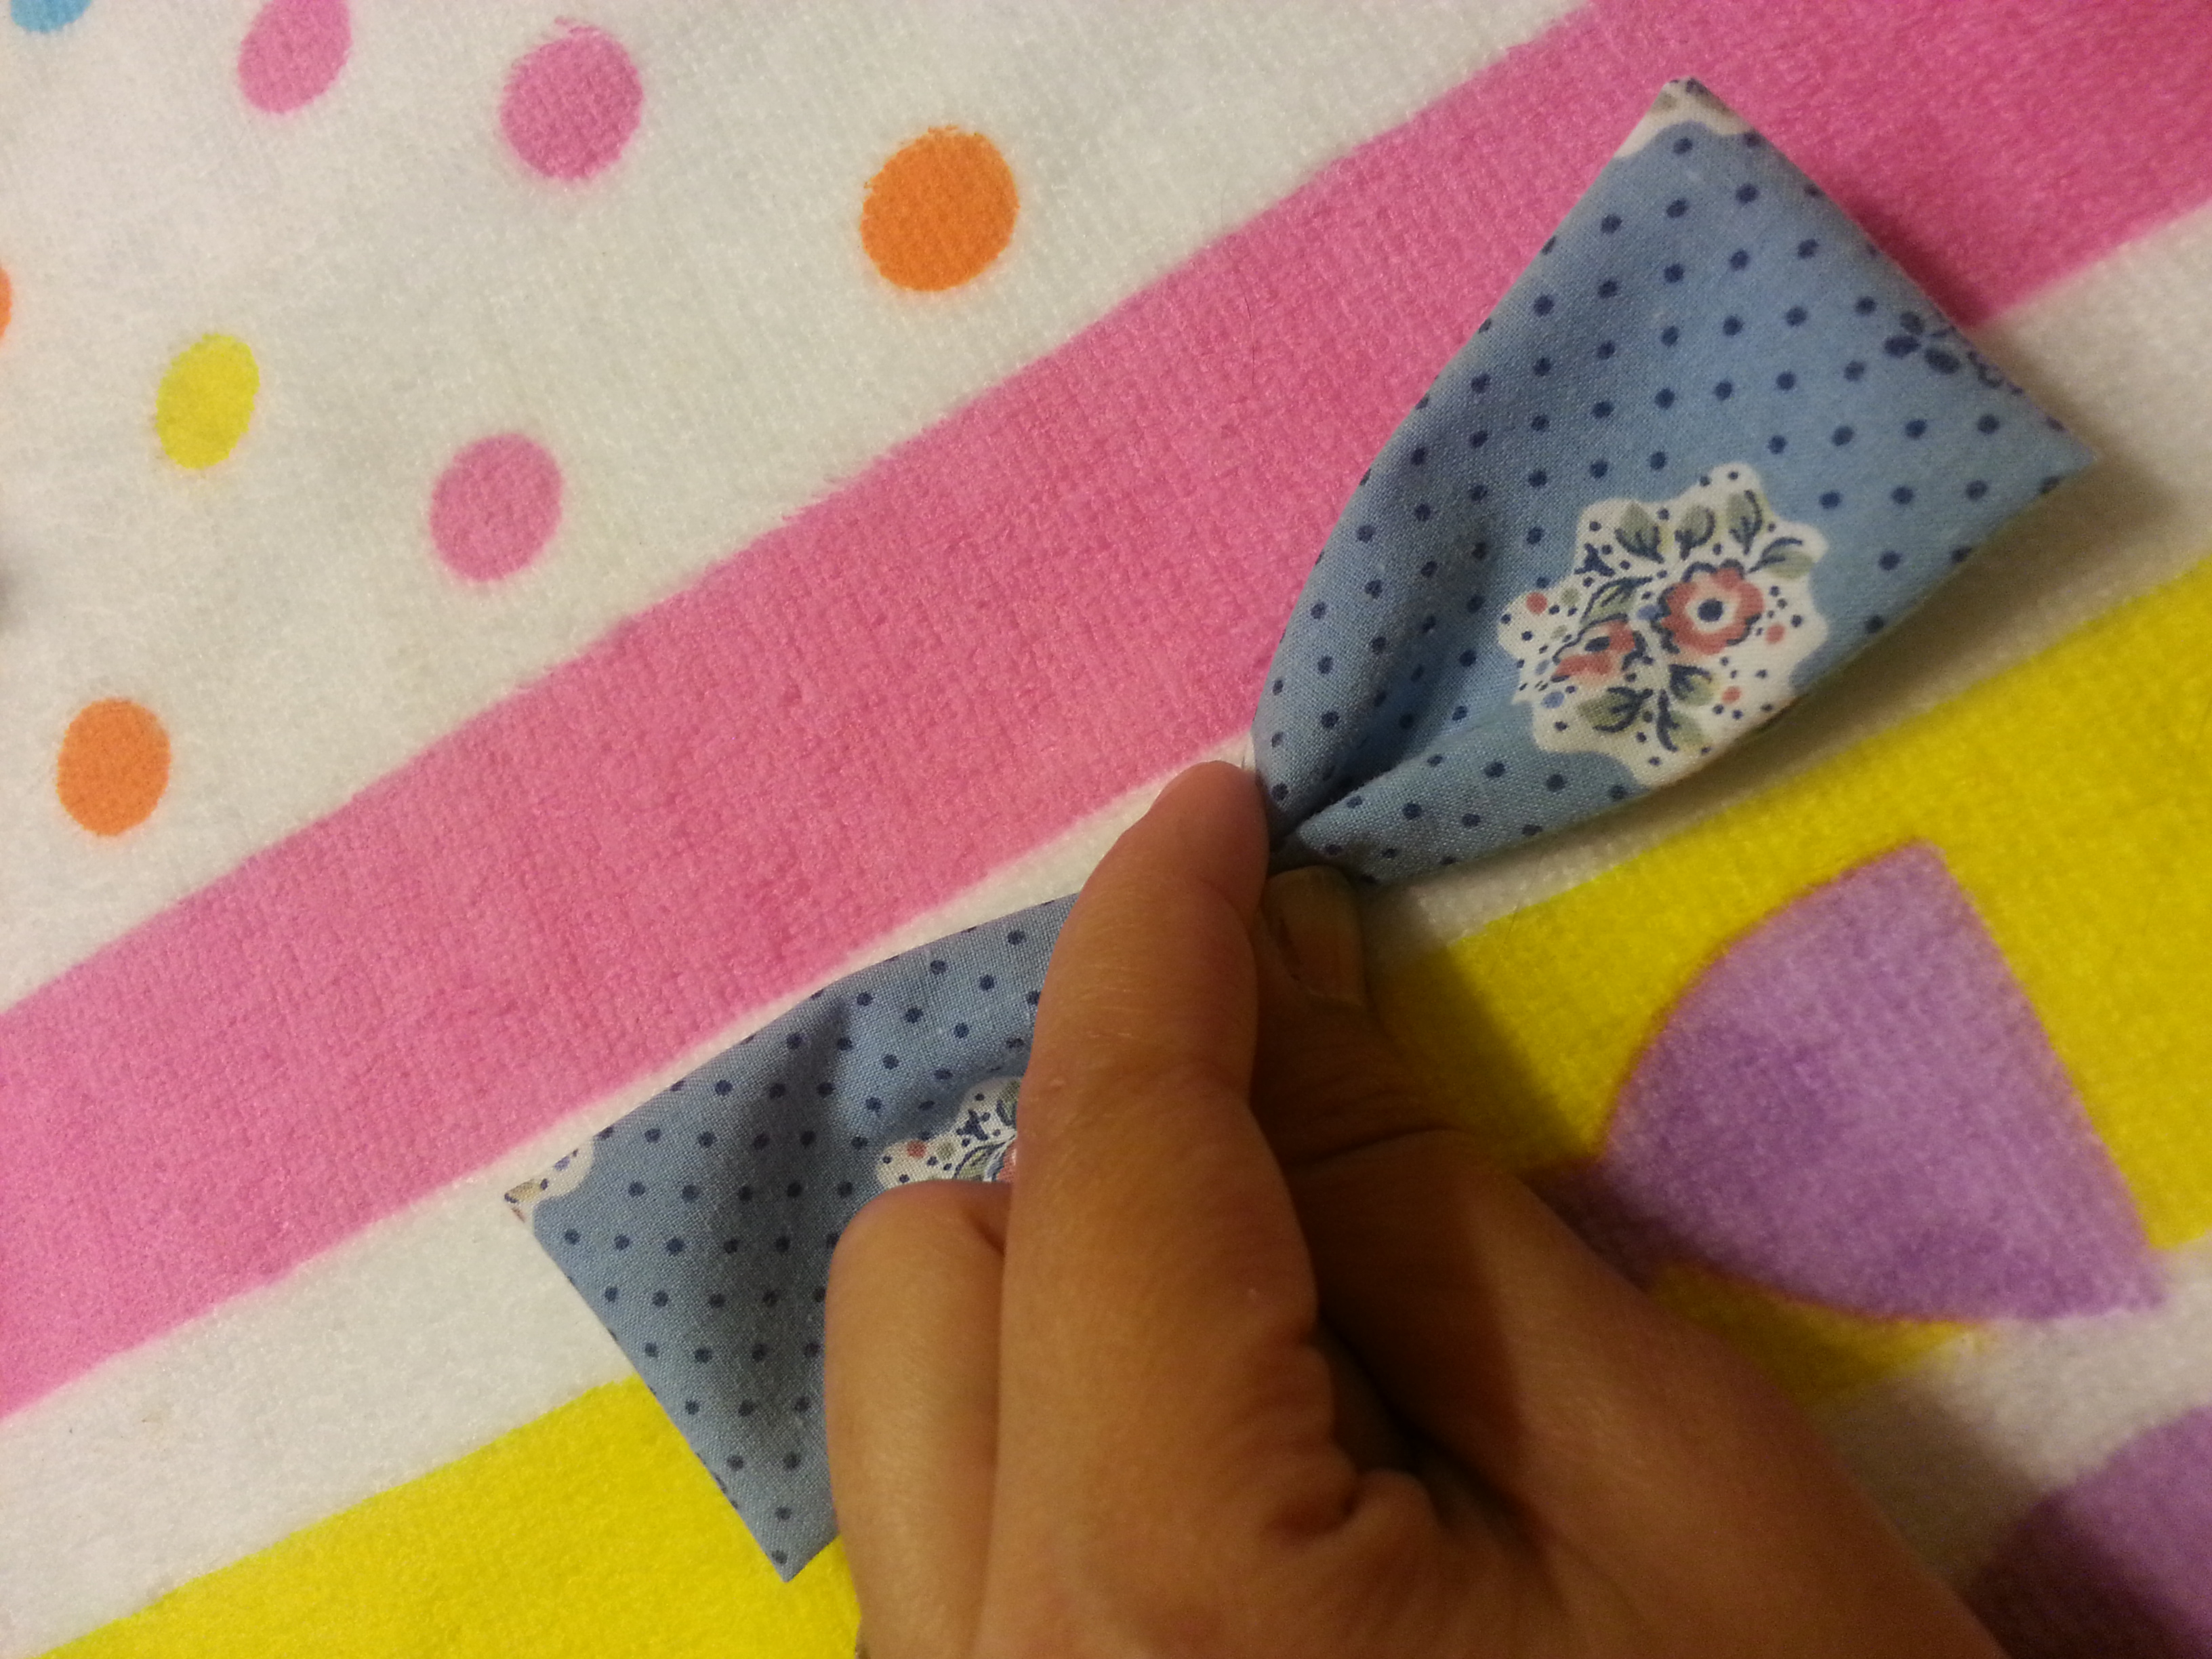
 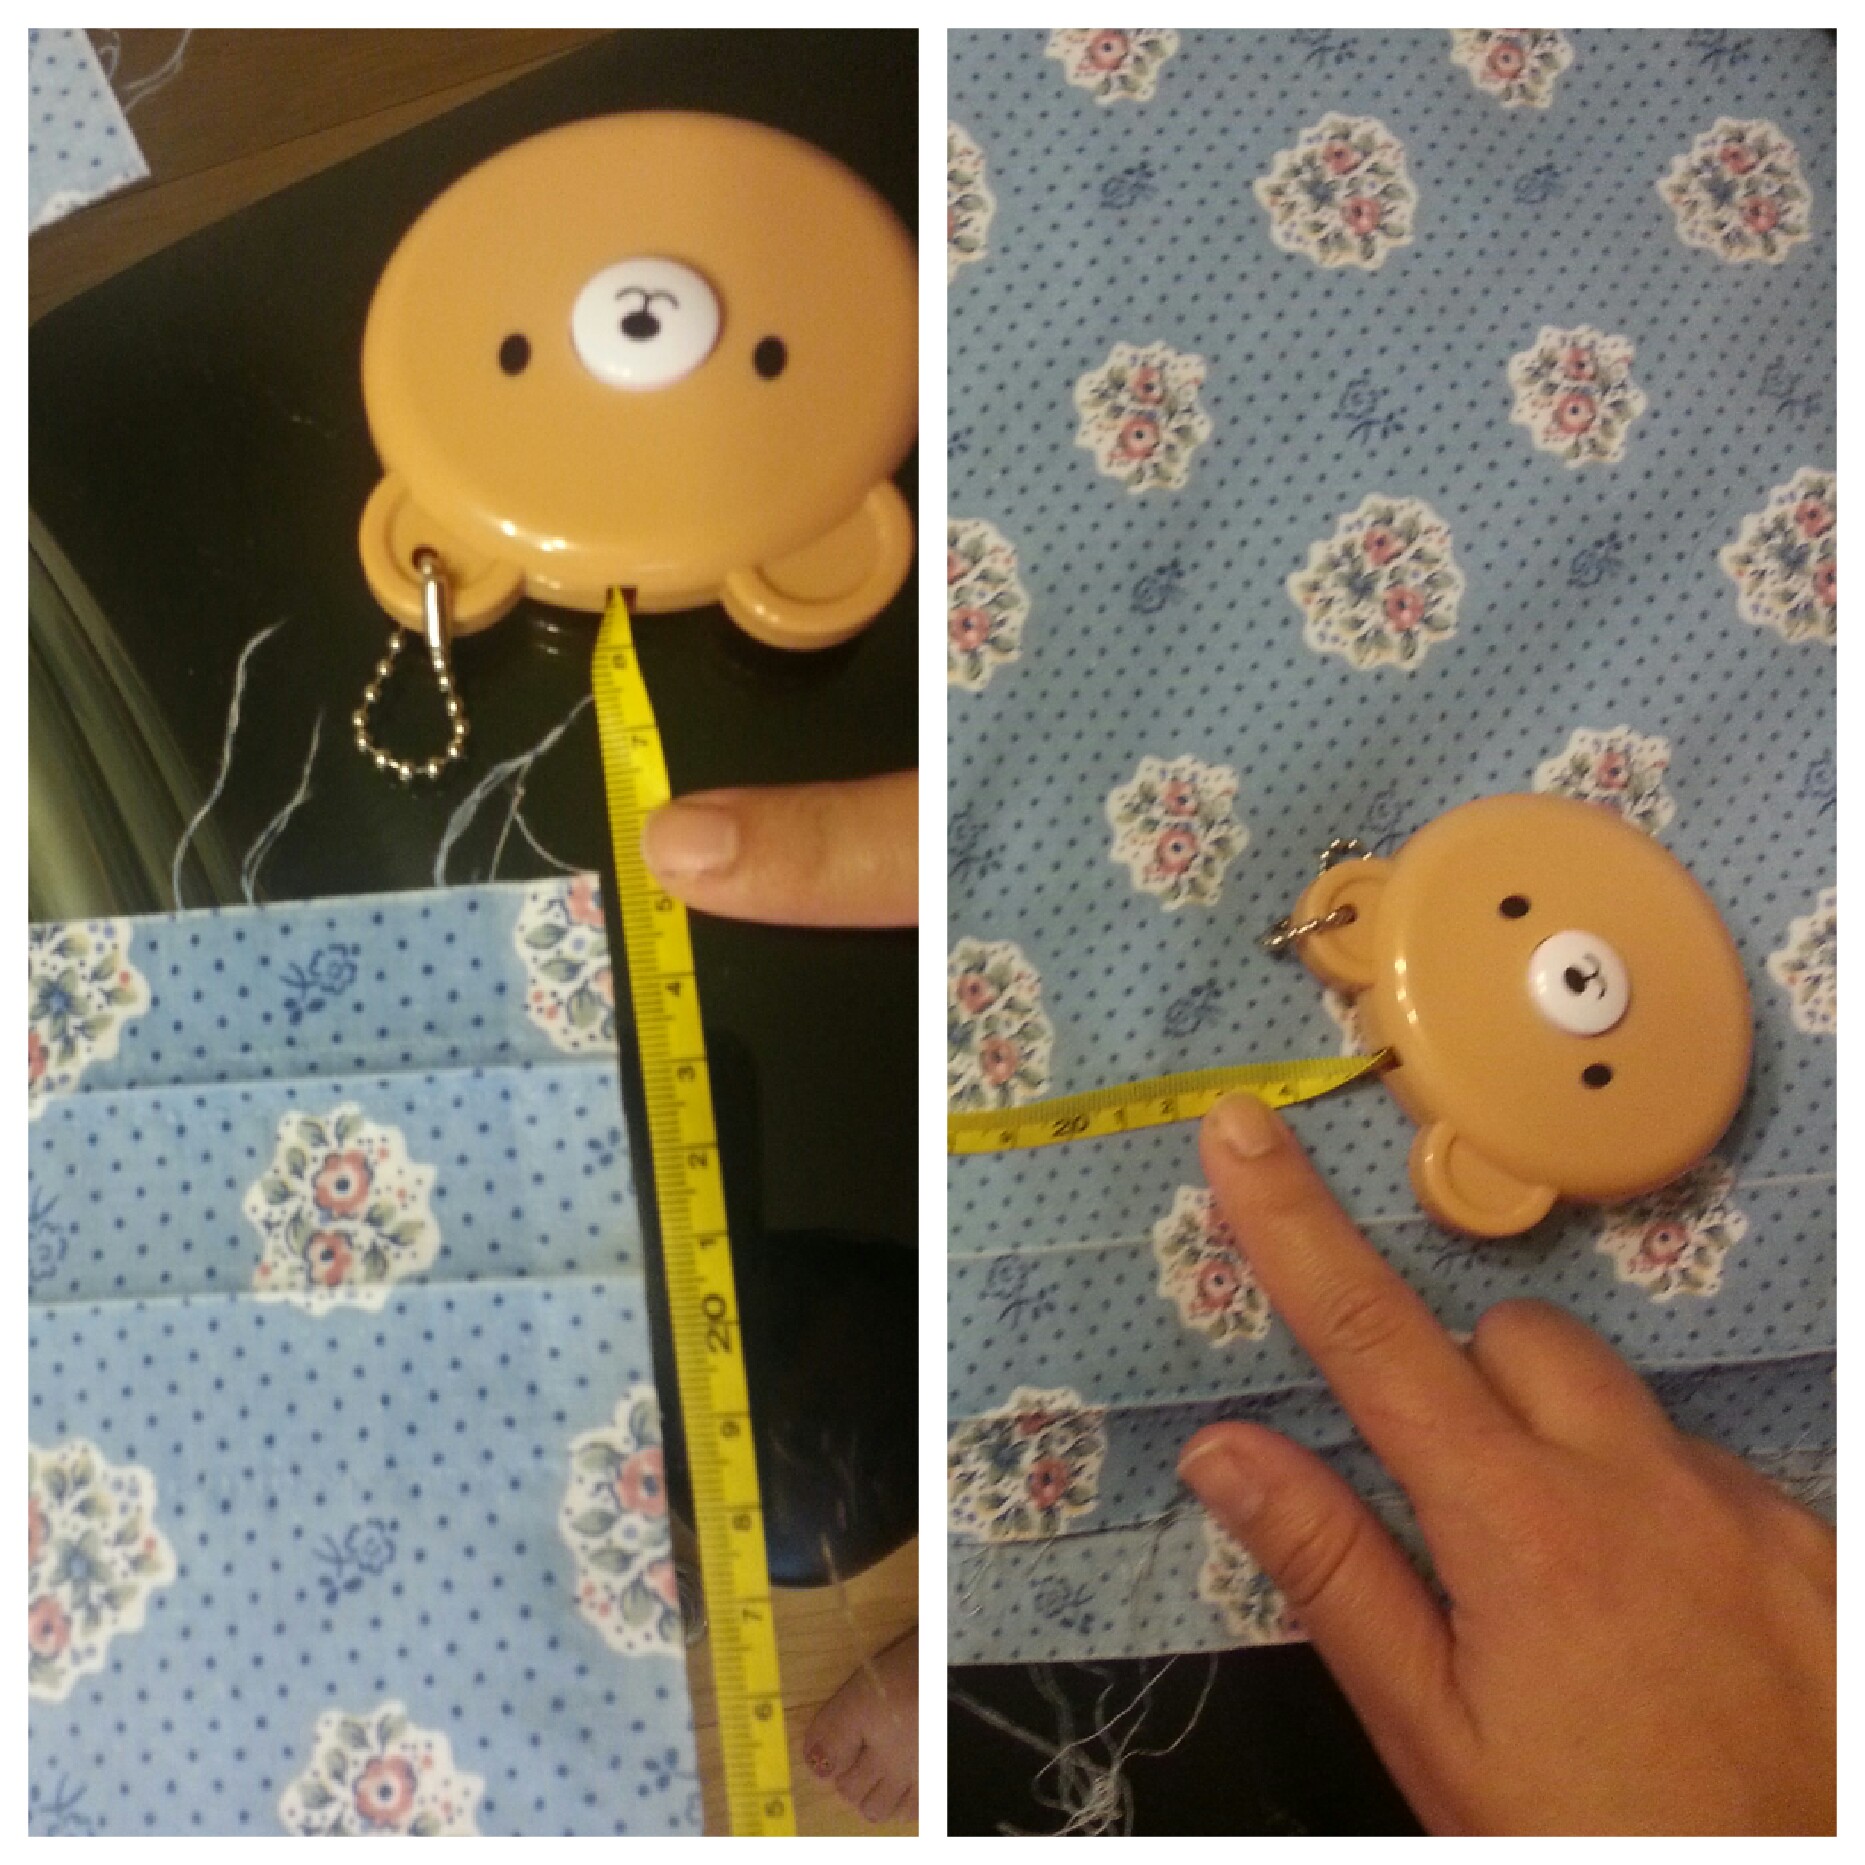 Depending on the size of your backing clip or just depending on how big or small you want you bow to be, measure the fabric and cut a rectangle. Next, turn over the rectangle piece of fabric so that you are looking at its back and then fold it as shown in the picture. If your fabric is soft and flimsy, use the glue gun to secure it in place. Mine is a fairly thick cotton fabric so I did not need to do that. Fold this towards the middle now and secure it with glue gun.
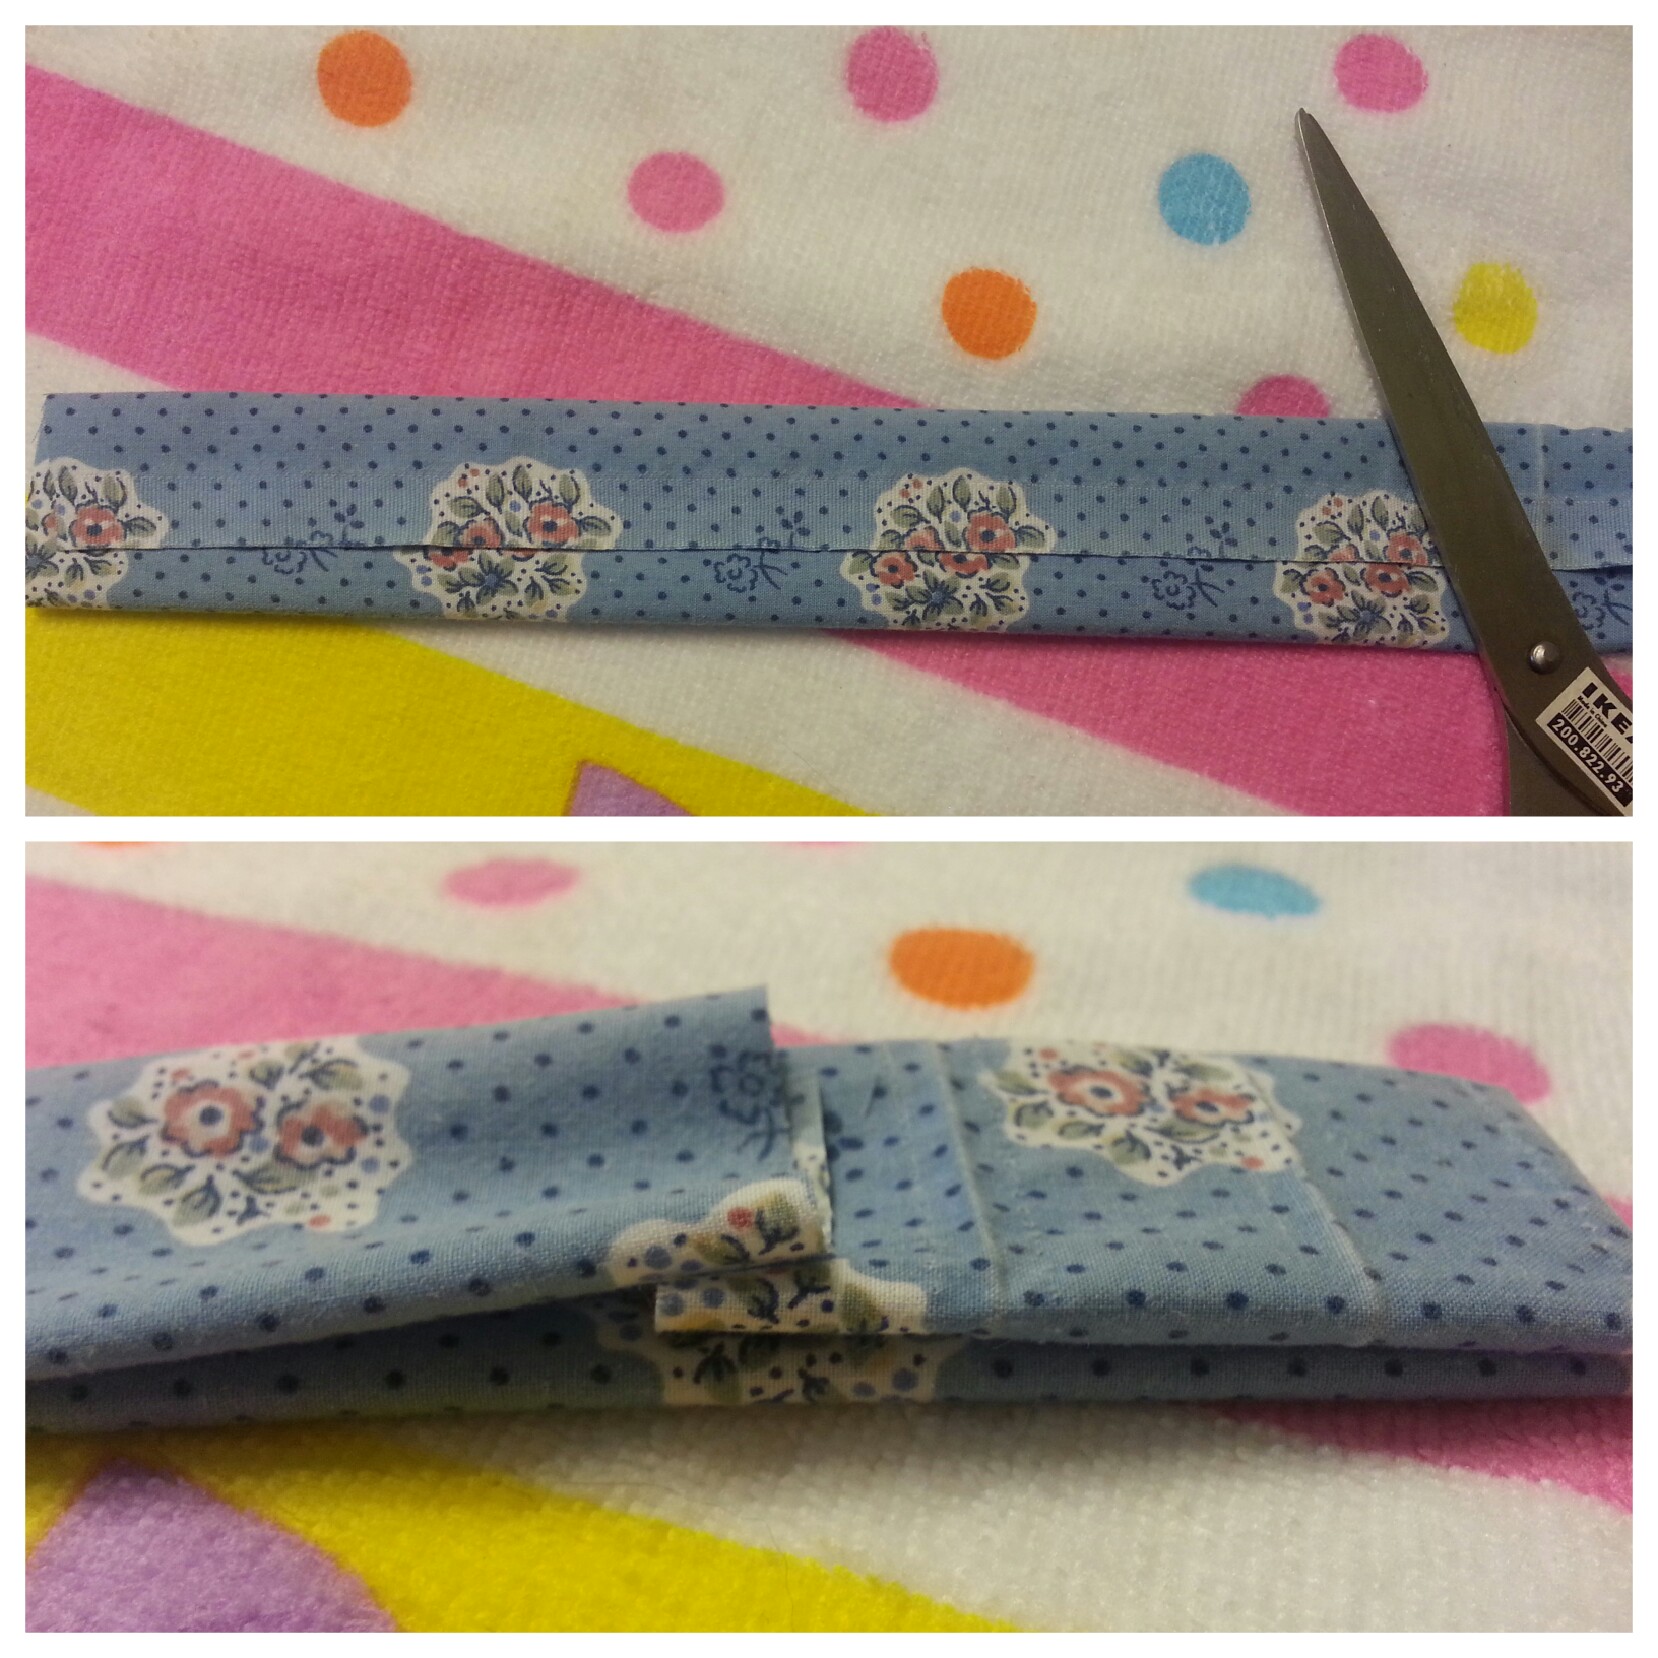
 Now, to hold it tighter in the middle and give it a better shape cut a small strip of fabric and wrap it around the middle. You can use some from your leftover. I decided to use some felt.
 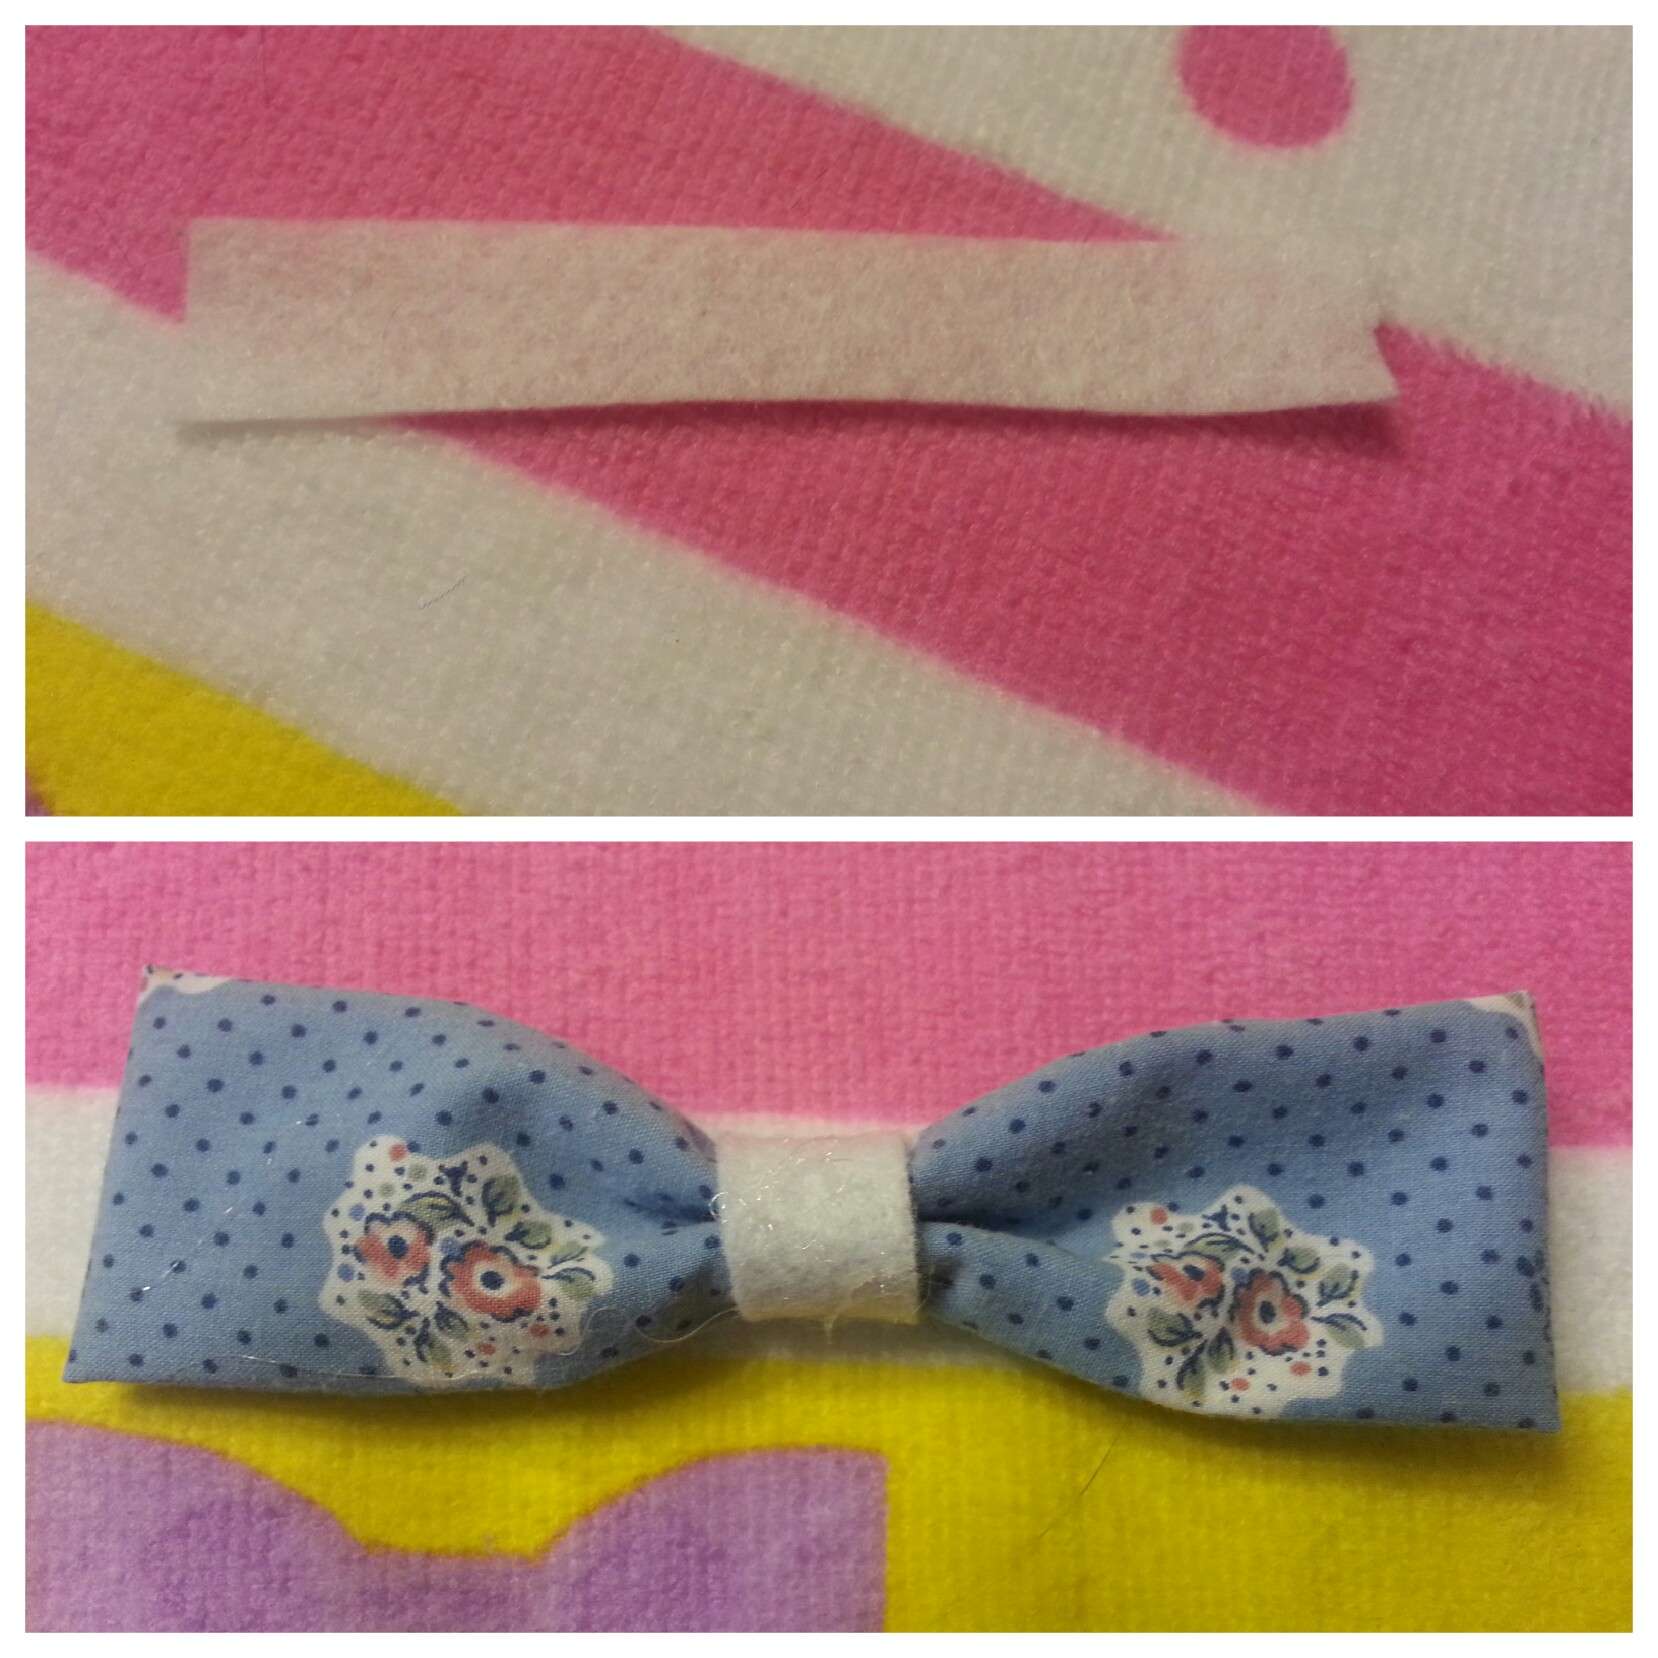 Add some glue to the back of the clip and while the glue is still wet, attach the bow.
 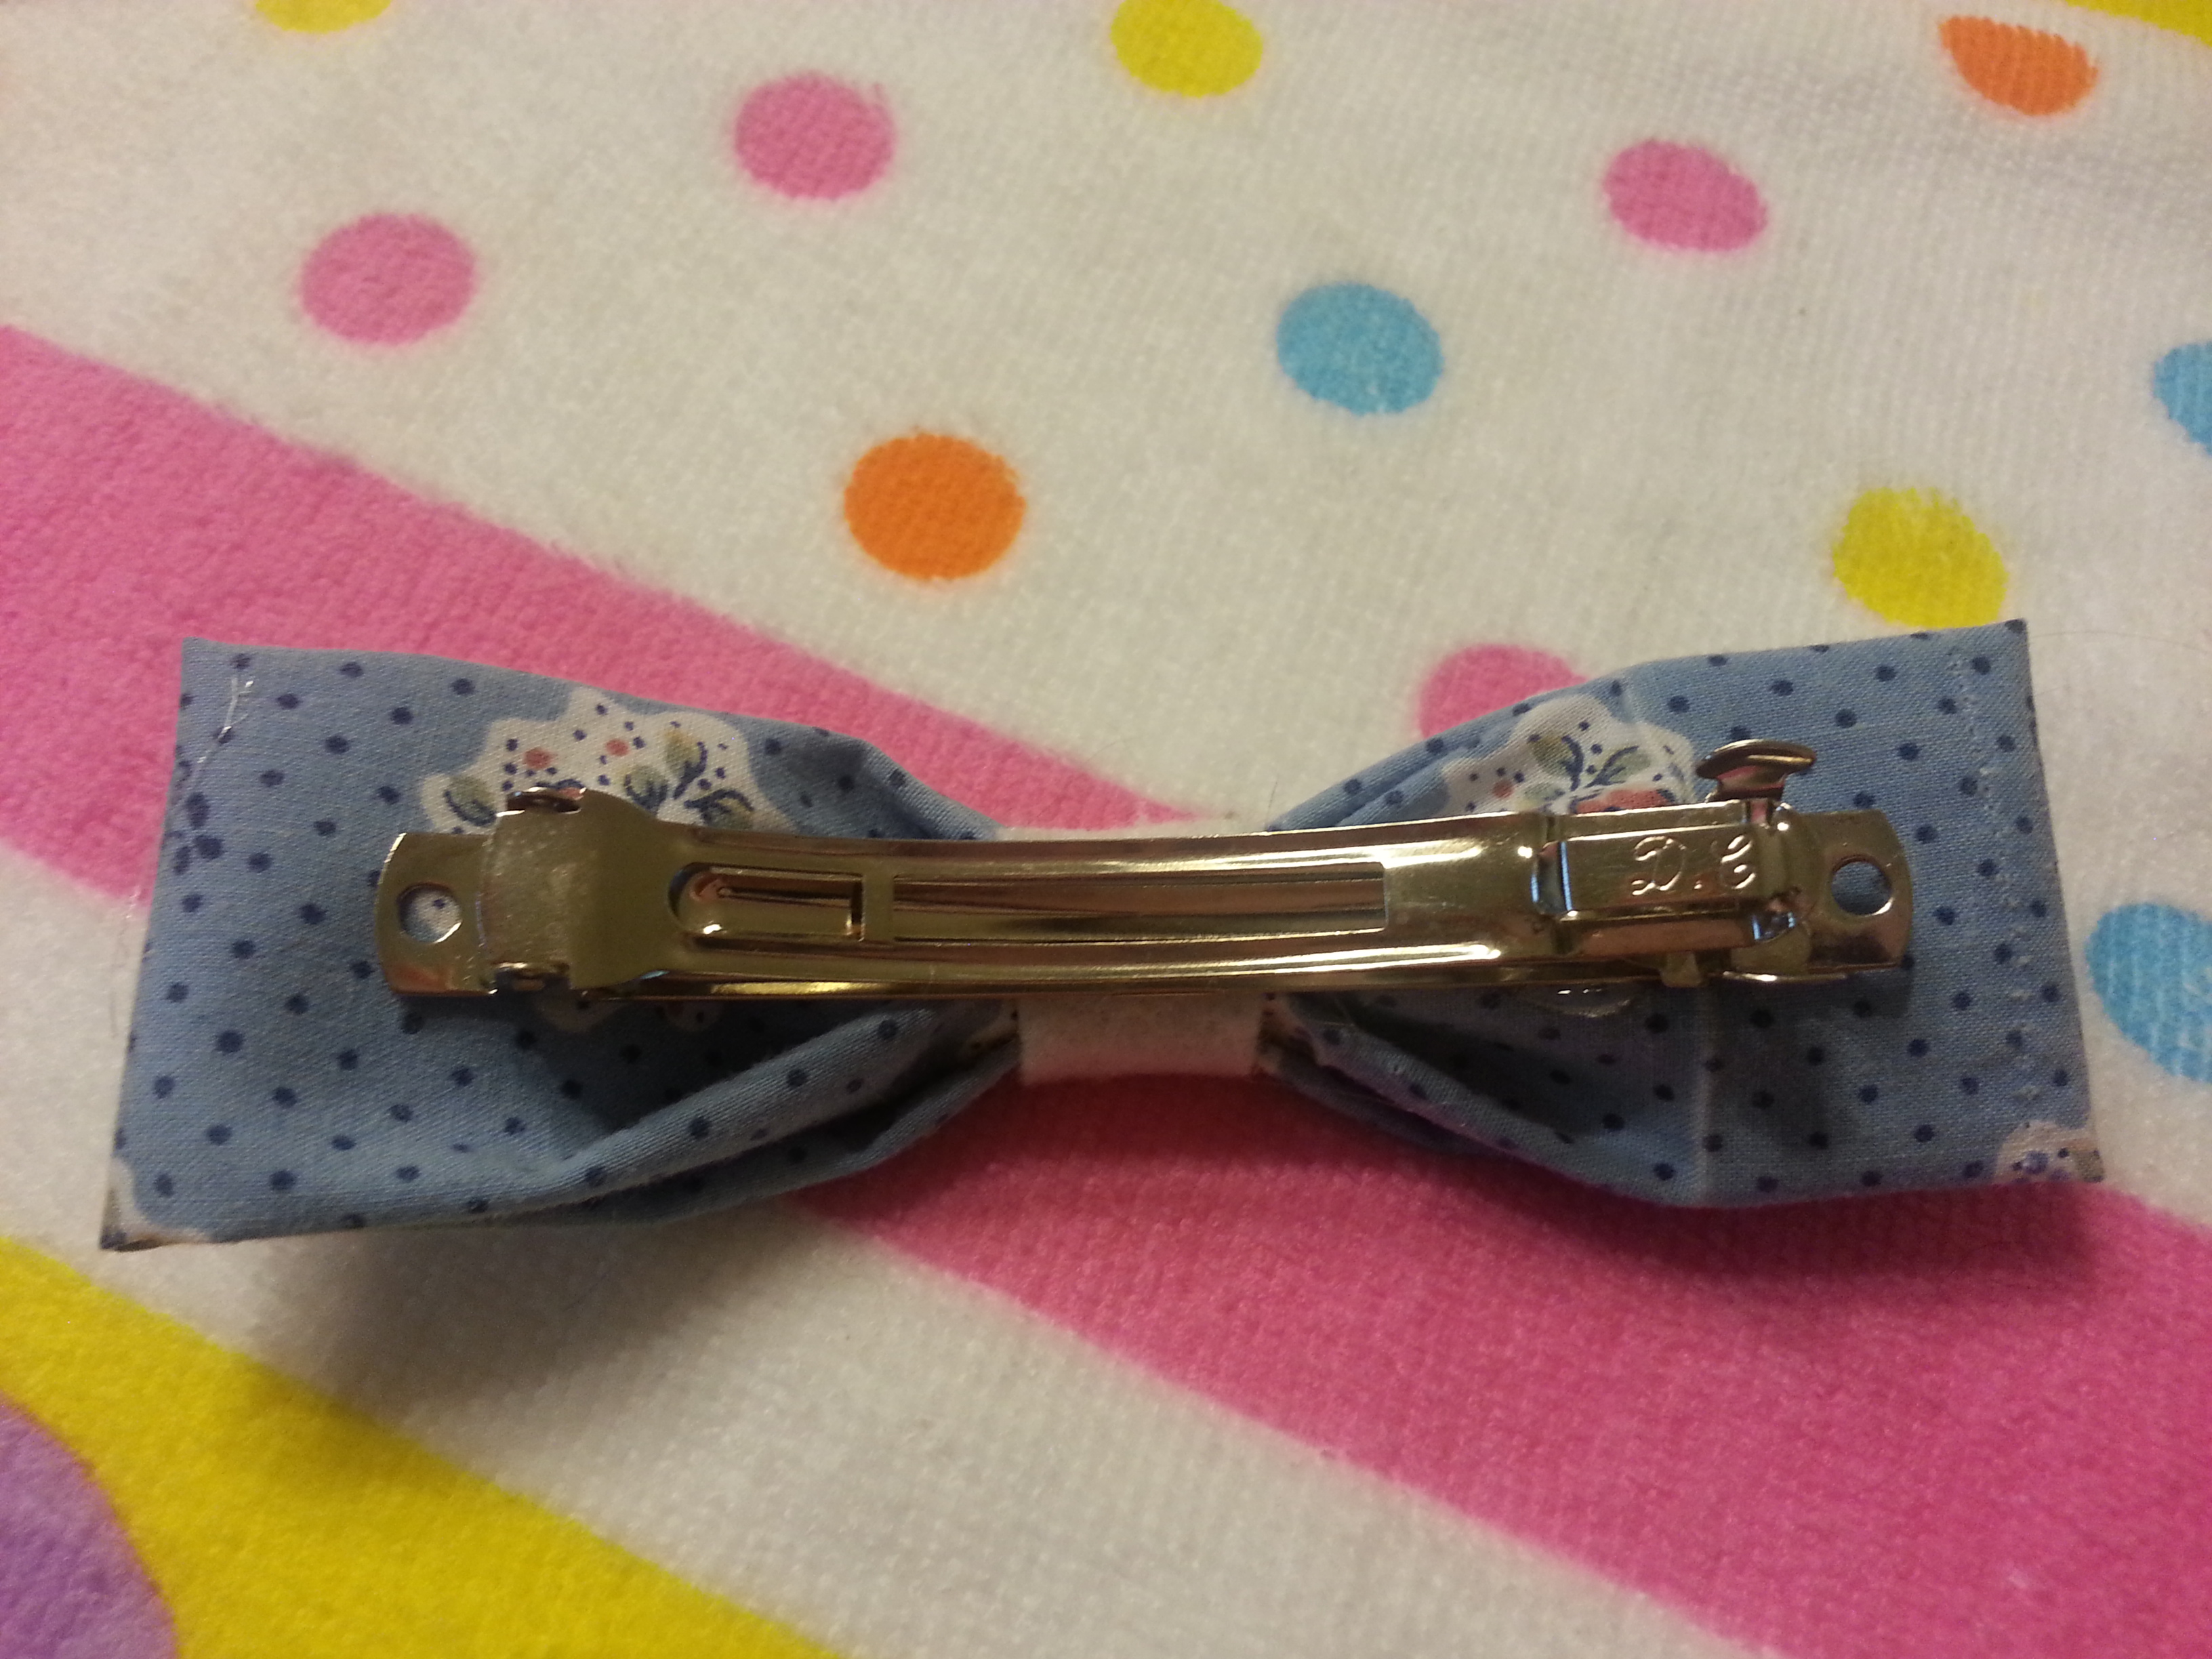 Tadaaaa! Your hair bow clip is ready!
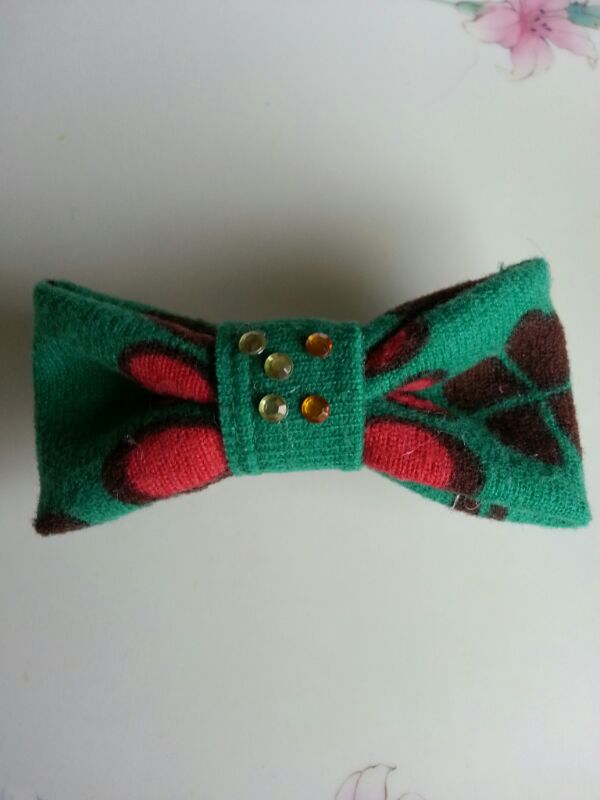
  Here are a few more that I made.
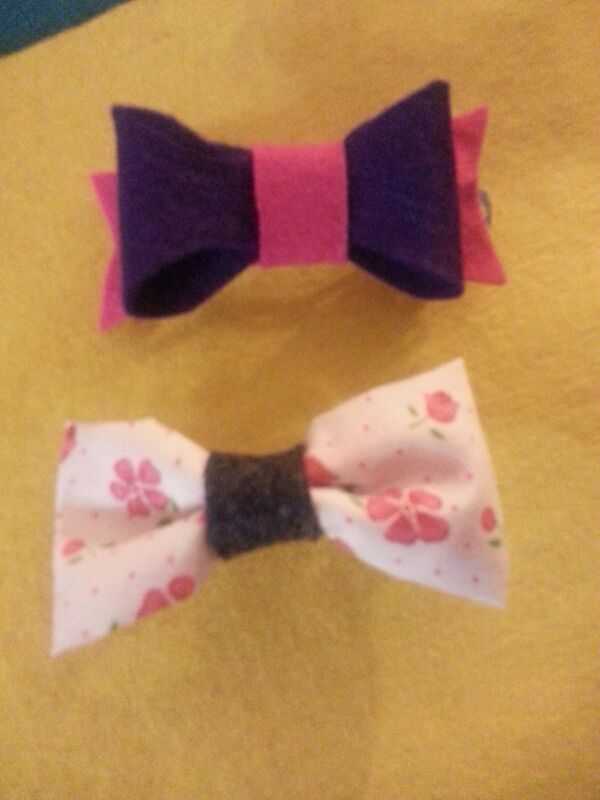
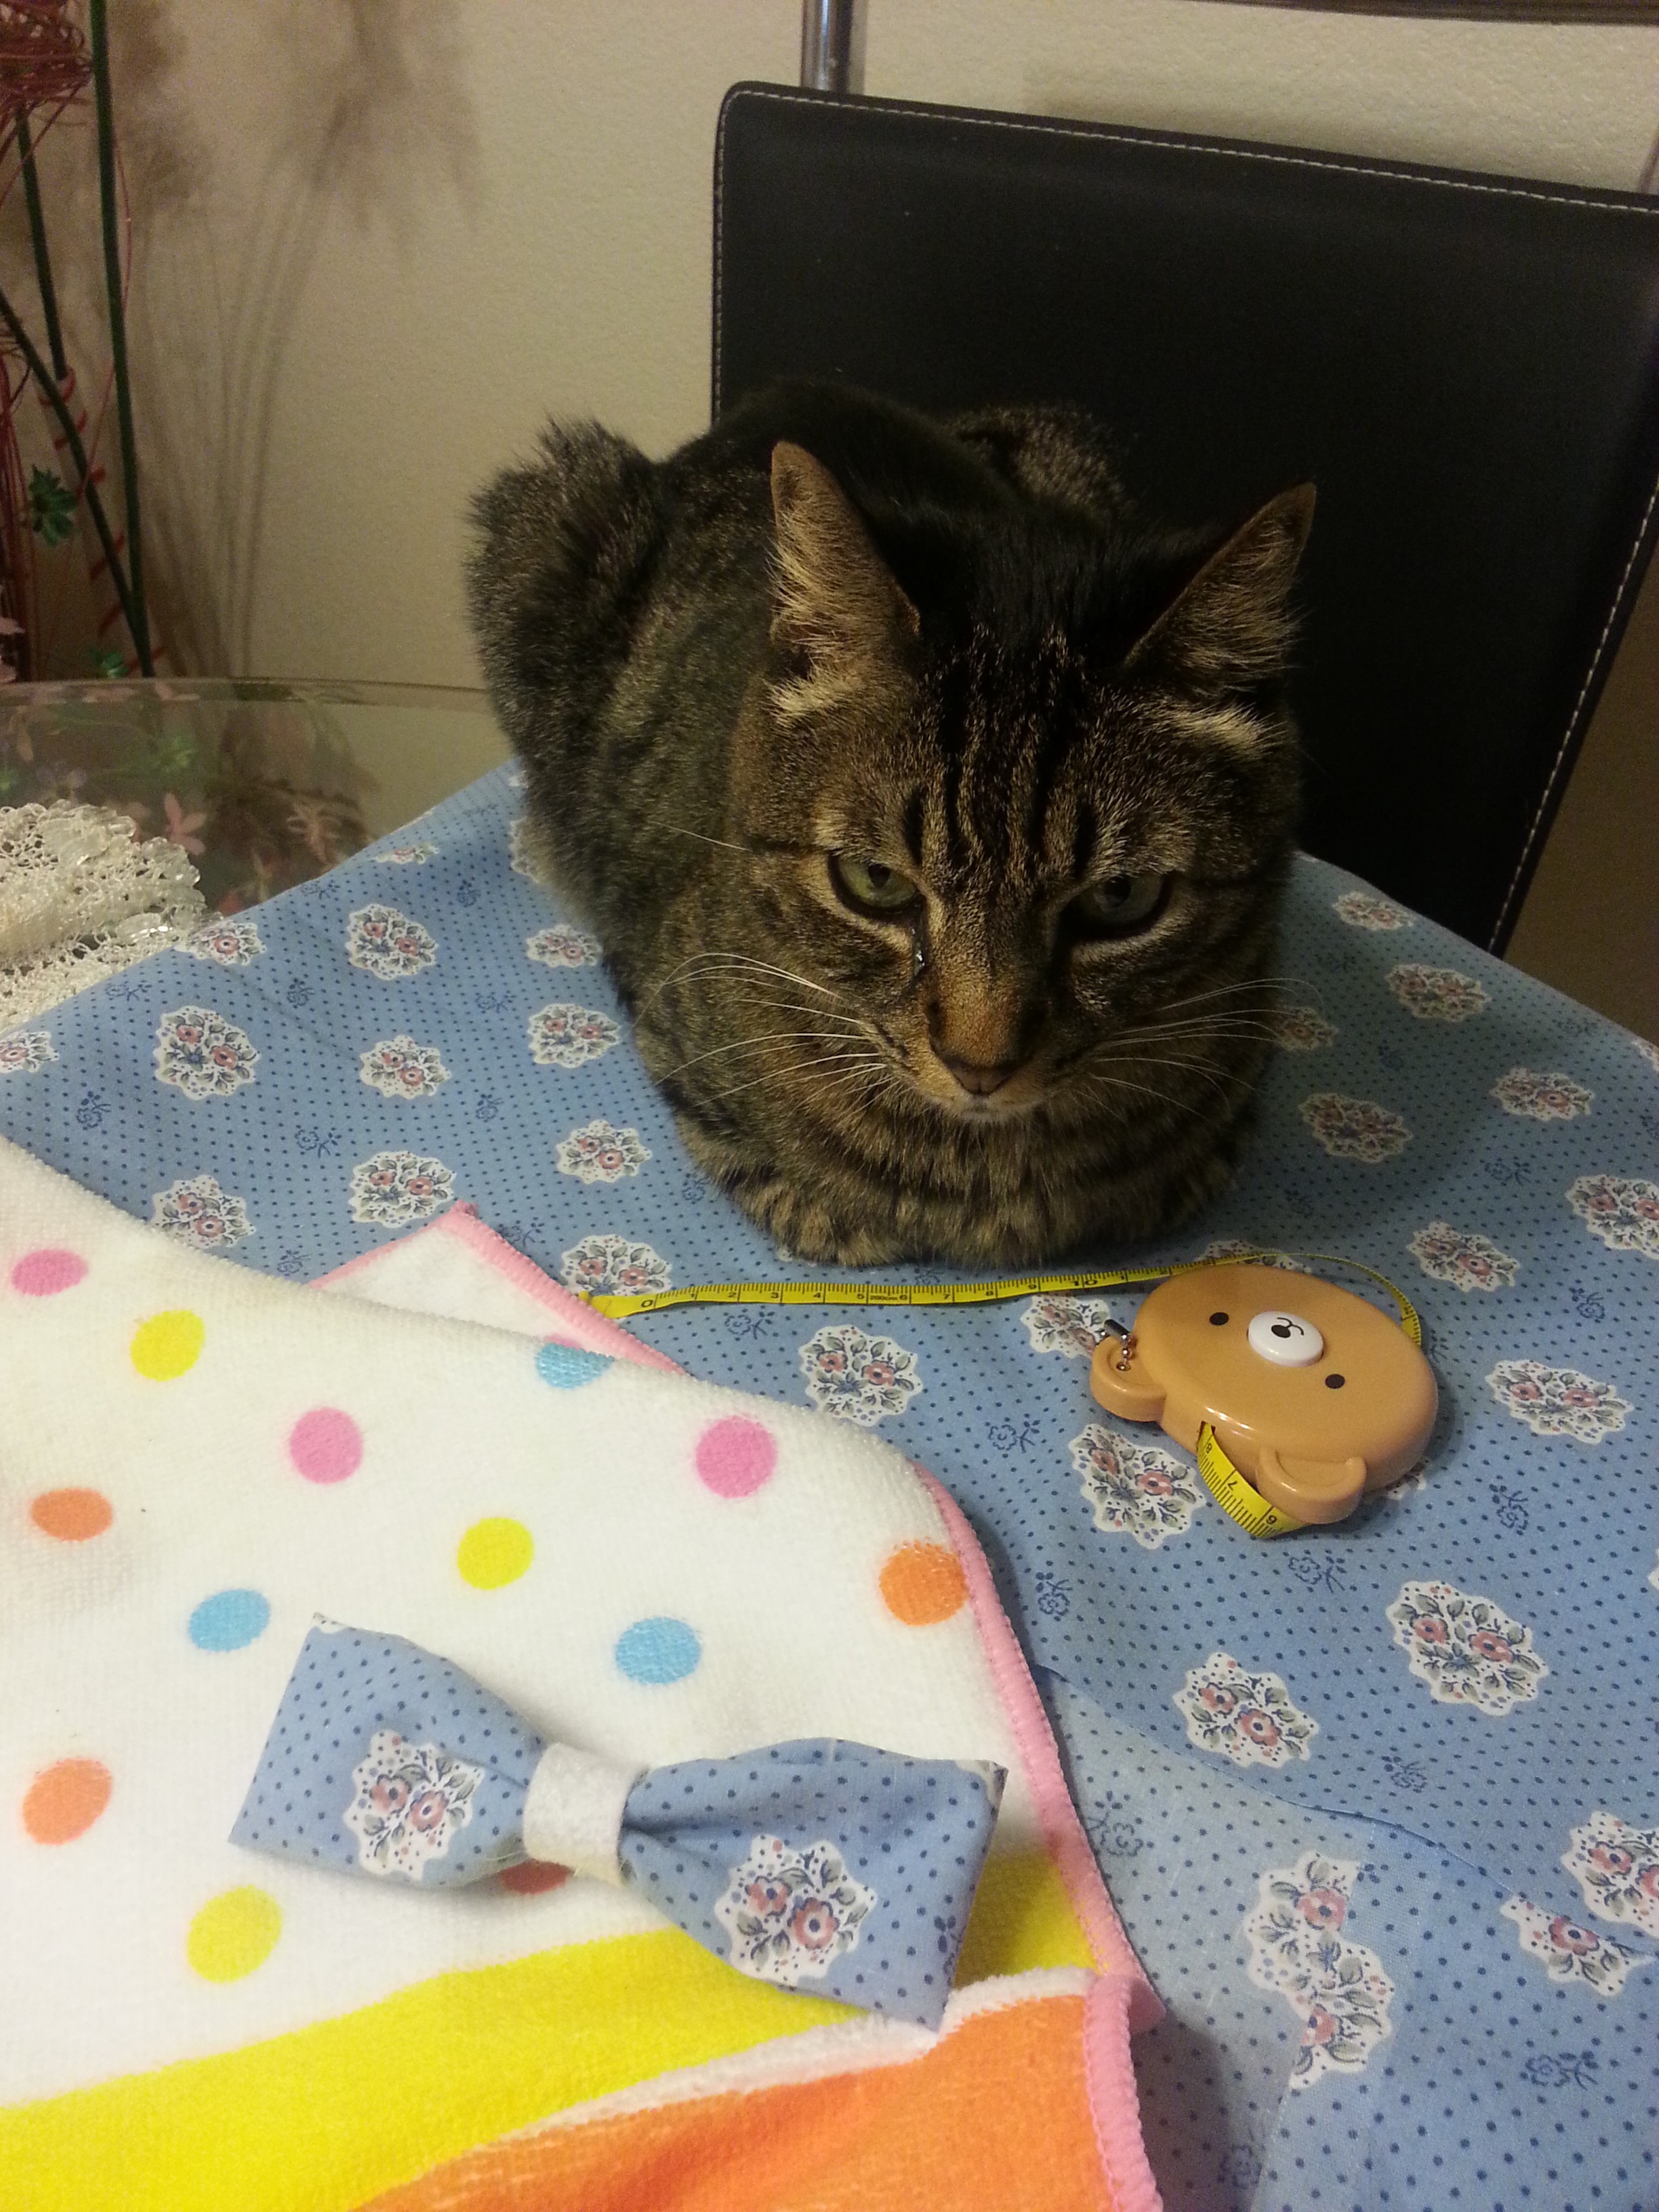
 And my cat Kitta loves bows too!